Ember Mug Destructive Teardown
ID: 169250
Description: Due to an unfortunate incident with a microwave...
Steps:
- With a burnt spot on the bottom that gave my pipe wrench a place to anchor, I tried opening it using the wrench.
- No luck at all; it simply would not turn left or right in any amount whatsoever regardless of how much muscle I put into it.
- This could possibly be caused by the melted plastic from the microwave.
- With no success whatsoever using the pipe wrench, it was time to go barbarian on the mug.
- Jammed a screwdriver into the existing weakened burnt spot and made myself a pry hole.
- After much grunting and cursing, the bottom piece finally gave way.
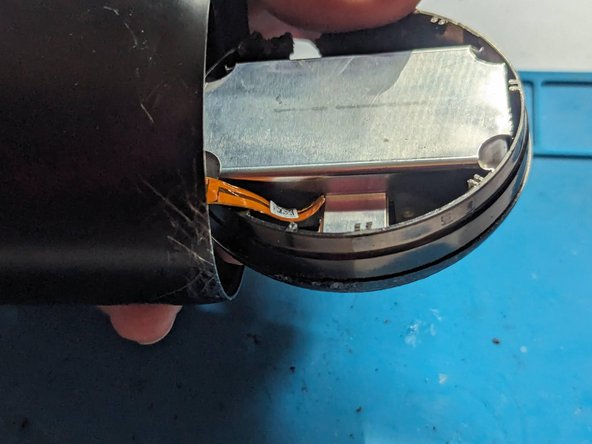
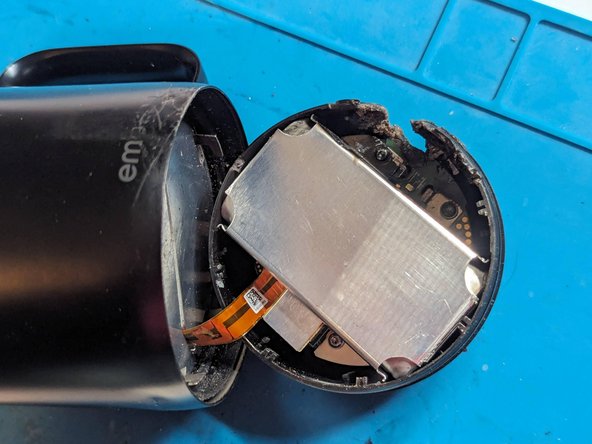
- Note in the last picture that there's a ribbon cable I've obviously torn off that's supposed to connect the bottom of the mug to the rest of it.
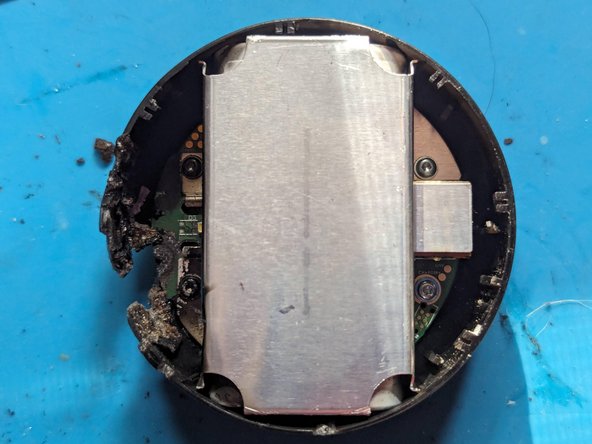
- So here we see the hooks that hold the base in place, marked with red arrows.
- Obviously it would only take a very small degree of turning to get the clips to release.
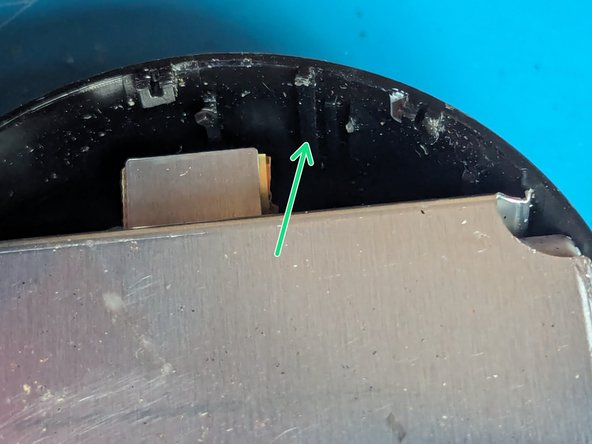
- I am suspicious of this little finger pointed out in green. Due to the condition of my mug, I am unable to tell if this is a locking mechanism or just some sort of guide pin.
- If it is a locking mechanism, then it has been deliberately designed so that the mug cannot be opened again once assembled. I sincerely hope that isn't the case, but I can't tell either way for sure.
- I've positioned the broken flex cable approximately where it should be on the mug's bottom assembly.
- As you can see, there's very little room to maneuver, meaning it's going to be really easy to break that cable like I did when you open the mug.
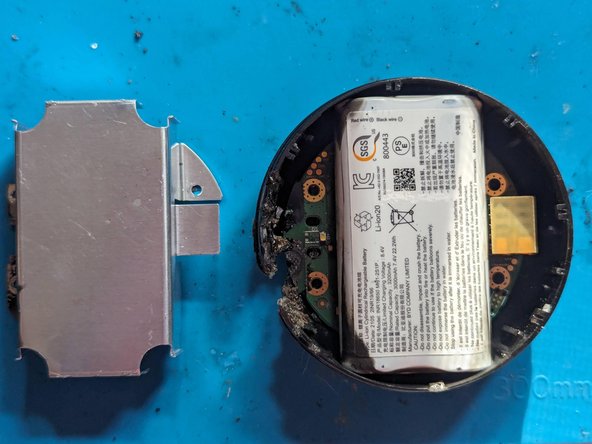
- Four 7.5 mm Torx T6 screws secure the circuit board/ battery assembly to the base.
- Remove the shield.
- Were the ribbon cable intact, this is where it would be connected at this point.
- Here's what it looks like when it's unplugged.
- I taped the connector onto the broken end of the cable to show you what it should look like.
- Here we get our first good look at the battery itself. Given the shape and size, I'm guessing two 18650 batteries wired together with a BMS, but we'll see.
- At this point these two components should just lift out; in my case they had to be pried out due to heat damage.
- Likewise, the battery should be free now, but mine was fused to the circuit board.
- One person noted that the battery is glued down to the circuit board; you couldn't tell it from mine, but I have no reason to doubt that.
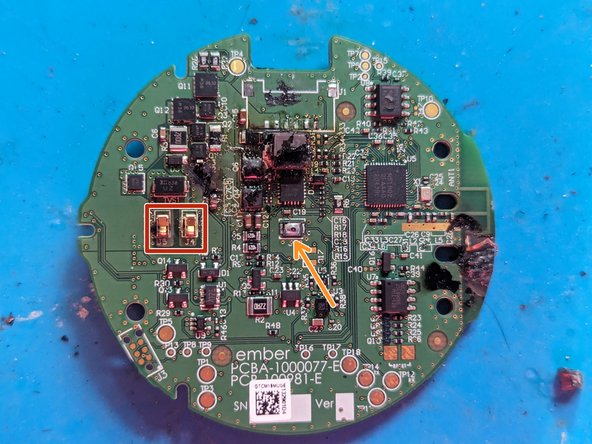
- Here we see the contacts for the copper rings on the bottom that transfer power to the mug.
- You can see the pin that activates the button on the bottom of the circuit board.
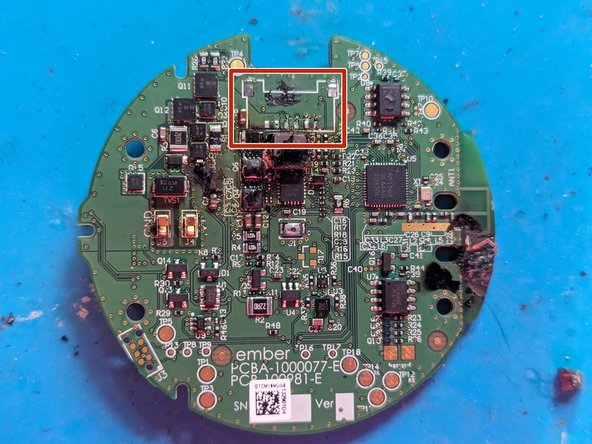
- Right about now you should be unplugging the battery from the circuit board. Unfortunately on mine the socket is melted to the connector so they cannot be separated.
- I was forced to tear the connector off the circuit board to separate them. You can see here where it goes.
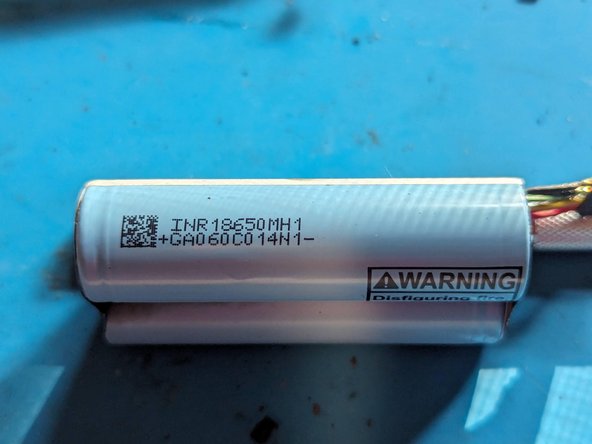
- Here's what we find after removing the plastic jacket. Yep, as we figured, a couple of 18650's!
- As if we needed any more proof, it's spelled out right there on the battery itself.
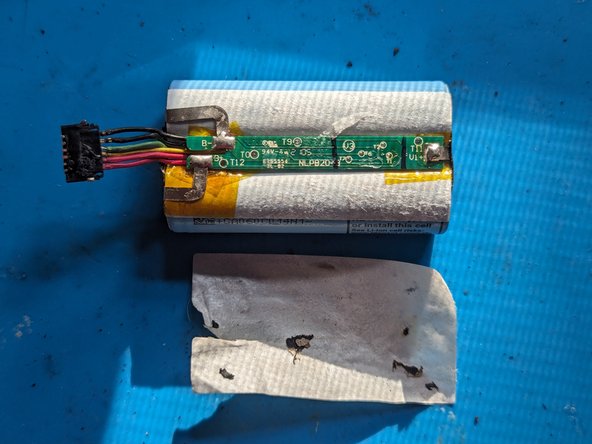
- Flipping the battery over, we see a piece of tape over what is obviously the BMS. Let's look.
- Yep, sure enough, there it is with connectors going to the batteries plainly visible.
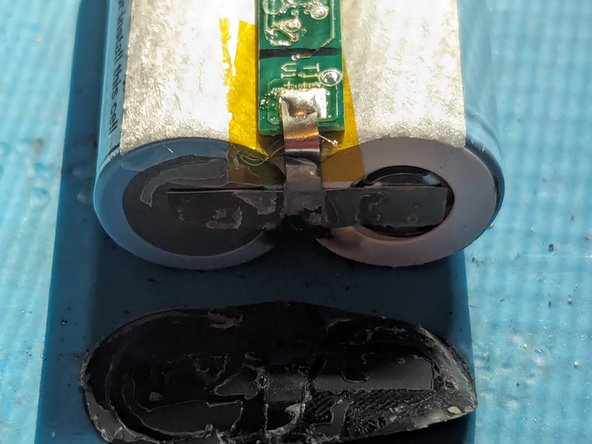
- Here we see the BMS connectors on the ends of the battery. These batteries are connected in series; here we see one positive and one negative lead going to the BMS.
- And here is the other end where the two batteries are connected together to make a series circuit. It's also fed back to the BMS for charging purposes so each battery can be charged separately.
- After cutting the BMS from the cells, here's what the other side looks like.
- Let's see what else we can take apart, shall we?
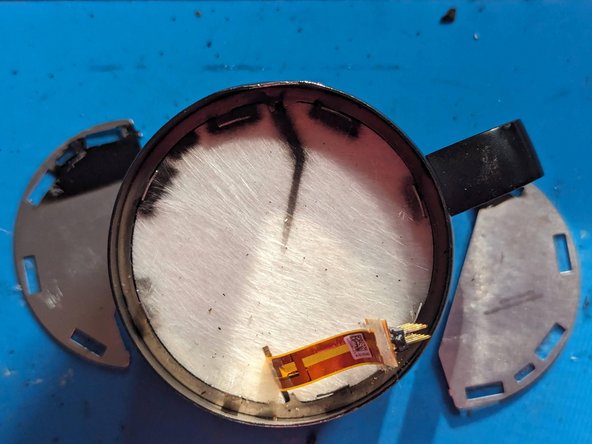
- The rubber seal that keeps water out of the mug and coincidently makes it very difficult to open the mug just lifts right out.
- As it turns out, the metal shields separating the heating element from the battery just lift out once the seal has been removed.
- Finally, the insulation material over the heating element also just lifts out.
- I have to note that had I not torn the ribbon cable, the mug itself would have been salvageable assuming a replacement bottom could be obtained, but as it is, there's really nothing that can be saved on this mug.
- Like my daddy used to tell me, if you can't serve as a good example, then generally you can be held up as a bad example!