Echo Dot 3 Mic/LEDs/Button Replacement
ID: 169369
Description: In this tutorial, I'll show you how to replace...
Steps:
- Turn your Dot around, so that the Barcode is facing up, and the buttons down.
- Using a Spudger remove the Lid.
- There's Adhesive under the lid, so the best way to get it off, is to go all the way around with the Spudger
- Unscrew the 4 T6 Torx screws using the Right Screwdriver
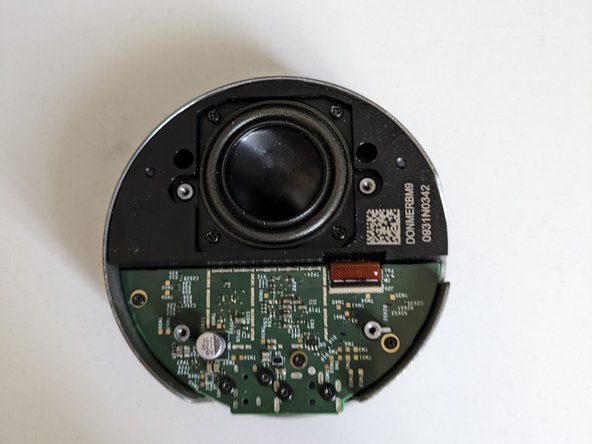
- After unscrewing, you can slowly lift the shell, and you'll be greeted by the insides of the Dot!
- Unscrew the 3 T6 Torx screws,
- and lift the flex cable connector.
- After that, very carefully remove the PCB/Power supply (no idea).
- Remove the 4 T6 Torx screws (2 different lengths!)
- Slowly Remove the Middle part
- Be very careful while removing the middle part, so that you don't damage the cable!
- Remove the 4 T6 Torx screws,
- and lift the plastic to remove it.
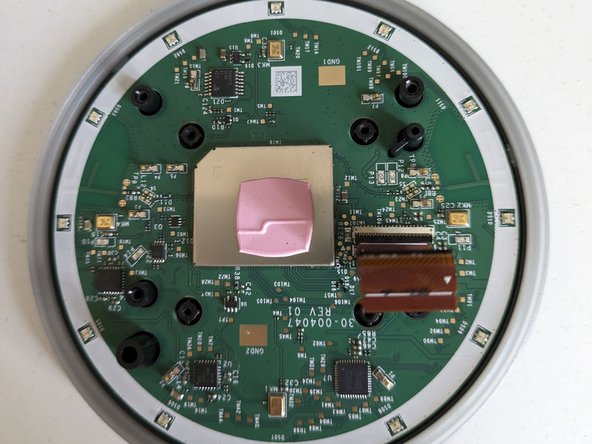
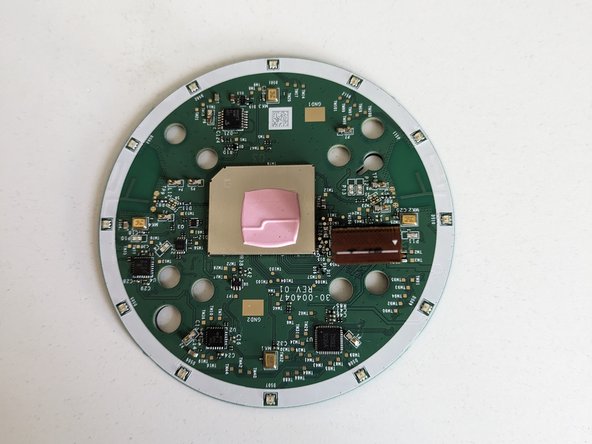
- Simply flip the device to separate the:
- Motherboard and
- Buttons from each other.