Ducky One 3 SF Keycaps and Switches Replacement
ID: 169387
Description: This guide illustrates how to clean and replace...
Steps:
- Disconnect the cable from your keyboard.
- Place the keyboard on a flat and stable surface.
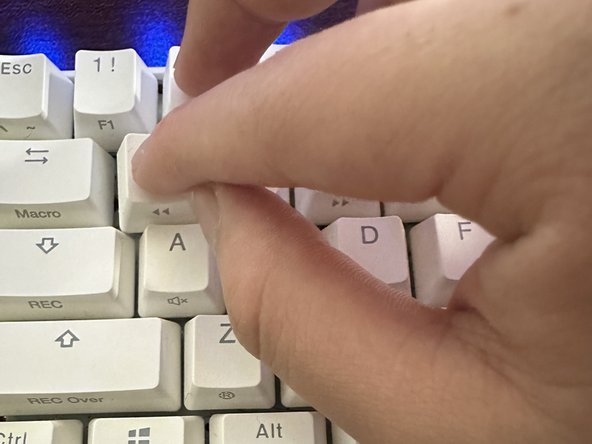
- Use the switch puller to remove the keycap from the keyboard.
- Remove all of the keycaps you need to replace or clean.
- Place the keycaps in a container.
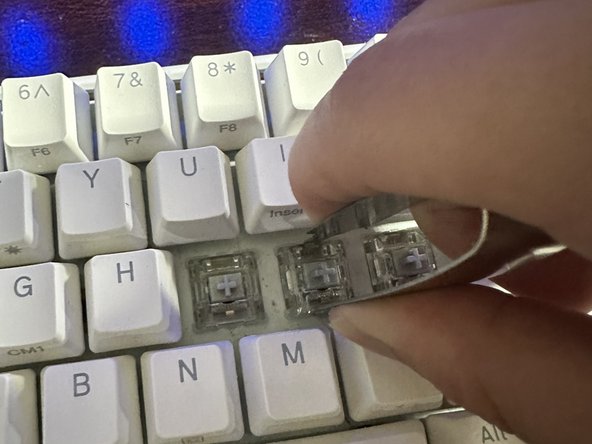
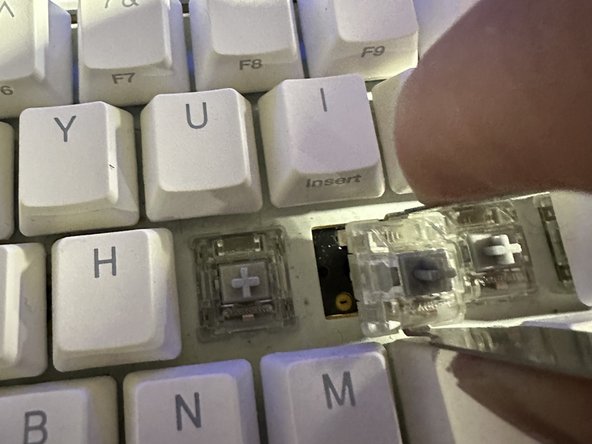
- Use a key switch puller to secure the switch at the top and bottom.
- Pull the switch away from the keyboard.
- Ensure the switch puller is positioned and secured between the switch and the keyboard to prevent any damage to the switch.
- Place all of the switches from the keyboard in a container.
- Use a dust blower to remove loose debris from your keyboard.
- Use a foam tipped swab and Isopropyl Alcohol to clean any residue, oils, or grime from the keyboard.
- Make sure the keyboard is completely dry before replacing the switches and keycaps.
- Soak the keycaps in soapy water.
- Remove all dirt or debris from each keycap.
- Let the keycaps sit for 10-20 minutes to disinfect.
- Rinse the keycaps with water.
- Place them on a towel and use a cloth to remove excess water.
- Leave the keycaps to air dry.
- Ensure that the keycaps are completely dry before proceeding to the next step.
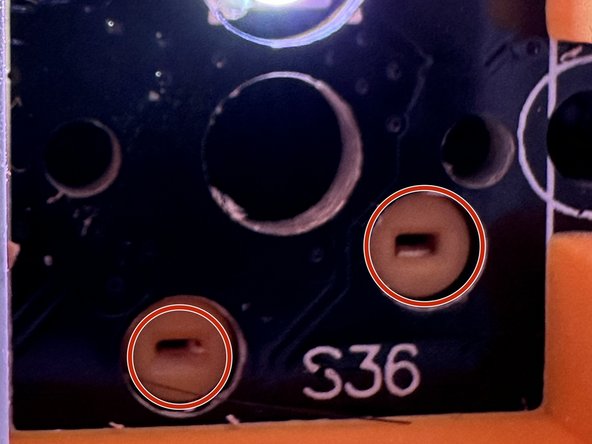
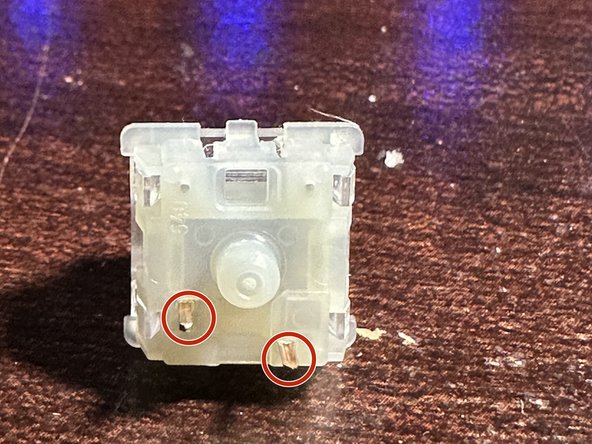
- Insert the new switch into the corresponding holes in the keyboard and push the switch into position.
- Make sure that the switch pins line up correctly with the holes on the keyboard so they don't get bent or damaged.
- Continue the process until all switches are in place.
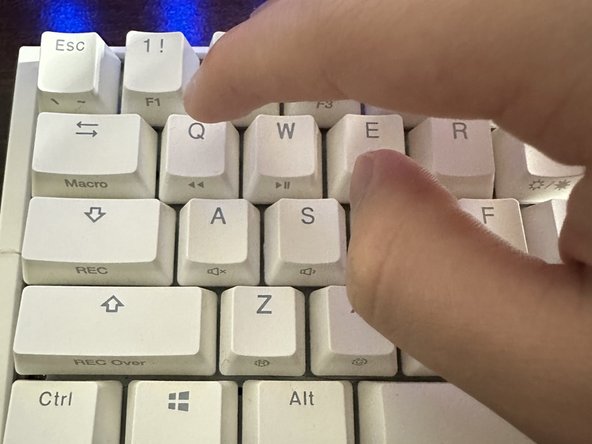
- Replace each keycap in the correct position and press onto the key switch.
- Use the following website to confirm both the correct positioning and functionality of the keycap.