OKI TV Remote Control Keypad Cleaning for Stuck Keys
ID: 169463
Description:
Steps:
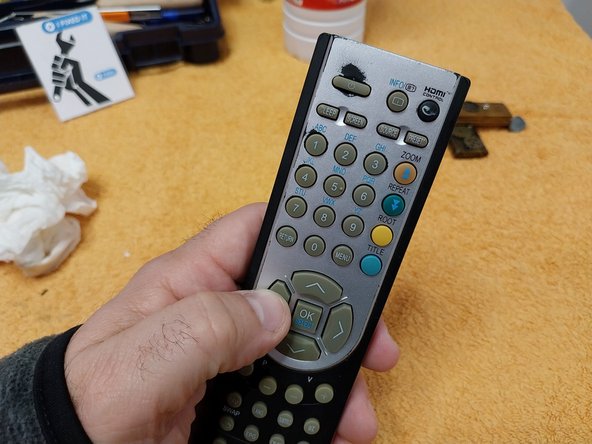
- A very common failure in remote controls is the failure of one or more buttons, which are always the most used ones. In most cases, a teardown and cleaning of the keypad is enough to solve it. Let's see how it's done; in this case, 2 of the most used buttons on the left were failing, requiring a firm press.
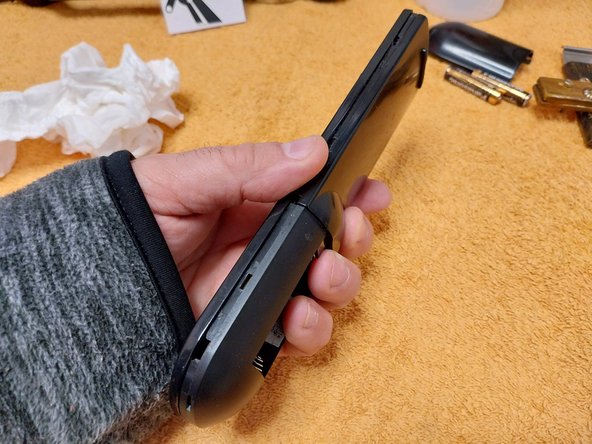
- For the teardown of the controller, we can use some of the IFIXIT opening tools, https://eustore.ifixit.com/collections/p..., or homemade pry tools like I have used in this case, or a plastic knife, or help ourselves with an unused credit card.
- We will insert the pry tool along the side and apply a little pressure.
- Once opened, there are 4 parts: 2 housing pieces, a PCB electronic board, and a rubber membrane keypad.
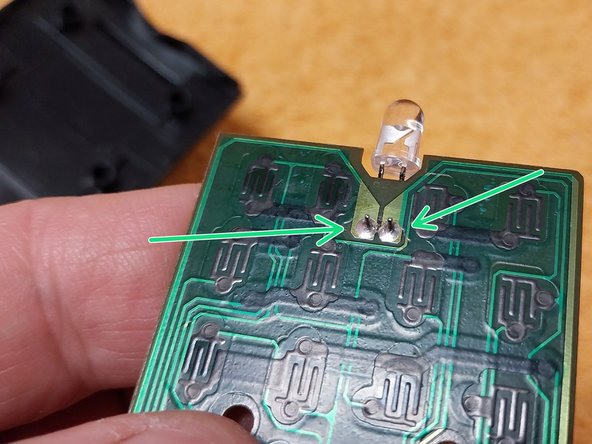
- Photo 1: While not the purpose of this video, it doesn't hurt to check the condition of the infrared diode solder joints; this one is OK.
- Photo 2: Just for general knowledge, that round black spot that looks like glue is the protection for the remote control's microprocessor.
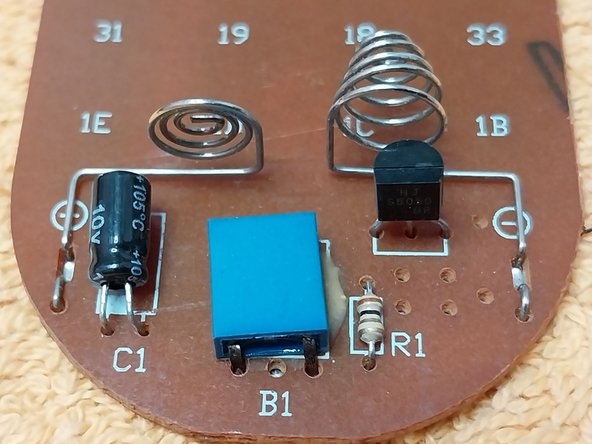
- Photo 3: A view of the few, typical components inside a TV remote control: the 2 wires of the battery holder, C1 electrolytic capacitor, B1 resonator that generates the frequency, R1 resistance, and transistor.
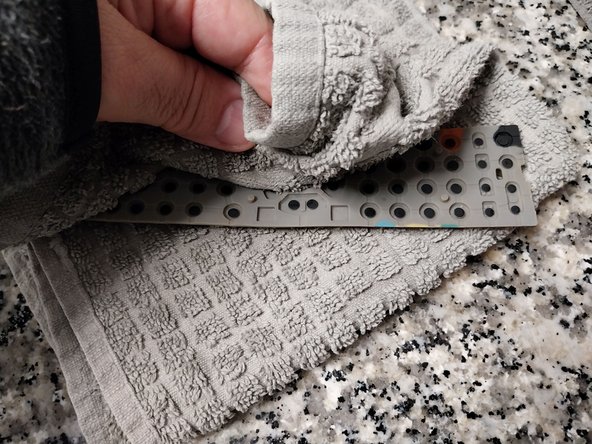
- Rubber Membrane: This element, specifically on the side with the black circular dots for each key, is what usually fails due to dirt, along with the contact point where the button sits on the circuit board.
- Photo 2: View of the black "conductive rubber" circles. Dirt and a type of grease that accumulates on these are usually the cause of key failure.
- Cleaning the rubber keyboard is very simple; just use common dish soap, water, and a toothbrush. Wash it, scrub it with the brush, and rinse with water.
- We perform the same task on the button side, where a kind of oily grease usually accumulates; although it may seem strange, the rubber absorbs it from hands when touching the controller. In this case, this one is quite clean.
- Drying process: first, dry the water off the keyboard with a kitchen towel, and second, perform a fine drying with paper towels.
- Clean the PCB keypad using isopropyl alcohol and a paper towel, being very careful and gentle so as not to damage the carbon contacts.
- Dry off any remaining alcohol.
- In this case, the case is relatively clean; if it were very dirty, we would clean it with water, dish soap, and a toothbrush, drying it afterward. In this case, since it only has a few dirty spots, it is enough to touch it up with a paper towel and alcohol.
- CAUTION: Regarding the screen-printed front, it is best not to use too much alcohol, as it can erase the lettering.
- Once everything is clean and dry, proceed with reassembly: first, fit the rubber keypad into the housing.
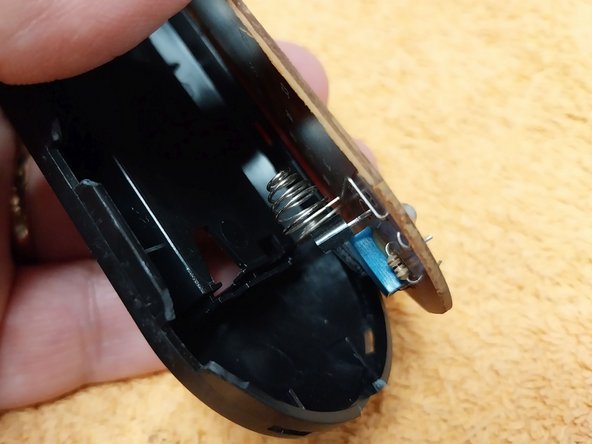
- 2nd Check the 2 wires of the battery holder to identify exactly where and how they fit into the cover.
- 3rd Carefully insert the PCB into the rear housing.
- 4. Join the 2 case halves, bringing them together carefully and ensuring they align and insert into each other without any issues.
- 5. Apply pressure with your fingers in a pinching motion to snap the case halves together, keeping in mind that they are held in place only by pressure clips.
- Apply pressure with your fingers around the entire perimeter, and you will hear a click as it snaps into place.
- Insert the batteries, and proceed to test the remote control with a mobile phone camera. You should see the infrared LED flashing violet when pressing any of the buttons.
- A video showing the test with the camera: https://www.youtube.com/watch?v=356PKNUW...
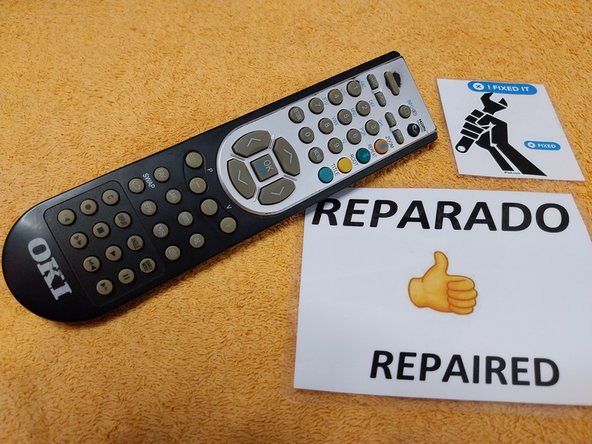
- Repair successfully completed.