How to replace a button
ID: 169524
Description: Don't worry about repairing a simple button on...
Steps:
- Identify where the button fell off. Clean up the area including removing any old thread which is still there.
- Prepare the needle and thread, and the replacement button.
- Tip: Many garments come with a spare button on the inside, sewn to the care label. Check there, before buying a new button.
- Start by threading the needle onto approximately 30cm of pre-cut thread. Next, tie both ends together to create a loop of thread with the needle on it.
- Add a second or third knot over the first, to make it thicker. It should be large enough to not pull through the fabric.
- Push the needle through the fabric, from the backside of the fabric and pull tight. Thread the needle through one hole of the button, from the backside.
- Next, thread the needle back through the other (opposite) hole in the button, and then push through the fabric in the same location as the thread coming from the backside.
- Repeat the complete Step 2 again, to add extra strength.
- Note: We have demonstrated on a 2-hole button. For a 4-hole button, simply repeat Step 2 for the other button holes.
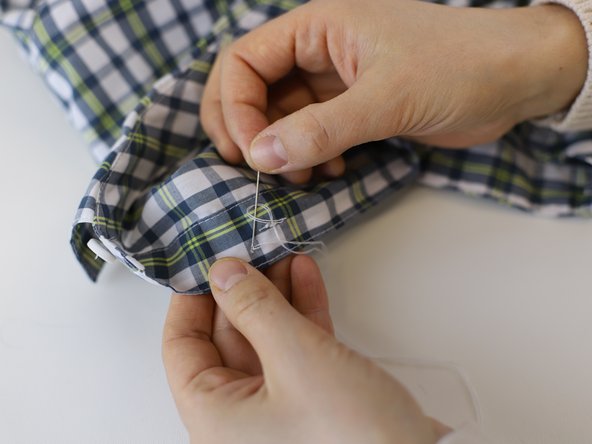
- Once the button is secure, it is time to finish the repair on the inside, with a knot.
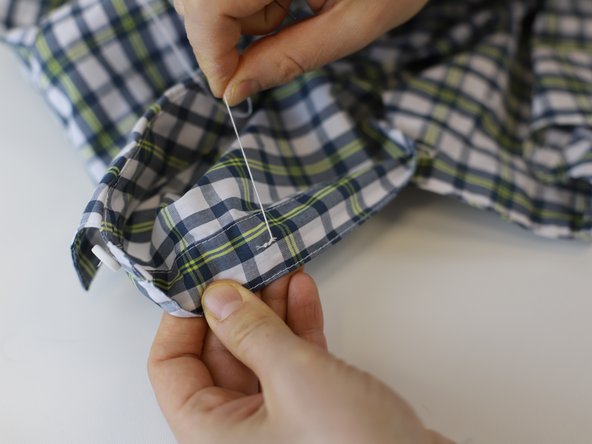
- Carefully pass the needle through the loops of thread on the backside of the repair, taking care not to pass it through the fabric itself.
- Careful: Do not pull tight! Leave a loop large enough to pass the needle through.
- Pass the needle through the loop, and now pull tight to create the knot. Repeat this process once more to add a second knot, for extra security.
- 🛠️🏆👏 Congratulations! The repair is complete, and you're ready to go!