How to repair a "lost" drawstring
ID: 169531
Description: The adjustment drawstring on hoodies or shorts...
Steps:
- One end of the drawstring has got lost inside the hem tunnel and you can't get it back.
- Pull it on the drawstring and take it out completely.
- Note: some drawstrings are sewn in place at the back, for safety reasons. If your item has this, simply remove this stitch with small scissors or a seam ripper.
- Locate the knot at one end of the drawstring; or if there is no knot, make one.
- Push the safety pin through the knot and re-clasp it.
- Push the safety pin into one of the holes in the hem tunnel.
- Push the pin as far as possible, and then hold it in place through the fabric. With the other hand, bunch the hem tunnel towards the first hand.
- Slide the pin into the bunched hem tunnel, and try to pinch it with the receiving hand. Now, let go of the pin with the first hand, and use this hand to pull the hem tunnel taught.
- When done correctly, the pin will transfer from one hand to the next hand, slowly moving along the hem tunnel with every bunching-tautening motion.
- Keep repeating this action until the pin reaches the other end of the hem tunnel. Now, pull out the pin and drawstring together.
- Fully remove the drawstring end, and pin, from the hem tunnel
- Remove the safety pin from the drawstring
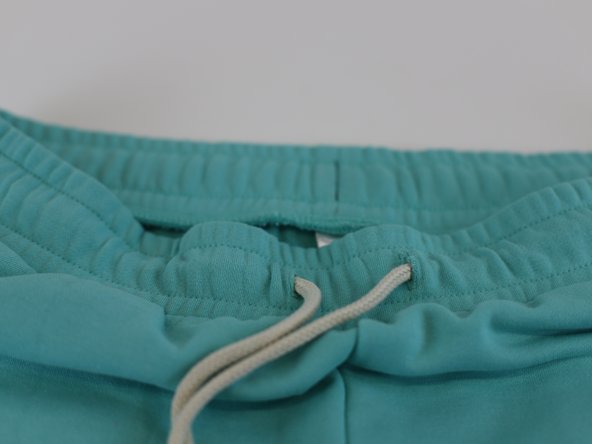
- Re-center the drawstring by pulling on each side appropriately
- Note: if you don't want to re-sew the security stitch at the back, then you're done! ... 🛠️🏆👏 Congratulations! The repair is complete, and you're ready to go!
- If you wish, the cord drawstring can be re-attached at the back of the item with a security stitch.
- This can also be a useful step for drawcords without knots, to help them stay in place during washing.
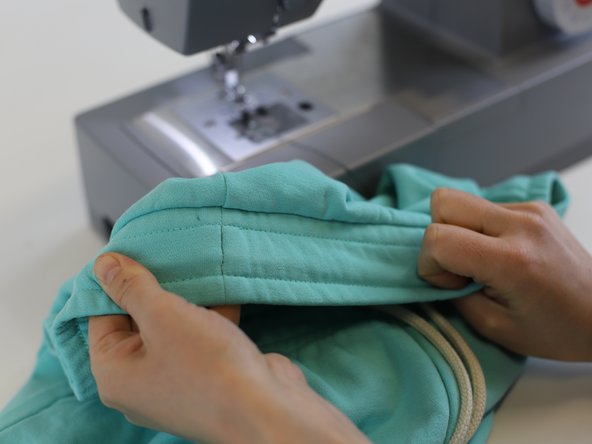
- Place the item under the sewing machine
- Make a short straight stitch over the drawcord, to attach it to the fabric. Repeat 1-2 times for extra security and finish with a lock stitch
- 🛠️🏆👏 Congratulations! The repair is complete, and you're ready to go!