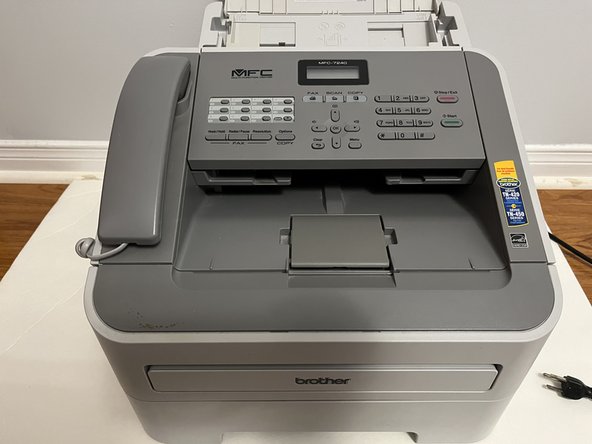
Brother MFC 7240 Toner Cartridge Replacement
ID: 169534
Description: This is an easy to follow guide on replacing...
Steps:
- Ensure the printer is on a stable surface with enough room to access the ink cartridge compartment.
- Turn off the printer by unplugging it from the outlet.
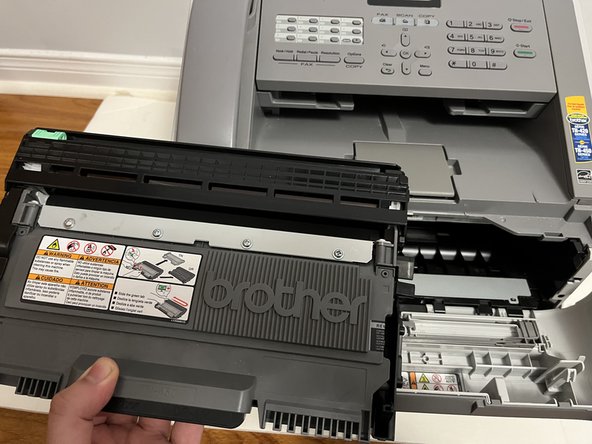
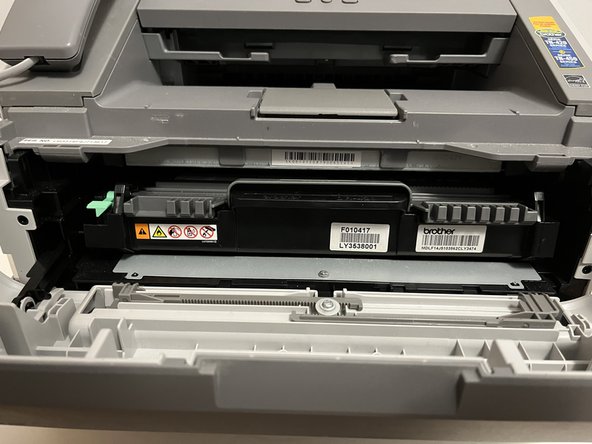
- Lift the printer cover which is located at the front of the printer to reveal the toner cartridge compartment.
- Locate the empty ink cartridge that needs replacement.
- Put your fingers under the slot underneath the toner cartridge and gently pull it out.
- Press down on the small green lever on the bottom left of the drum unit to release the cartridge.
- You will need to push down the green lever and pull out the toner cartridge at the same time.
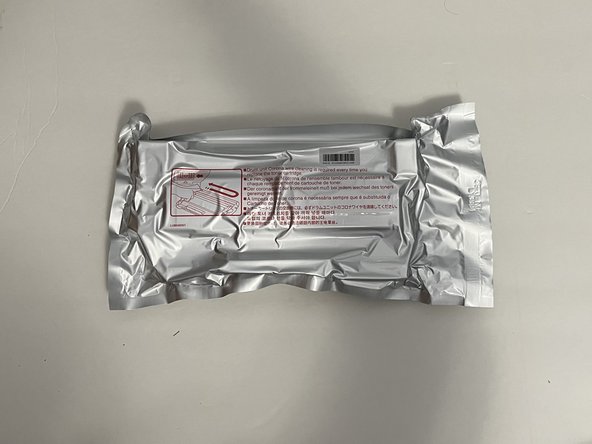
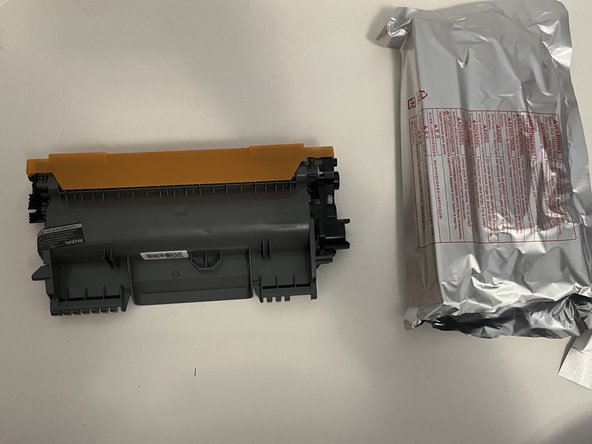
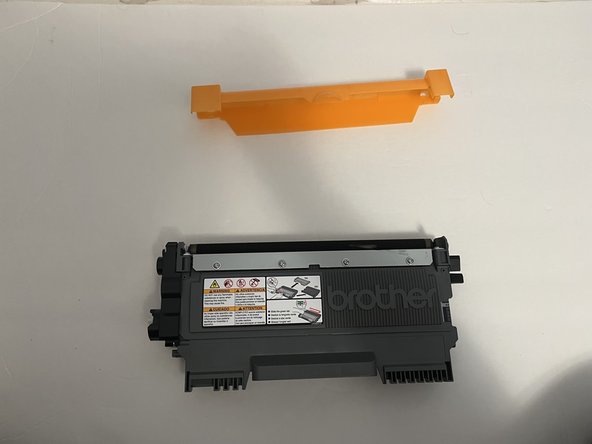
- Unpack the new toner cartridge.
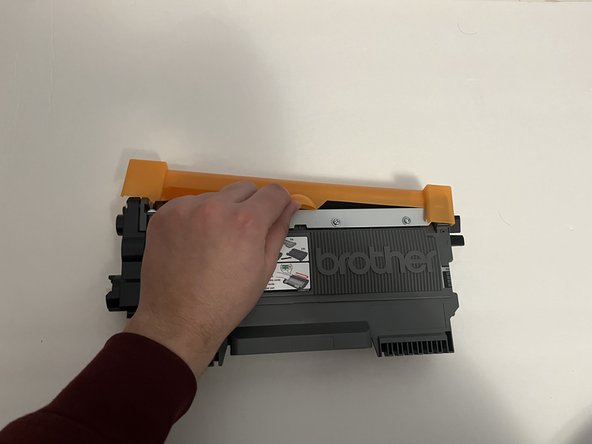
- Remove the orange protective casing on the new toner cartridge.
- Be careful with this step because the protective casing holds the ink so when removing it don't touch the ink roller underneath it or else you will get ink on your fingers.
- Slide the new cartridge into the drum unit slot until it clicks into place.
- Ensure you can see the Brother logo on top.
- Place the cartridge and drum unit into the printer and close the cover.
- Turn on the printer by plugging it back in.
- Make sure you don’t get the low toner cartridge message.