Brother MFC-9130CW Ink Cartridge Replacement
ID: 169545
Description: This step-by-step guide will walk you through...
Steps:
- Press the power button on the printer for a couple of seconds to turn it off.
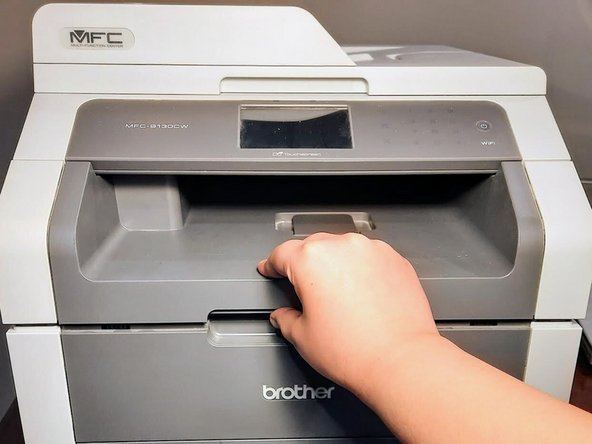
- Press the latch beneath the paper output area and lift it to access the ink compartment.
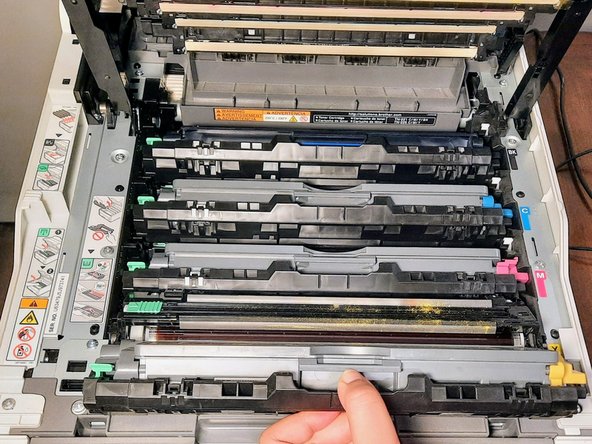
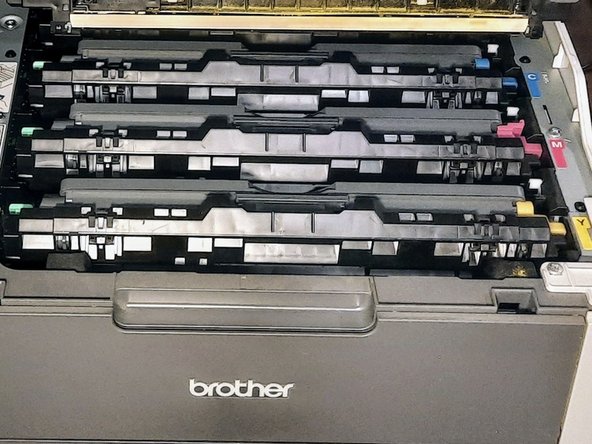
- Identify the specific ink color you wish to replace among the available cartridges in the ink compartment.
- Pull each ink cartridge tray out of its slot using the center handle.
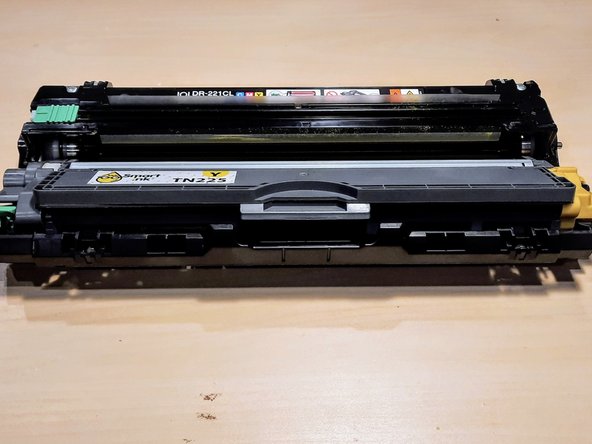
- Place the new ink cartridge on a clean surface.
- Release the orange cover, as shown on the photo.
- To prevent making a mess, set a paper towel on the counter or table in case of a spill during the replacement process.
- Place the cartridge in the tray.
- Gently press down on the ink tray with your thumb.
- You should hear a click, ensuring that the new ink cartridge is secure in its place.
- Slide the ink tray back into its original position within the printer.
- Make sure it is properly aligned and secure within the compartment.
- Once the ink tray is secured, press the ink compartment latch with your thumb, and gently close the lid.
- Press the power button for a couple of seconds to turn the printer back on.
- Print a couple of test copies to ensure the toner cartridge replacement was a success.