Lenovo Z40-70 Hard Drive Replacement
ID: 169546
Description: This guide will show how to remove and replace...
Steps:
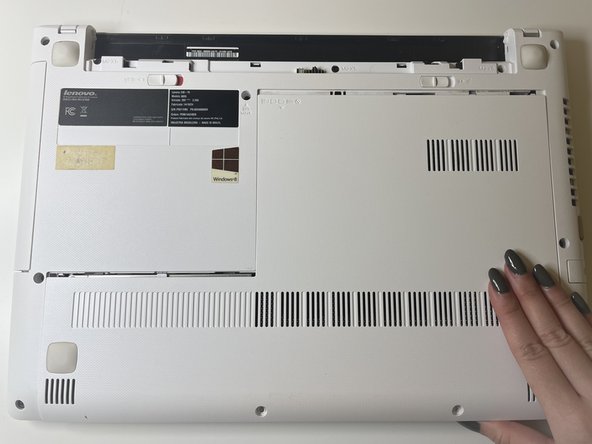
- Close the laptop screen and flip the laptop bottom-side up.
- Make sure the surface you are working on is dry and away from liquids and fire.
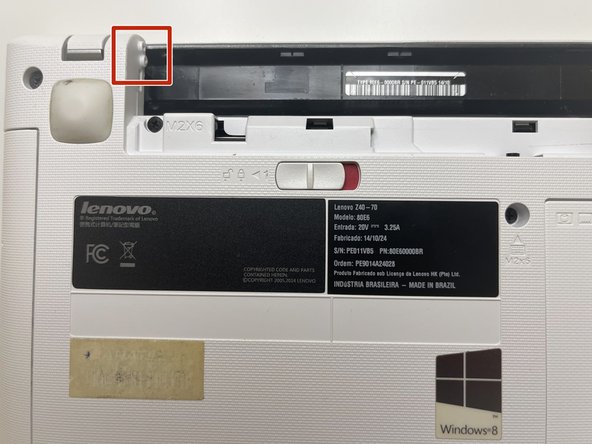
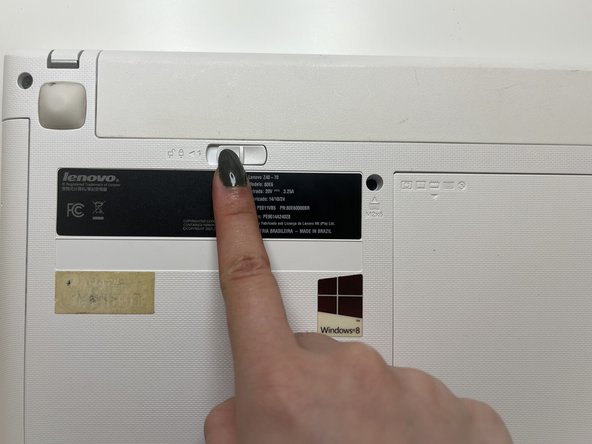
- Slide the left battery lock to the left.
- When it is in the unlock position, you will see red underneath the lock.
- Slide the right lock to the right.
- The battery case will detach from the laptop.
- Separate the battery from the laptop.
- Use a Phillips #00 screwdriver to remove two 4 mm screws along the opposite edge of the laptop.
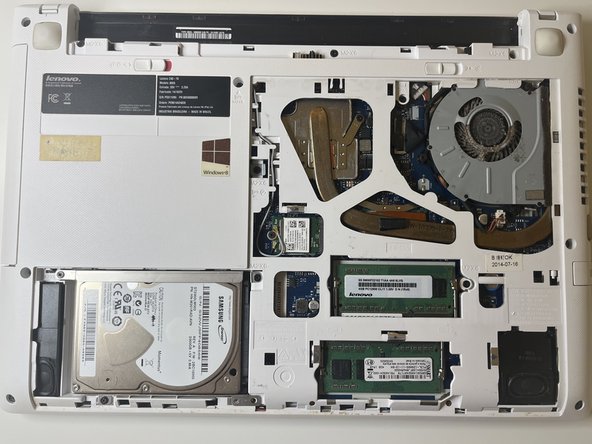
- Gently slide off the back cover to reveal the hard drive.
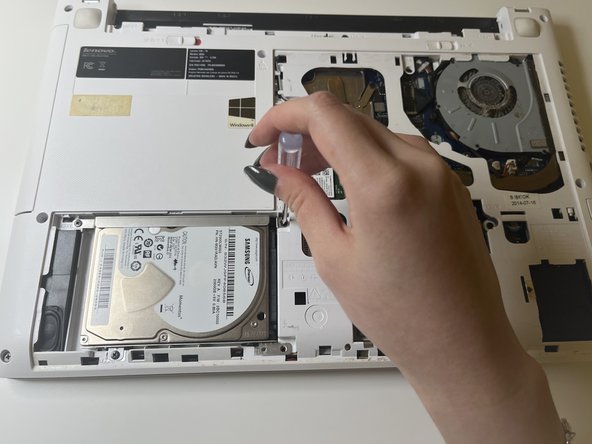
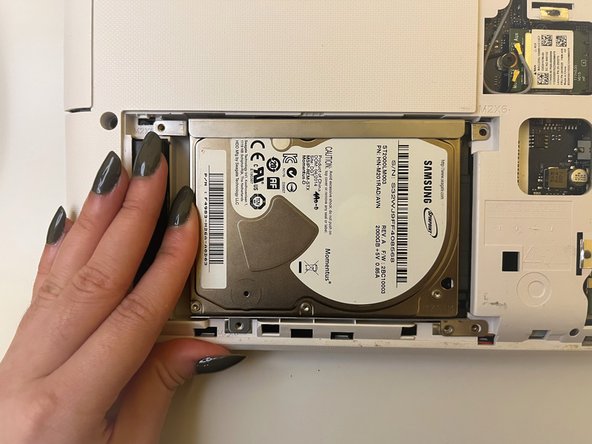
- Use a Phillips #00 screwdriver to remove the three 5 mm screws that secure the hard drive to the laptop.
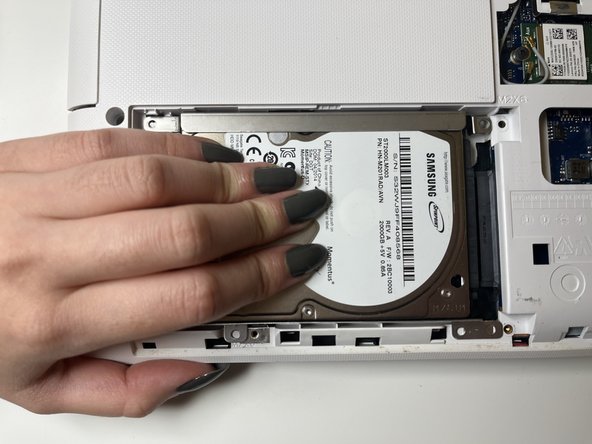
- Slide the hard drive out from the port.
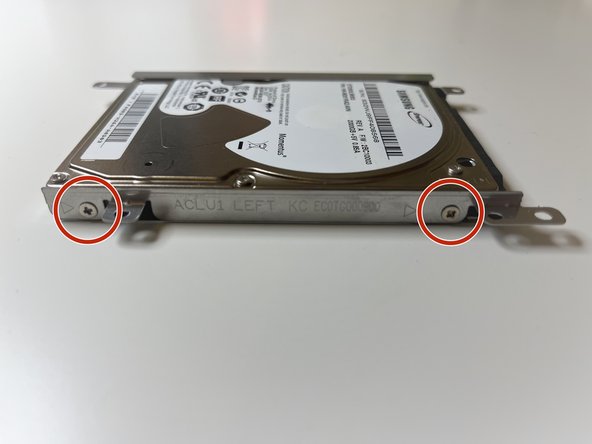
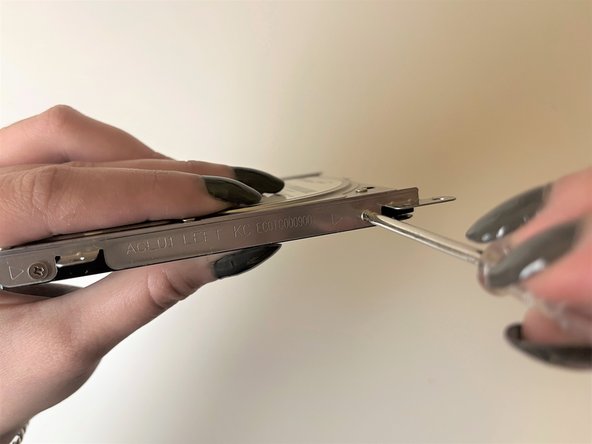
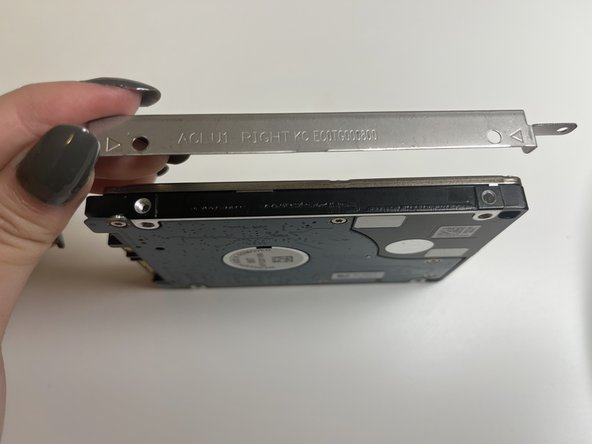
- Use a Phillips #00 screwdriver to remove four 3 mm screws from the metal drive attachments.
- There should be two screws on each of the long sides of the drive attachments.
- Screw the metal attachments into the new drive.
- Make sure the holes in the attachments align with the holes in the drive.
- Insert the drive back into its slot and slide it into the port.
- Secure the hard drive with three PH #00 screws.
- Slide the cover back in place and secure with two PH #00 screws.
- Connect the heart-shaped indents to the raised parts of the battery compartment.
- Flip the red switch to the right to lock the battery in place.