ASUS X571GT Battery Replacement
ID: 169548
Description: If your ASUS X571GT struggles to hold a charge...
Steps:
- Make sure that you have unplugged your laptop and powered it off before beginning the repair.
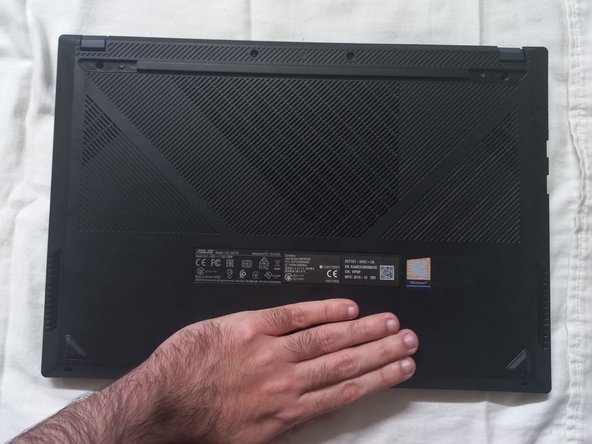
- Flip the laptop over so the bottom is facing up.
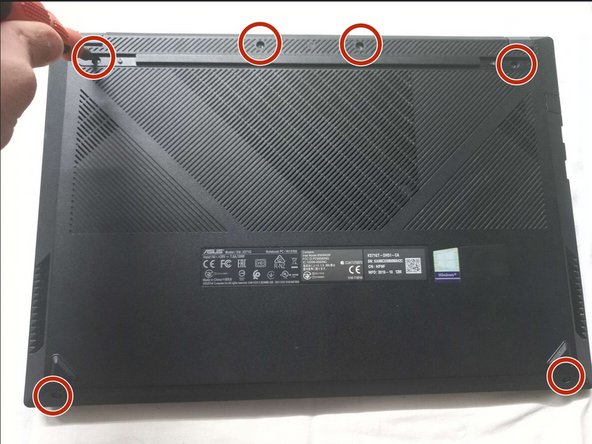
- Use a spudger to gently pry off the two screw covers just below each hinge.
- Don't rip them when removing, as you will need them for reassembly.
- Use a Phillips #00 screwdriver to remove the six 5 mm screws on the back case of the laptop.
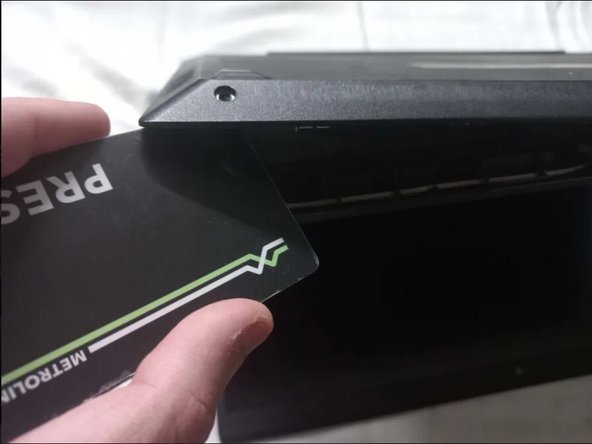
- Insert an opening tool or plastic card into the thin seam between the back case and the device.
- Slide the plastic tool around the perimeter of the laptop to release the clips/connectors.
- Do not pull the back case off without releasing the clips first, as they can break off.
- Use a piece of tape to help you lift up the back panel initially, so that you can easily insert your plastic tool.
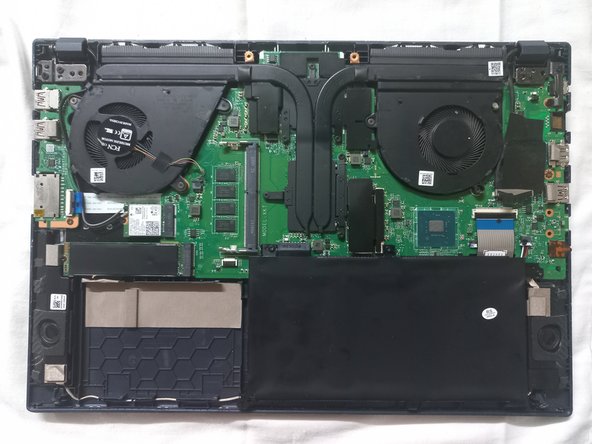
- Remove the back case to reveal the internals of the laptop.
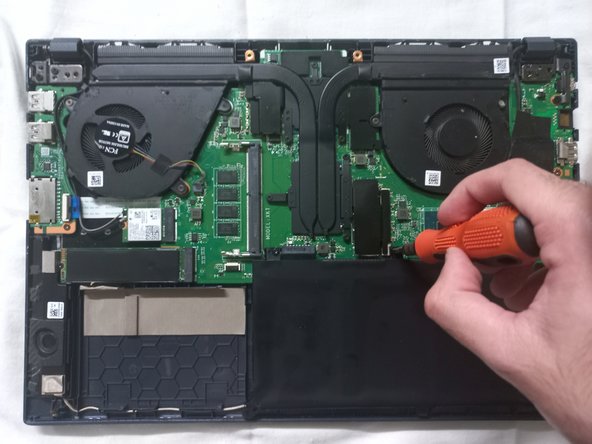
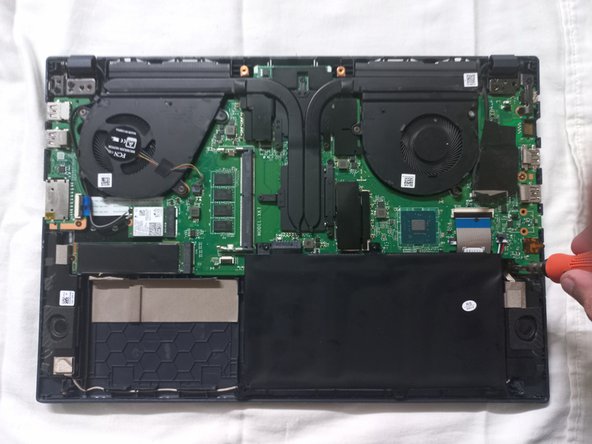
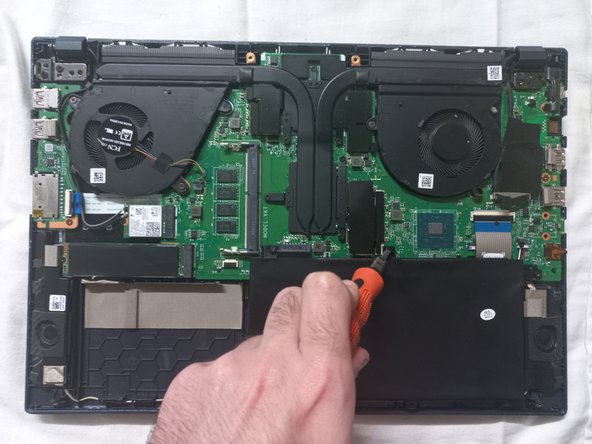
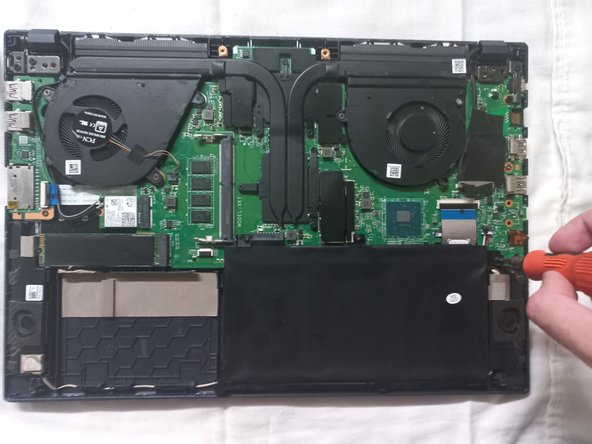
- Use a Phillips #00 screwdriver to remove the three 5 mm screws securing the battery.
- Be cautious when handling the battery, if the battery appears swollen or is damaged consult this guide.
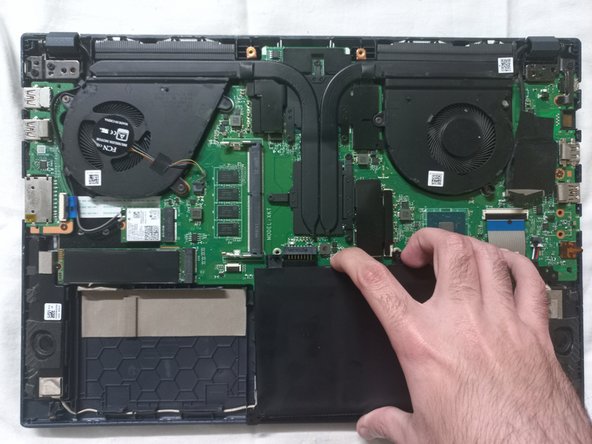
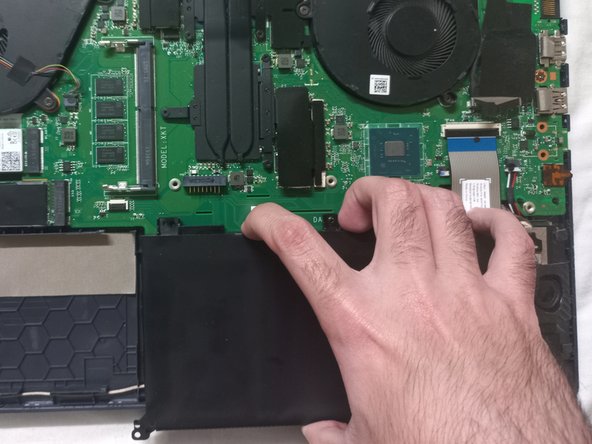
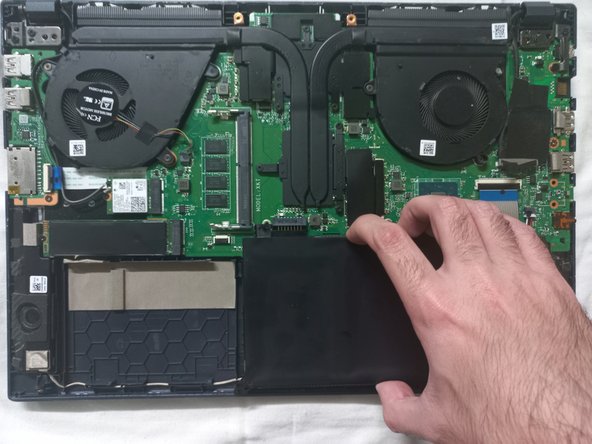
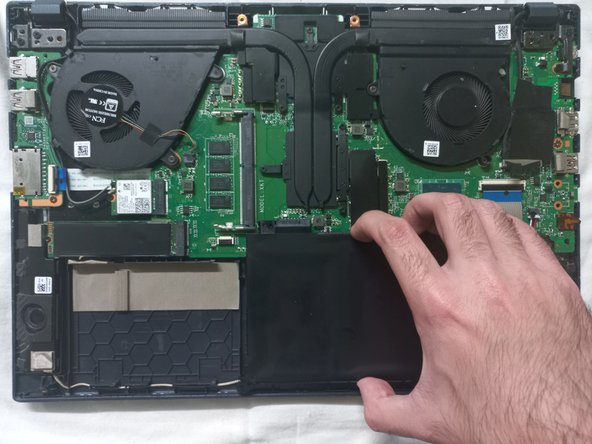
- Slide the battery out of the connector to disconnect it from the motherboard.
- Make sure you do not damage any connector pins or the battery. Do not bend the battery while removing it from the laptop.
- Line up the new replacement battery with the connector pins, and slide it into place.
- Make sure that you have lined up the pins correctly. Once again, do not bend the battery in any way.
- Carefully connect the battery to the socket on the motherboard to prevent bending or damaging the pins.
- Use a Phillips #00 screwdriver to replace the three 5 mm screws that secure the battery.
- Do not overtighten the screws to avoid stripping them in the future.
- Replace the back cover.
- When reattaching the back panel make sure to gently press it in on all edges until you here it click into place.
- Use a Phillips #00 screwdriver to secure the six 5 mm screws on the back case.
- Reattach the two screw covers.