KBD65 Circuit Board Replacement
ID: 169551
Description: Does your keyboard no longer function the way...
Steps:
- Place the silver brackets of the keycap removal tool under the keycap and pull up to remove it from the keyboard.
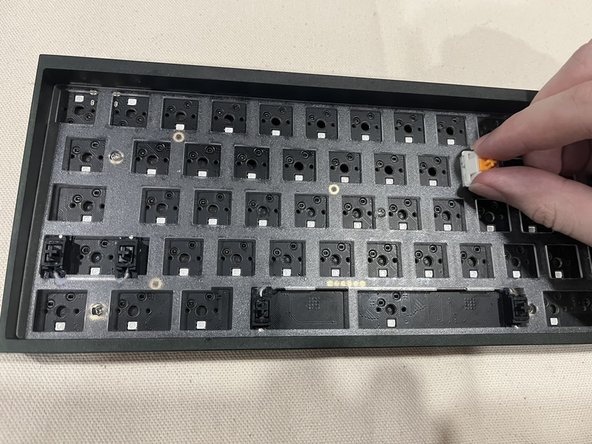
- Line up the silver claws of the switch removal tool to the white border top and bottom part of the switch. Then pinch the claws and pull straight up to remove the switch from the keyboard.
- The switches have very fragile pins that connect them to the circuit board. When removing, pull straight up and never at an angle as this could cause the pins to break off.
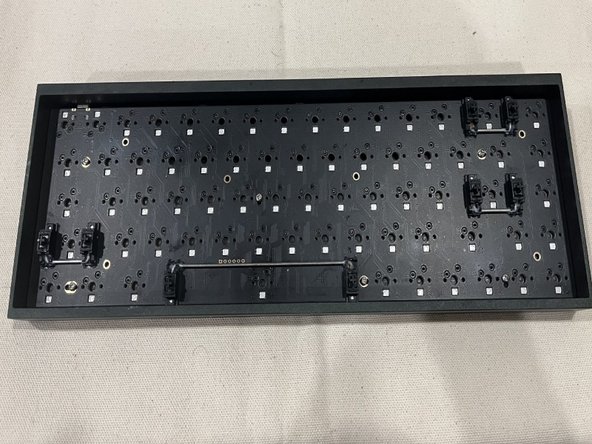
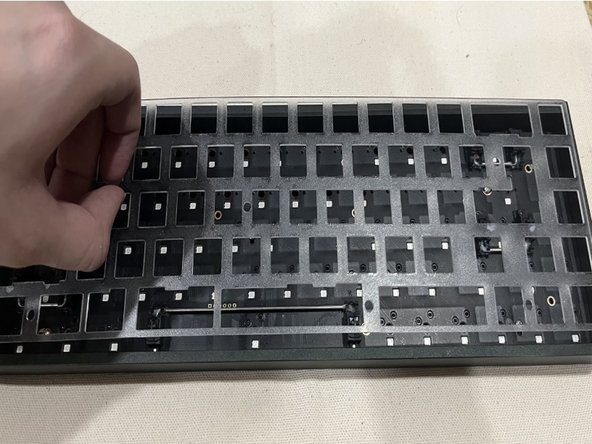
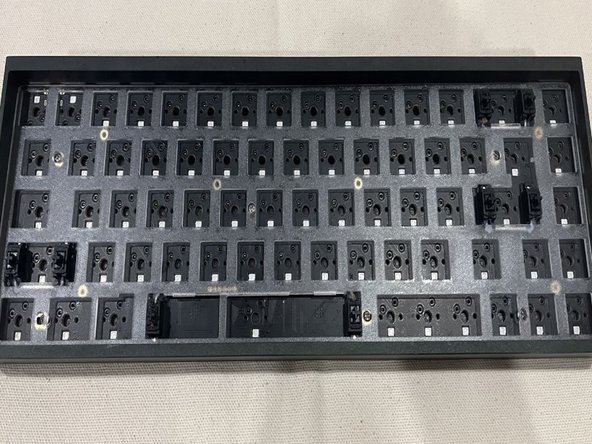
- Remove the plate over the circuit board to expose the screws that keep the circuit board in place.
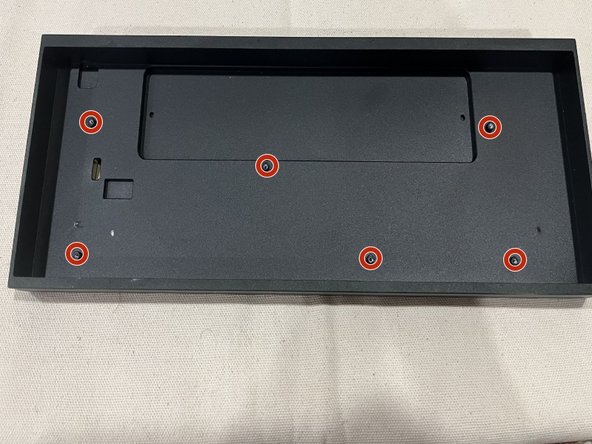
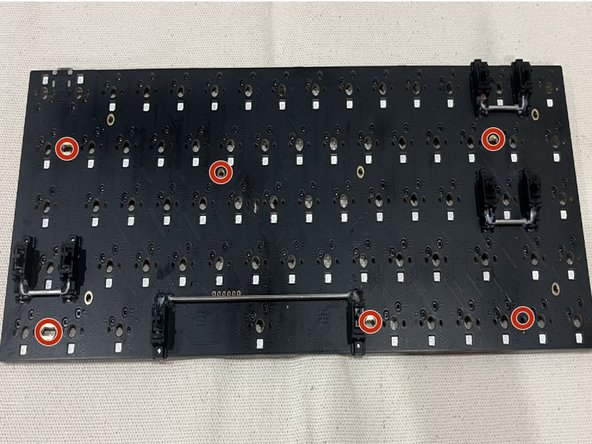
- Using a Phillips #00 screwdriver, remove all the 5 mm screws that are keeping the circuit board connected to the keyboard's case.
- Remove the old circuit board from the case and grab your new circuit board and place it into the case, lining it up with the screw mounts part of the case.
- Screw in all 5 mm screws into the silver screw holes on the circuit board using a Phillips #00 screwdriver.
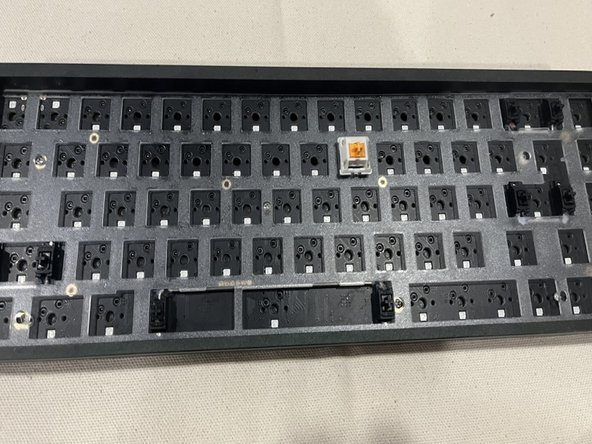
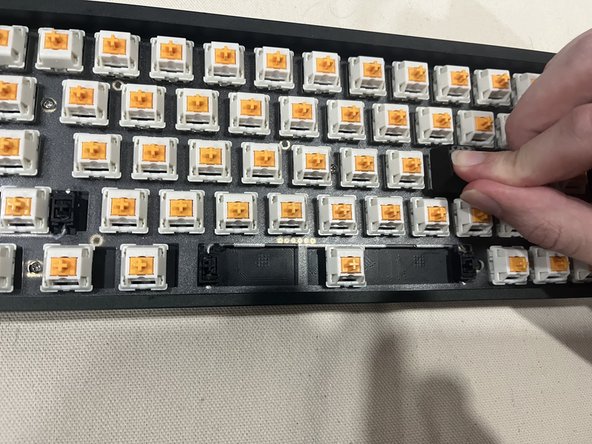
- Using your fingers put the switches back into the circuit board by lining up the switch holes on the board with the bronze pins on the switch and using a little amount of force press them down into the board until clicked.
- The pins on the switch are very fragile and can be broken easily. Make sure the bronze pins are lined up with the corresponding holes before installing.
- Line up the plus symbol inside the keycap with the orange plus symbol on the switch, and fully press down on the keycap.
- Use the photo you took earlier to help place back your keycaps in the right spots.