Lenovo ThinkPad T530 Display Replacement
ID: 169594
Description: This simple guide will help you replace the...
Steps:
- Ensure that the laptop is disconnected from the wall charger, and that the laptop is entirely powered off before following any of the steps below.
- Flip your laptop upside down, so that the keyboard is facing down.
- Locate the latch located on the battery near the top of the laptop.
- Using your finger, slide the latch to the right-most (Unlocked) position.
- None of this should require an exhuberant amount of force.
- You can now pull the battery away from the laptop. When pulling the battery out, ensure to pull it out straight.
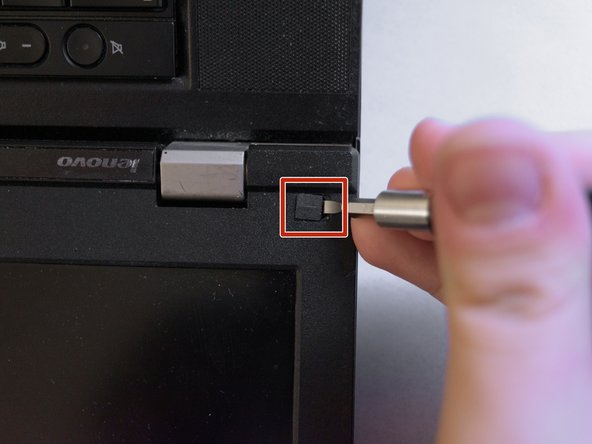
- Using a prying tool, such as a guitar pick, flathead screwdriver or your fingernail, peel the three covers highligted in red off.
- Failure to both disconnect the laptop from any power sources and removing the external battery will result in the backlight fuse burning, which is difficult to remove.
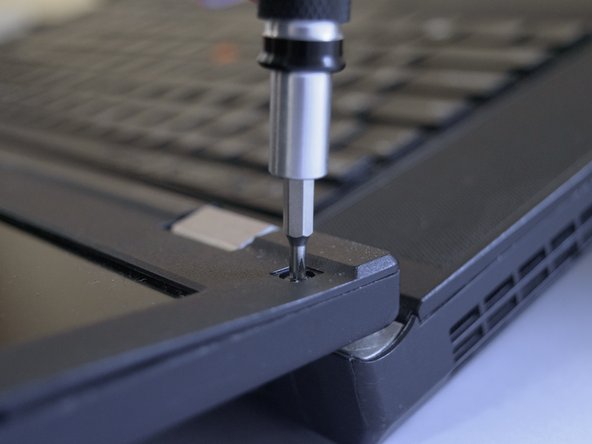
- Using a Phillips #00, take out the three screws highligted in red that were under the screw covers.
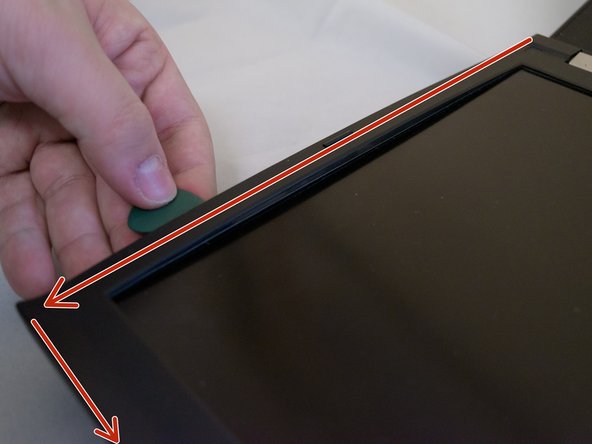
- Using a guitar pick, flathead screwdriver, or your fingernail, stick your tool of choice in the gap between the bezel and the housing of the display.
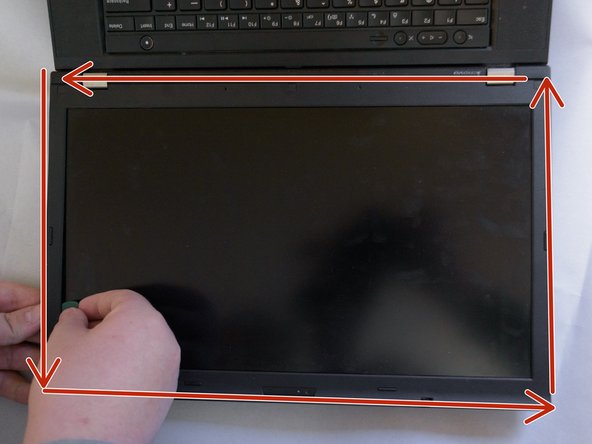
- Pry the gap open all around the bezel.
- Using your tool of choice, pry the bezel up and away from the display.
- Be careful as you do not want to damage the clips.
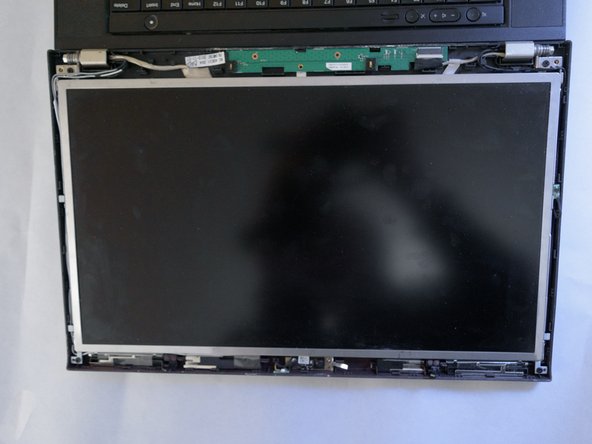
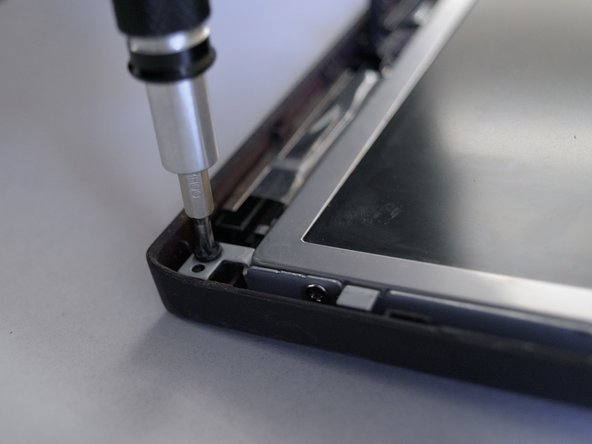
- Using a Phillips #00, remove the two screws highlighted in red.
- Pay extreme attention to not puncture, cut or disconnect any of the cables.
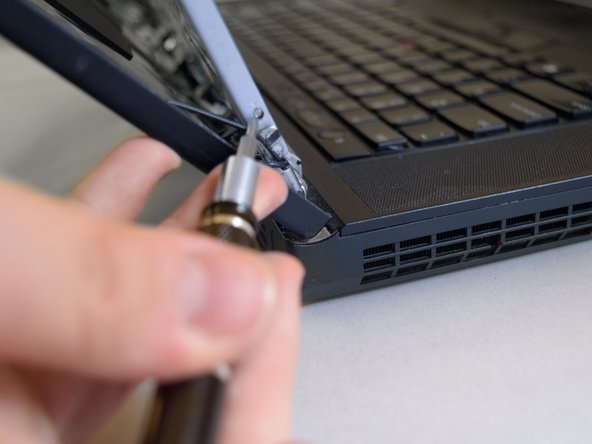
- Remove the four screws using a Phillips #00, there are two pairs of the two highlighted screws.
- Once two of the four screws are removed, hold the bottom side of the screen with your hand, as the screen could fall down due to it being unsecured.
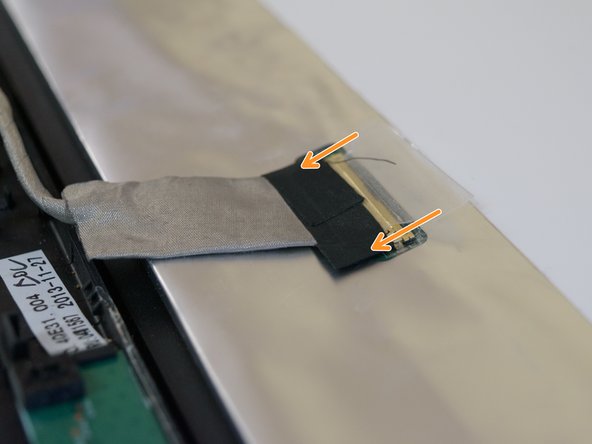
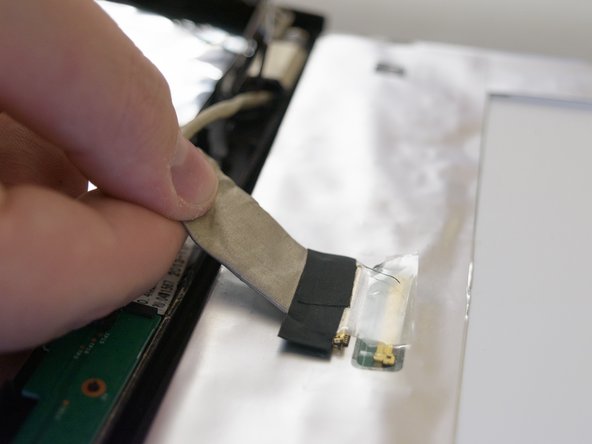
- Remove any tape that is covering the ribbon connector, which is located at the bottom of the panel.
- Using your finger, gentlly disconnect the ribon cable.
- You should not need to apply very much force to disconnect the ribbon cable.