Acer Aspire A515-47 Thermal Paste Replacment
ID: 169690
Description: This is a guide to Change your Thermal Paste of...
Steps:
- First things first,use a small screwdriver to loosen the screws
- After you have done that,take out the screws and put them somewhere where you wont lose them
- Now use something to pry open the back case of the laptop carefully.If you hear pops,dont worry,its normal.It may be difficult at first.
- After you have pried open the case,remove it and put it somewhere safe where it wont bother you
- Make sure your Laptop is turned off.You dont want to get electrocuted and/or cause problems to your laptop,do you?Also,make sure that nothing is in the ports of the laptop for safety reasons
- Alright,good job.Now use your screwdriver to lossen and take out the 3 screws from the heatsink.Make sure you put them somewhere where you wont lose them
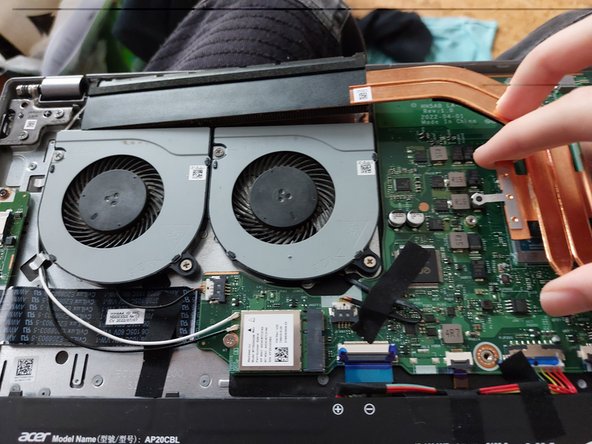
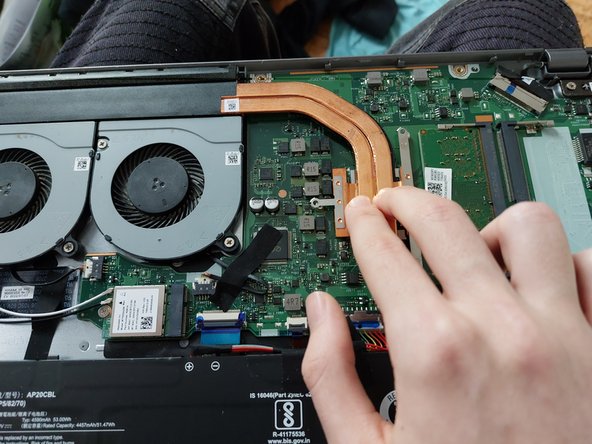
- Nice.Now all you have to do is to take the heatsink out.Just take it from the top (See picture 1),lift it up a bit and then take it out.You can see this in the pictures
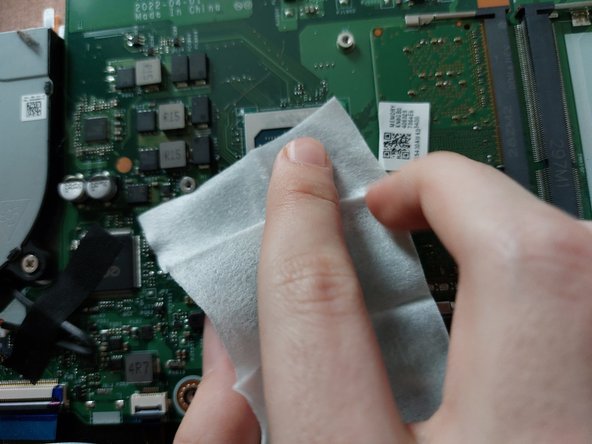
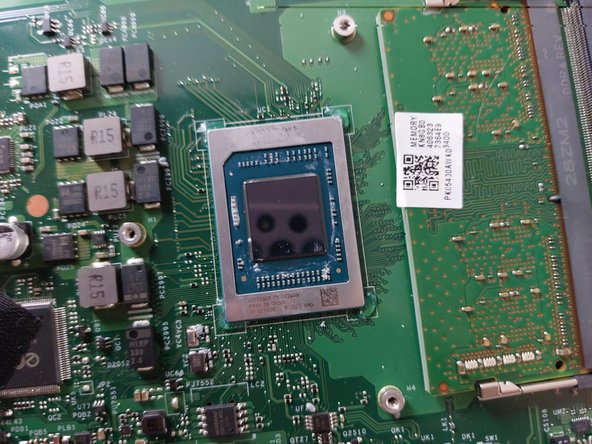
- Good Job.You are halfway there.Now,take a wet wipe and wipe the thermal paste off the CPU
- If there is Thermal Paste around the CPU,take a toothpick and scrape off the Thermal Paste.Be careful to not destroy a fuse
- Dont take a napkin or a cloth and wet it with water.Otherwise,your laptop will be waterlocked (Defective maybe beyond repair).Use a wet wipe like I use in picture 2
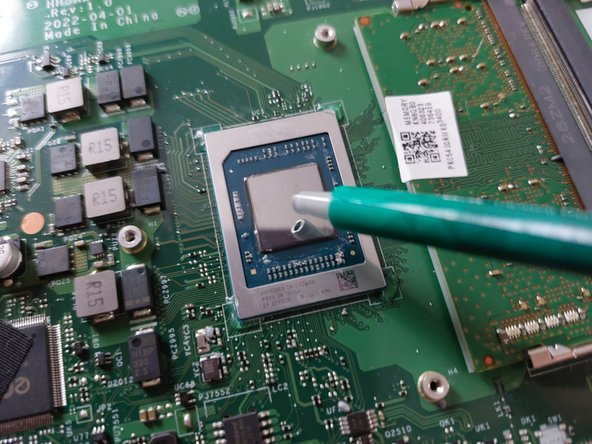
- Well,after you cleaned off the Thermal Paste,its time to apply it.If the Thermal Paste has a plug,just remove it
- Now,put the tip of your Thermal Paste on your CPU,or put it just above the CPU.
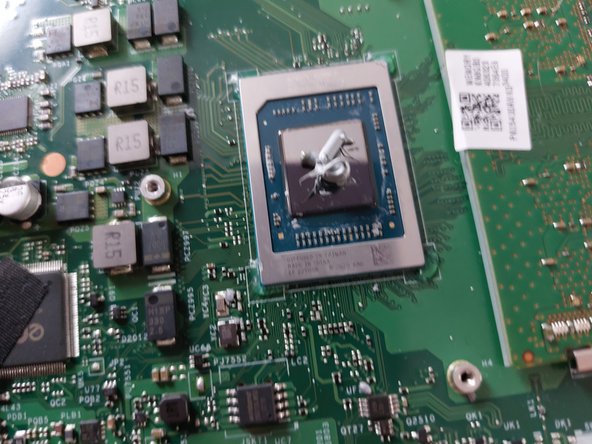
- Here,you have 2 options.You can put a dot,or you can make an x (like how i tried to make it).The way you put it does not affect anything,just as long as its on the CPU
- Congrats,you applied the new Thermal Paste.Now,to make this guide short,its just what we did,but in reverse.But here is the detailed assembly
- First,put the grid part of the heatsink in its designated place
- Now,make sure the part of the heatsink that goes over the CPU is over the CPU and the Screw Places are aligned with the holes where the screws are placed
- Make sure to apply a bit of pressure over the CPU so that the Thermal Paste can spread over the CPU (Like picture 3)
- Now that you have done that,put the heatsink screws back in their place and tight them up so that the Heatsink wont get loose and create problems
- Well,here we are,the last step.All you have to do here is to put the Back Case back and put the Screws back and tight them up so that the Back Case wont fall off