Logitech G402 Left and Right Mouse Buttons Replacement
ID: 169700
Description: This guide is for the purpose of replacing the...
Steps:
- Remove the adhesive mouse skates from the bottom casing.
- Remove the five 1.2 mm screws using a Phillips #00 screwdriver from the bottom of the mouse.
- Separate the top casing from the bottom.
- Remove the two case screws using a Phillips #00 screwdriver.
- Remove the single 1.2 mm screw from the middle of the circuit board using a Phillips #00 screwdriver.
- Remove the perpendicular circuit board containing the side buttons.
- Remove the remaining 1.2 mm screws under the removed board and next to the mouse buttons using a Phillips #00 screwdriver.
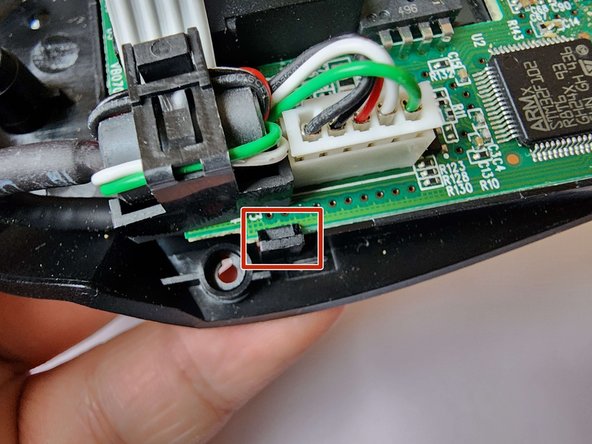
- Pull back the plastic clip and lift the circuit board out of the bottom casing.
- Separate the wire from the bottom casing by pulling the wire out.
- You can access the iFixit guide to soldering and desoldering here.
- Please be cautious when using a soldering iron. Soldering irons can reach several hundreds of degrees in temperature and improper use may result in a burn.
- Please perform soldering and desoldering in a very well ventilated space. Solder containing lead can potentially be toxic and be an irritant. Solder and desolder outside or in the presence of a fume hood or fume extractor.
- The solder connections for the left and right buttons are labeled in the second picture.
- The solder connections circled in red are for the left mouse button.
- The solder connections circled in orange are for the left mouse button.
- Solder the replacement button onto the circuit board.
- Make sure the metal contacts are not bent and are touching the soldering contacts before soldering.