jp.ik Leap T304 LCD Replacement Replacement
ID: 169725
Description: You must first follow the instructions on how...
Steps:
- First make sure the notebook is turned off and check if you have the necessary tools.
- All screws are identified by circles. Pay special attention to the red circles as the rubber covers hide the screws.
- With an utlility knife remove all the screw covers.
- For this action, the procedure must be carried out with caution, as the covers are glued with a resistant glue.
- Remove all screws with a Philips PH1 screwdriver
- All screws are the same, don't worry about identifying them.
- Using the plastic tool, insert it between the plastic and open it carefully.
- You will feel and hear several clicks, which are perfectly normal. Remove the rear LCD Cover completely.
- Unscrew both hinges.
- All screws are the same, don't worry about identifying them.
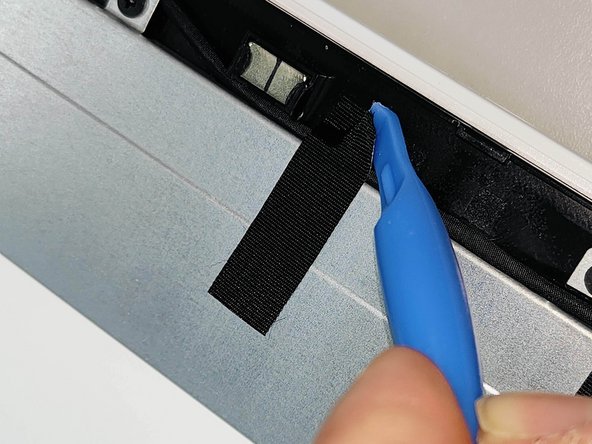
- Carefully disconnect the cable identified in the figure, removing it from its connector.
- Remove the mylers shown in the image.
- Peel off and remove the Wireless antennas
- Before removing the wireless antennas, the cable route must always be analyzed to ensure that the antennas will be correctly replaced in their original position.
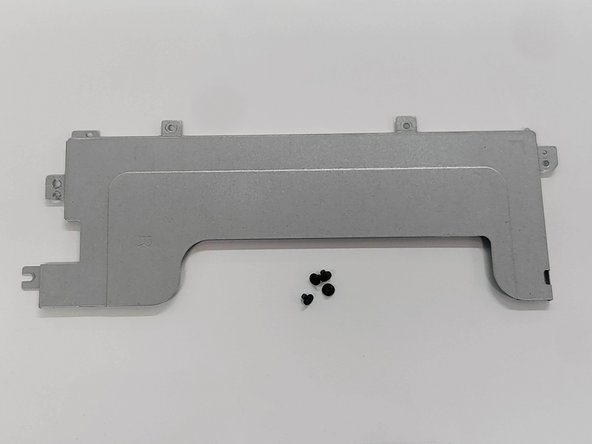
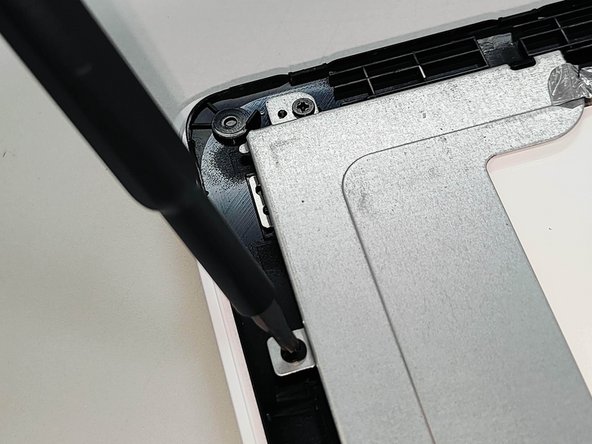
- Remove the left and right LCD Bracket.
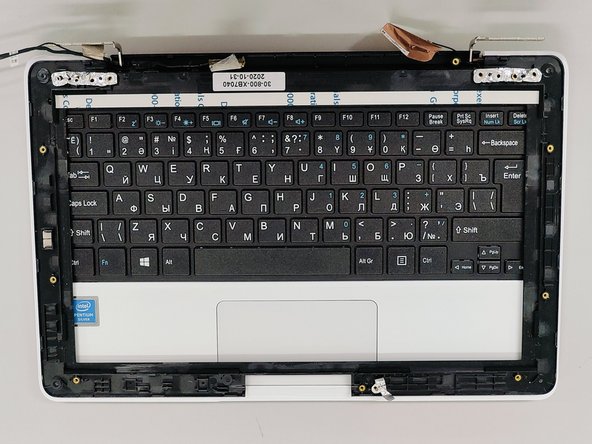
- Remove the LCD from the Bezel.
- To reassemble the LCD module, you must perform the previous steps in reverse.
- After replacing the LCD, always check if flat cable is correctly connected and the protection tape is stuck in the original position.