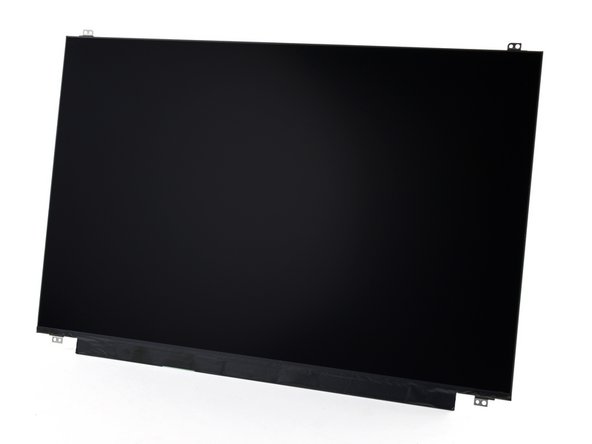
Framework Laptop 16" Display Replacement
ID: 169747
Description: Use this guide to replace the display in your...
Steps:
- Unplug all cables and fully shut down your laptop.
- If your repair requires a spudger, a T5 Torx, or a Phillips screwdriver, you can use the included Framework screwdriver. Whichever works best for you!
- The bezel is secured with magnets!
- Slide your fingernail under the inside edge of either bottom corner of the bezel.
- Pull the bezel away from the screen to release the first few magnets.
- Lift the bezel around the perimeter of the screen until all of its magnets are released.
- Remove the bezel.
- Use a T5 Torx screwdriver to remove the four 2.4 mm‑long screws securing the display.
- During reassembly, support the screen frame with your other hand as you reinsert screws to prevent the laptop from accidentally tipping over.
- Grab the display and pull it straight off the screen frame to free it from its alignment pegs.
- Don't pull the display too far from the frame, as it's still attached by a cable.
- Flip the front of the display down and rest it on the keyboard.
- Use your fingers to flip up the plastic tab and access the connector underneath.
- Use the flat end of a spudger to lift up the metal locking tab over the display connector.
- Grip the display cable where it meets the connector head.
- Slide the connector straight out of its socket to disconnect it.
- Remove the display.