Disassembling Netatmo Outdoor Camera Main Unit
ID: 170587
Description: My camera stopped working, and technical...
Steps:
- Remove the plate at the bottom of the camera by inserting a screwdriver in the slot, and bending while pulling.
- The panel will lift up and can be removed.
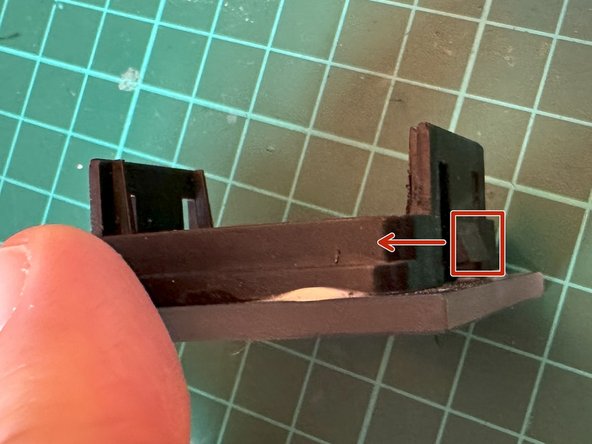
- Insert a flathead screwdriver into each hole at the front of the camera and push the two tabs to the centre and forwards.
- It's hard to see, but you need the triangular part at the front, rather than what appears to be a tab at the back.
- Pushing towards the centre allows the lens cover to come off. These can be done one at a time.
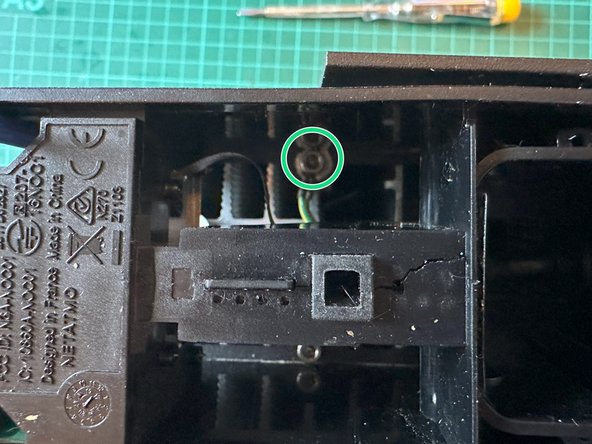
- Remove the six 2.5mm hex screws using a long Allen key.
- One screw has an earthing ring wire. Don't forget this when reassembling.
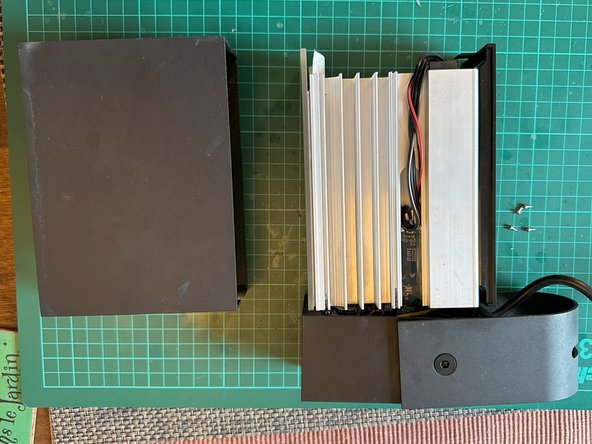
- Separate the two pieces by pulling slightly on the lower module.
- Pull the metal housing forward.
- Pushing the light from the inside can help in removing the shell.
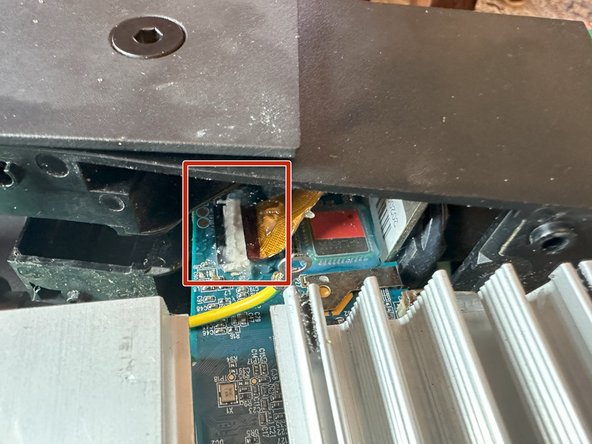
- Using a 1.5mm hex screwdriver remove the four screws holding on the camera module.
- From this point the housing can be worked up and diagonally to reveal the circuit board, and ribbon cable.
- Be careful with both the camera module ribbon and the one for the LED lights (which cannot be removed).
- Do not slide the circuit board within the heatsink otherwise you risk ripping the LED ribbon cable.