Lenovo Legion Y520-15IKBN Heatsink Replacement
ID: 170597
Description: This is the comprehensive guide for replacing...
Steps:
- Shut down and unplug your device before proceeding.
- Remove the thirteen 6.5 mm screws from the base plate using a Phillips #00 screwdriver.
- Flip the laptop on its side and wedge a spudger between the base panel and chassis, then pry around the perimeter until the base panel releases.
- To get a better grip you may want to open the laptop slightly.
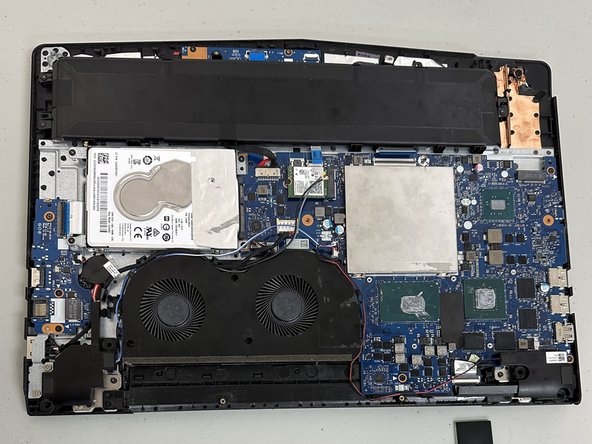
- Lift the bottom panel off of the chassis.
- During reassembly, make sure that the bottom panel clicks back into place on all four sides of the laptop.
- There is a piece of plastic covering part of the RAM and the fan. You will need to remove this to get to the fan.
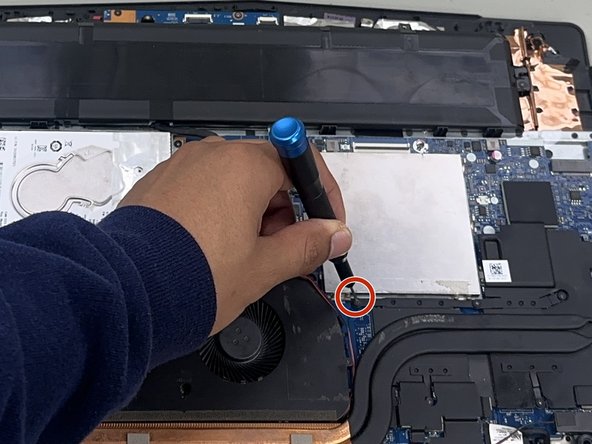
- Unplug the battery then, you will need to remove the four 4 mm screws around the fan using a Phillips #00 screwdriver.
- Unscrew all the screws then unplug the wires connected to the fan.
- Once all the wires are unplugged from the fan, move the wires aside to get the fan.
- Lift the fan out of the laptop body.
- Use a Phillips #00 screwdriver to remove the five 6.5 mm screws securing the heat sink.
- Use a spudger to gently pry the heatsink from the board.