Dell Precision 7560 Touchpad Replacement
ID: 170605
Description: Use this guide to replace a malfunctioning or...
Steps:
- The screws holding the back cover in place can not be removed.
- Use a Phillips #0 screwdriver to loosen the the eight 5 mm captive screws in the bottom cover.
- Remove the back cover by lifting at the corners.
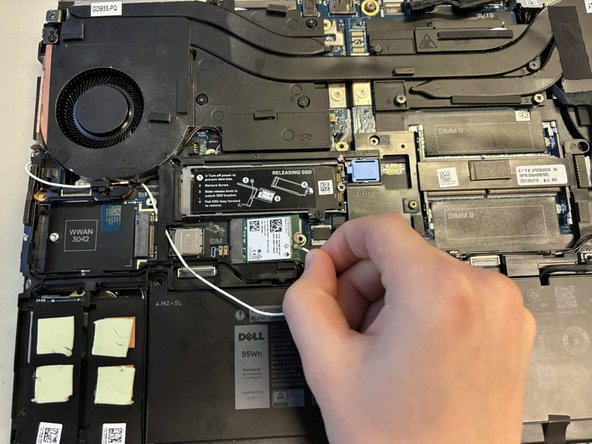
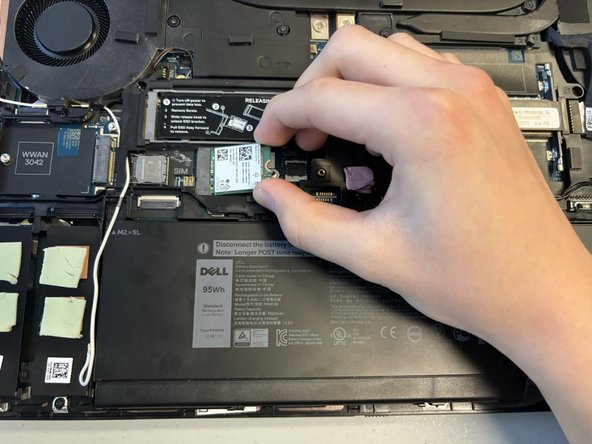
- Unscrew and remove the five 2 mm screws that secure the battery.
- Locate the battery connector.
- Pull the connector towards you to disconnect it.
- Use your fingers or a plastic opening tool to pry the battery up and remove it from the laptop.
- Loosen the eight captive screws that secure the fan assembly using a Phillips #0 screwdriver.
- Lifting from the bottom, carefully remove the fan.
- Remove the 5 mm screw holding the Wi-Fi card in place using a Phillips #0 screwdriver.
- Remove the metal overlay.
- Disconnect the wires attached to the Wi-Fi card.
- Remove the Wi-Fi card.
- Remove the 2 mm screws holding the metal frame in place using a Phillips #0 screwdriver.
- Remove, carefully and completely, any wires running over the frame.
- Lift the metal frame.
- Flip up the metal edge holding down the SD connection.
- Gently pull to disconnect the metal connecting wire.
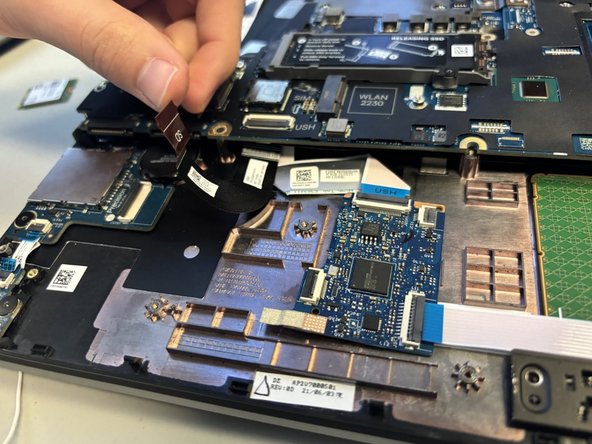
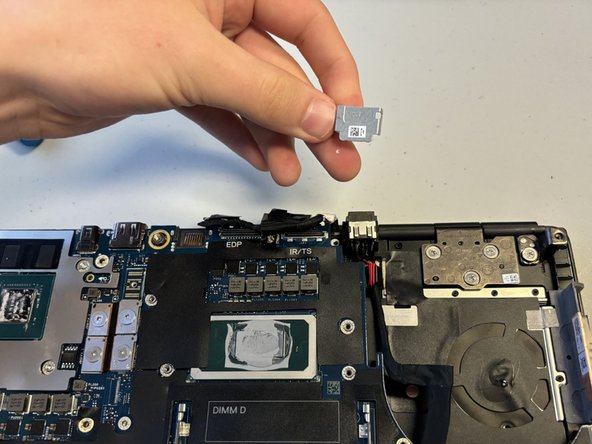
- Remove the 5 mm screw holding the metal cap over the wire connection using a Phillips #0 screwdriver.
- Remove the metal cap.
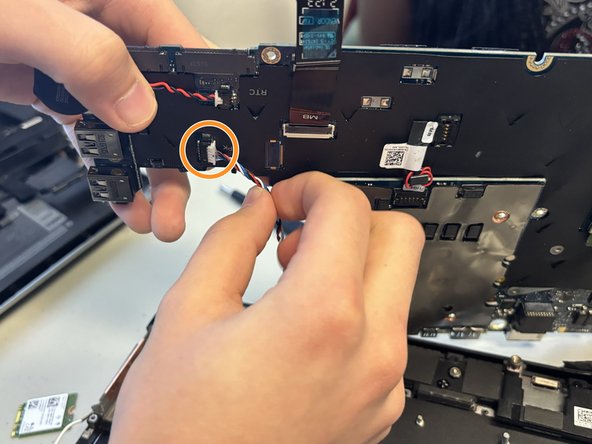
- Disconnect the wire bundle.
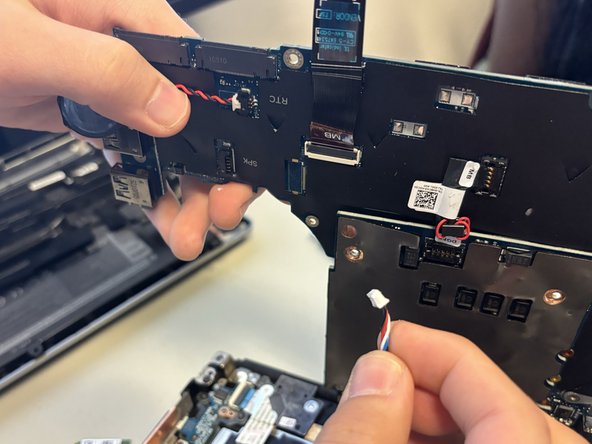
- Using a Phillips #0 screwdriver, remove the eight 2 mm screws holding the motherboard.
- Carefully remove the speaker wire from the motherboard.
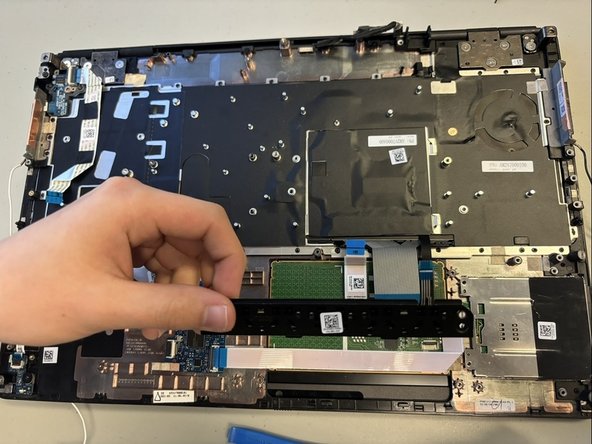
- Using both hands, carefully lift and remove the speaker.
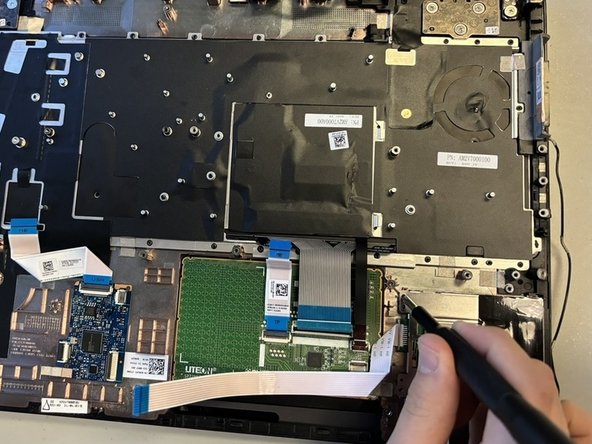
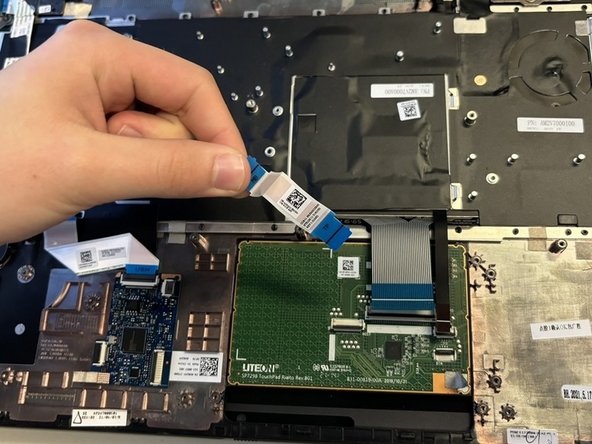
- Gently remove and disconnect the connecting strip from the touchpad.
- Remove the two 2 mm screws using a Phillips #0 screwdriver.
- Remove the black tab from the bottom of the touchpad.
- Lift up the white connecting strip with your finger.
- Using a Phillips #0 screwdriver, remove the two 2 mm screws.
- Remove the metal bracket.
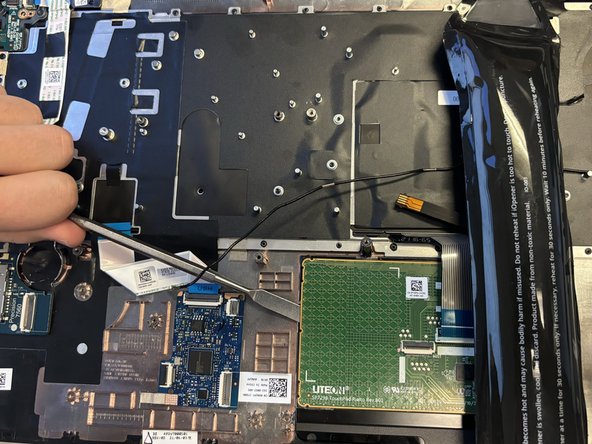
- Detach the blue and white connecting tab using an opening tool.
- Warm all sides of the touch pad using an iOpener to loosen the glue.
- Lift the warmed up sides with a metal spudger.
- Use your fingers to take out the touchpad.