Lenovo Ideapad 320-17IKB Touchpad Replacement
ID: 170654
Description: This guide shows you how to replace a Lenovo...
Steps:
- Turn off and unplug the computer.
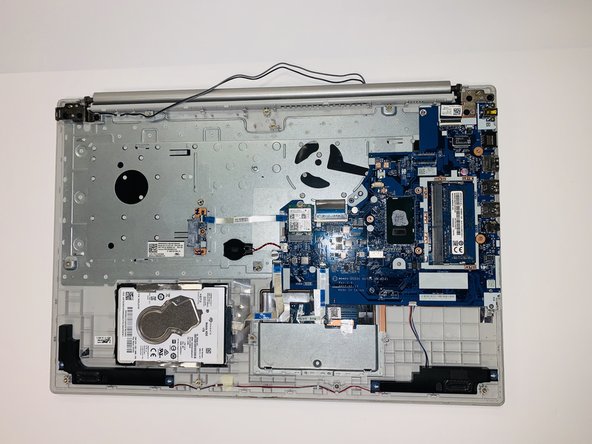
- Flip the laptop over so that the back panel is facing upwards.
- Remove fourteen 7mm Phillips #00 screws from the back panel.
- Carefully remove the optical drive by pulling the bezel away from the laptop.
- Use your fingers or an opening tool to gently remove the back panel from the bottom of the laptop.
- Lay both sides of the laptop next to each other.
- Remove five 7mm Phillips #0 screws from the battery holder.
- Pinch the connecting cord with one hand and pry the battery connector with the other hand, while gently pulling the connector straight out and towards the bottom edge of the base.
- When removing the battery, use care to keep it flat and do not open the battery because it can result in fire or explosion.
- Remove five 7mm Phillips #00 screws from the cooling fan.
- Gently lift the fan assembly out of the laptop.
- Gently remove the connecting wires from the exterior of the fan by slowly "weaving" the cord between the ridges of the fan.
- Gently lift and remove the heat sink and set it aside.
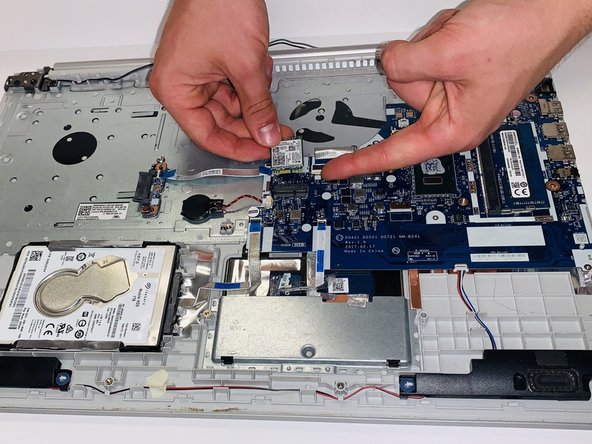
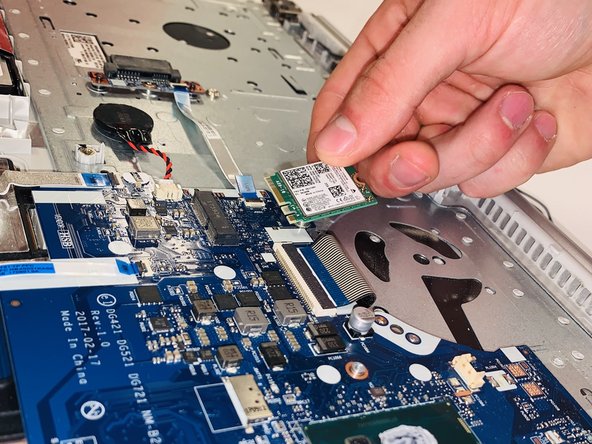
- Remove the single 3mm Phillips #0 screw from the Wi-Fi card.
- Pull the Wi-Fi card straight out of the laptop.
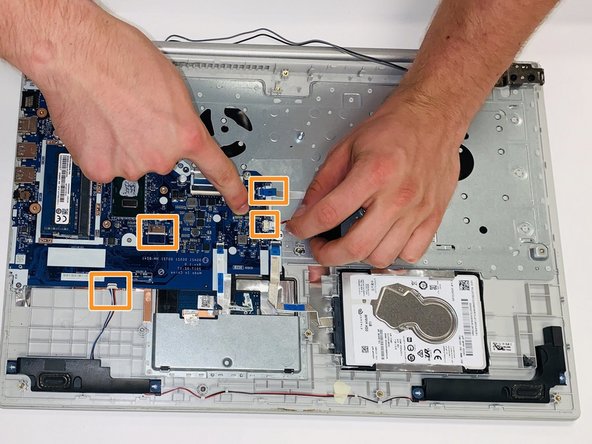
- Gently pull the blue ribbon marked with "MB" connectors.
- Gently remove the other connectors in the picture by pulling them straight out.
- Blue connectors encased in a black holder may require tweezers to unclasp the connector for removal.
- Using a Jimmy, gently pry the motherboard from under the corner screw holder with one hand and pull the motherboard out with the other.
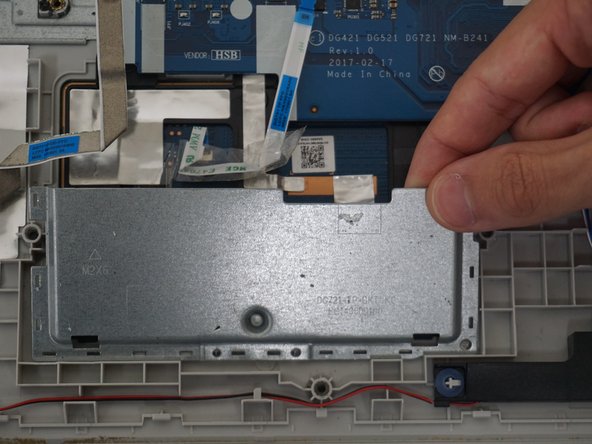
- Use a Jimmy or opening tool to pry and and release the clips that secure the touchpad cover.
- Soldering/glue is required to reattach this part.
- Remove the touchpad cover.
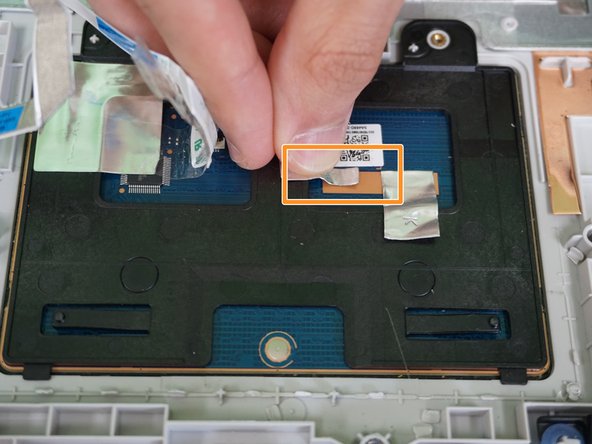
- Use a Phillips #0 screwdriver to remove two 2.42 mm screws from the top of the touchpad.
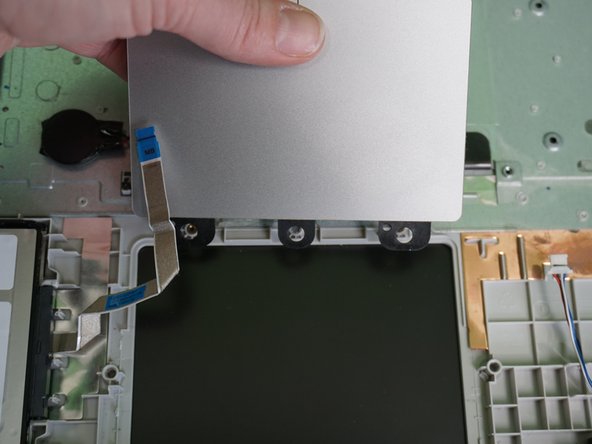
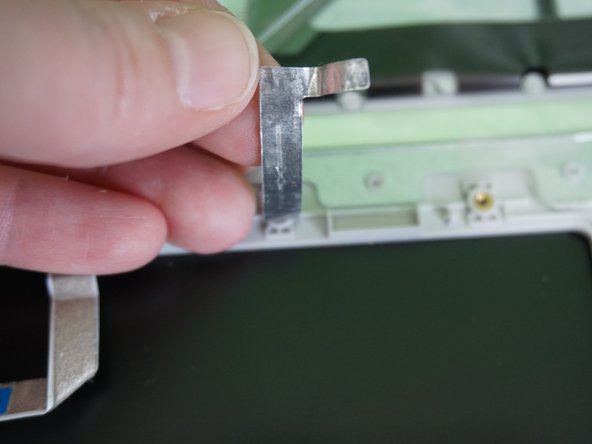
- Peel off the ribbon cable from the touchpad, which is attached with adhesive.
- Lift the touchpad from the bottom to remove it.
- When you've replaced your touchpad, remember to reattach the ribbon cable as it will not function without it.