Illuminated Light Switch Replacement
ID: 170677
Description: It may come in handy to know how to replace or...
Steps:
- Turn off the power/circuit breaker.
- You can also turn off the power of the entire house/or building.
- Turn off the power switch where you will be working.
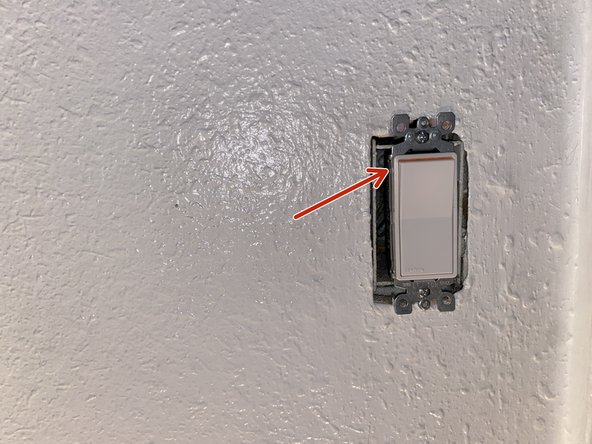
- Remove the screws using a Phillips screwdriver to dismount the switch from the wall.
- Use a circuit tester to test and make sure that the power is off. Use both ends of the circuit tester and go into the side of the switch into the wall. Connect the pointed ends of the tester and touch them to the screws attached to the side of the switch.
- If your tester does not light up that means there is no power.
- Make sure there is no electricity using your circuit tester.
- Remove the switch from the wall.
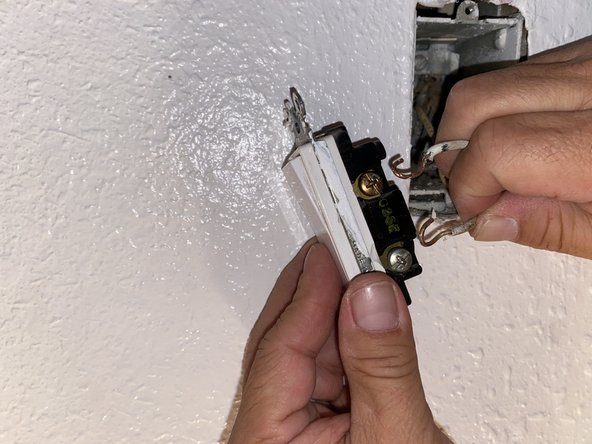
- Use a Phillips screwdriver to remove the screws that are on the side of the light switch.
- This will loosen the wires which are wrapped around the screws.
- Take the wires right off the screws like so.
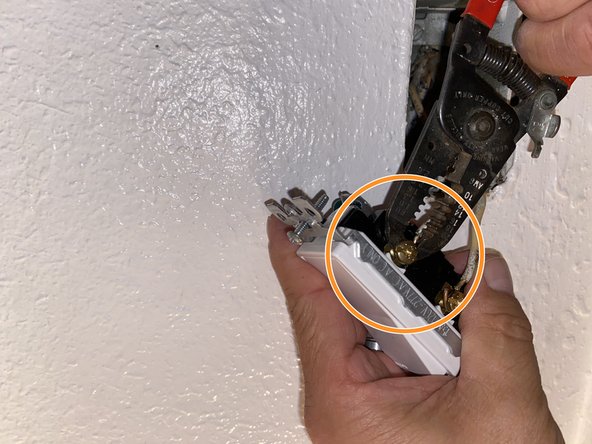
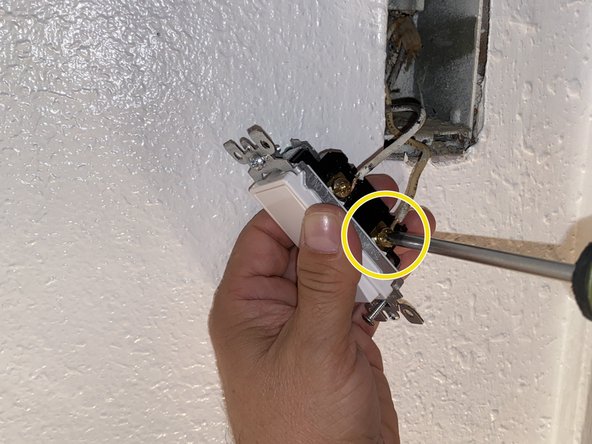
- With the new light switch, reattach the wires around the screws.
- You may need to use some wire cutters to tighten the wire around the screw.
- Use a Phillips screwdriver to tighten the wire around the screws by turning it until you feel it is not loose.
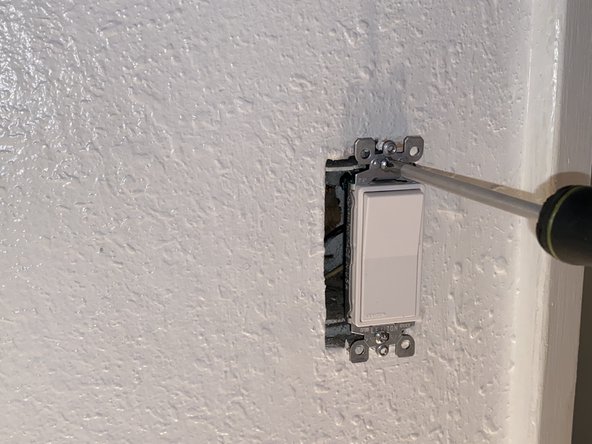
- Return the switch back into the wall.
- Remount the light switch to the wall using a Phillips screwdriver.
- Turn back on the power.
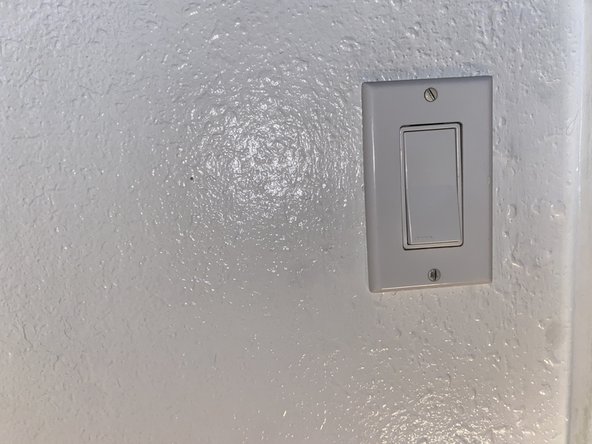
- Make sure the power is on; there should be an orange faint light coming from the switch like you see in the photo.
- Screw back on the cover with either a flathead or a Phillips screwdriver.
- Your replacement is all finished!