UTILITECH #HVT-8H Motor Replacement
ID: 170703
Description: If you have ever noticed a gradual decrease in...
Steps:
- Use a spudger to remove the screw covers.
- Pry gently to avoid breaking the clips.
- Use your Phillips #0 screwdriver to remove the 8 mm screw that attaches the fan to its stand.
- Repeat step 1 and 2 on the other side of the fan.
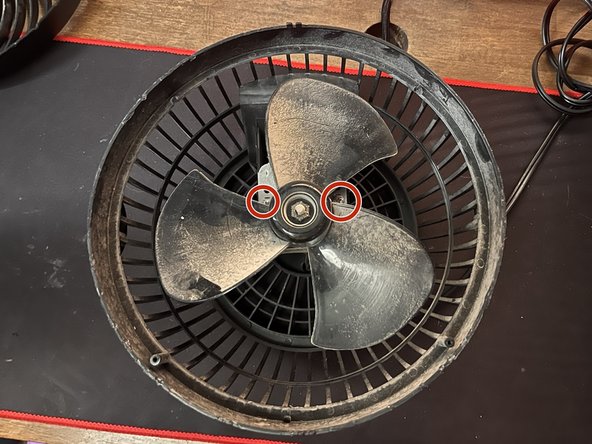
- Use a spudger to remove the silver screw cover from the front of the fan.
- Do not try to force the piece off as it could break. Instead, gently pry around the entire fan until it pops loose.
- Use a Phillips #00 screwdriver to remove the four 6 mm screws that hold the fan cover in place.
- Use a Phillips #0 screwdriver to remove the two 8 mm screws that attach the motor assembly to the base of the fan.
- Remove the power control knob by pulling on the knob backward.
- Use a 10 mm socket wrench to remove the 10 mm nut that holds the power control piece in place.
- Use a Phillips #0 screwdriver to remove the two 8 mm screws that fasten the power plug to the base.
- Cut the two black cables to release them from the motor assembly.
- Be sure to cut as closely as you can to the base of the cables so you don't lose a lot of length.
- Use a wire stripper on the black wires to expose the metal underneath the rubber.
- Strip about 13 mm from the end of both wires.
- Connect the exposed power plug wires to the new motor assembly by twisting the two exposed wires together.
- Wrap electrical tape around the newly connected wires.