8bitDo Ultimate C 2.4g Wireless Controller Battery Replacement
ID: 170717
Description: A common issue with gaming controllers is the...
Steps:
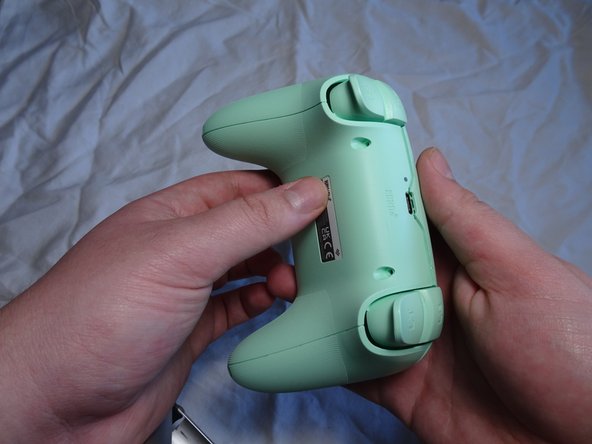
- Remove the four screws from the back cover of the controller using a T6 Torx screwdriver.
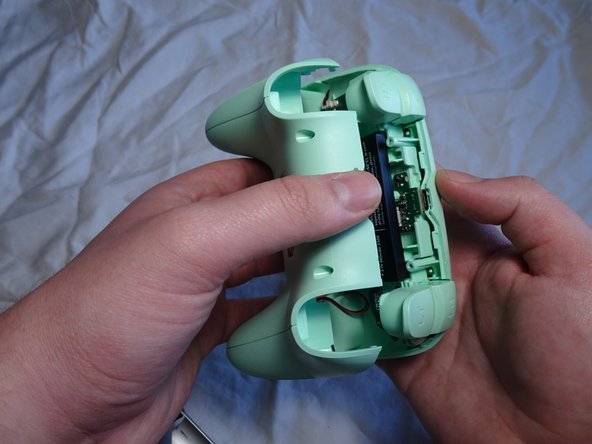
- Insert a Jimmy into the crevice of one of the controller's bottom grips and use it to follow the lining of the crevice around the whole controller.
- Opting for a plastic wedge instead of other metal tools may be a more practical choice. Metal tools may bend and cause cosmetic damage.
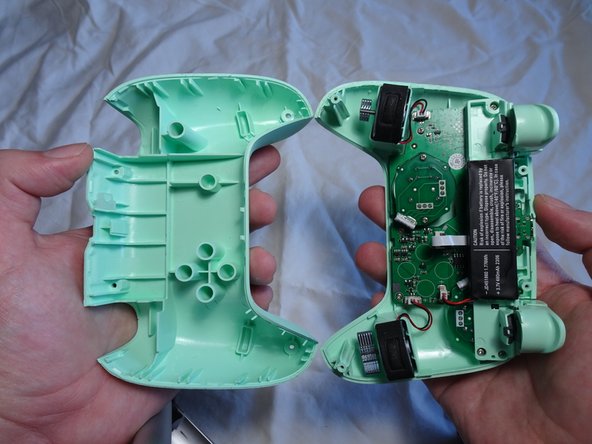
- Gently separate the front and back casing of the controller to expose the battery.
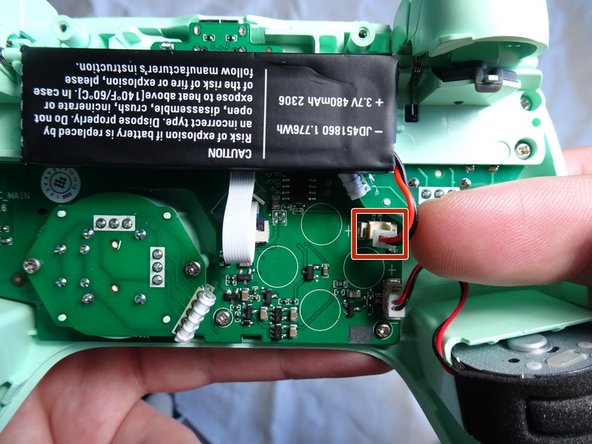
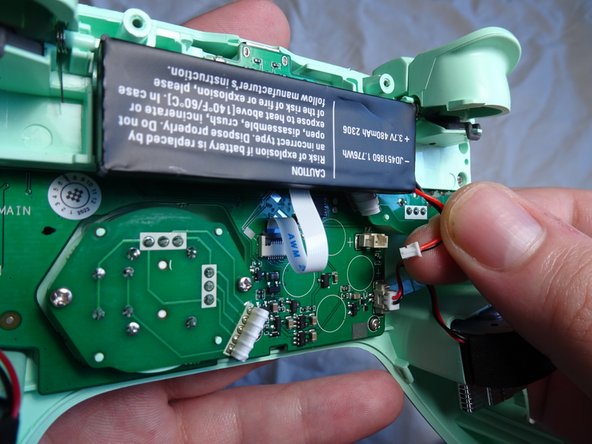
- Gently grab the white plastic front of the wire that is connected to the motherboard to detach it from its plug.
- Be sure to only unplug the wire that connects the battery to the motherboard. No other wire needs to be unplugged for this specific replacement.
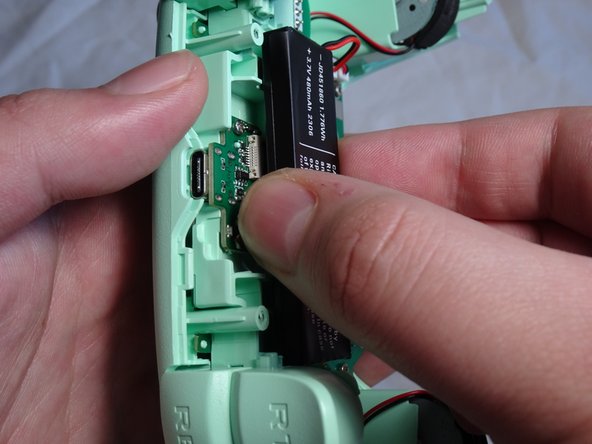
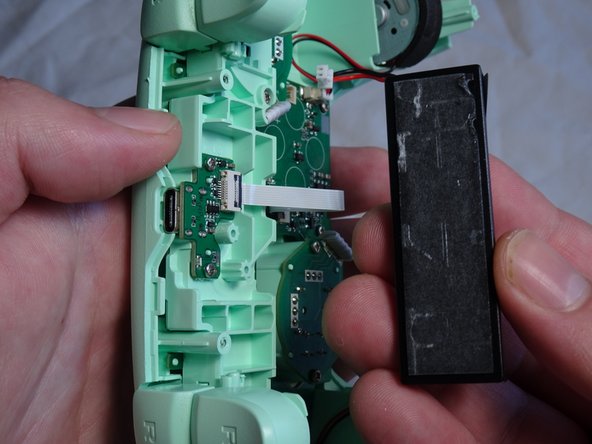
- Remove the battery from its position.
- There will be adhesive at the back of the battery that may raise concern. However, removing the battery will not damage it or the controller.
- Apply the iFixit stretch release adhesive to the back of the replacement battery and place the new battery in the same spot as the old one.
- Make sure to plug in the new battery's wire into the controller's motherboard.