How to Replace a Tack Back Button for Jeans
ID: 170727
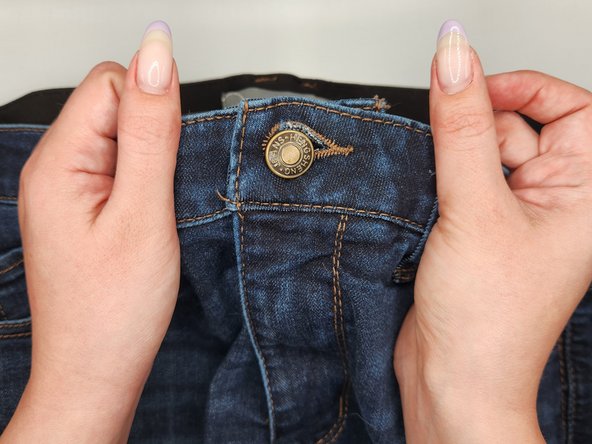
Description: If you've ever had the button of your jeans...
Steps:
- Grip one side of the button with your hand and use the needle-nose pliers to pull on the other side to separate them.
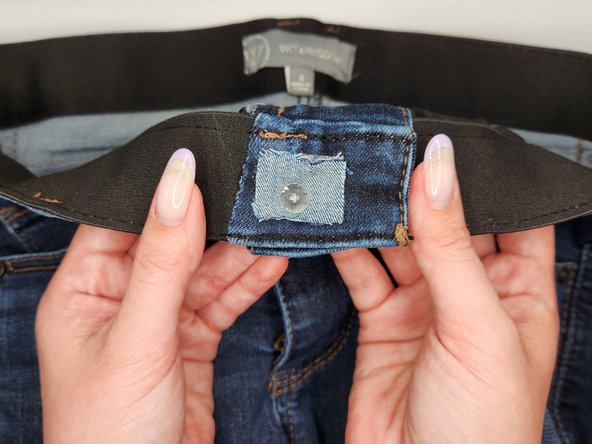
- If you have issues separating the two parts with the above technique, carefully wiggle the button out through the frayed stud hole.
- You may need to cut it loose from attached threads.
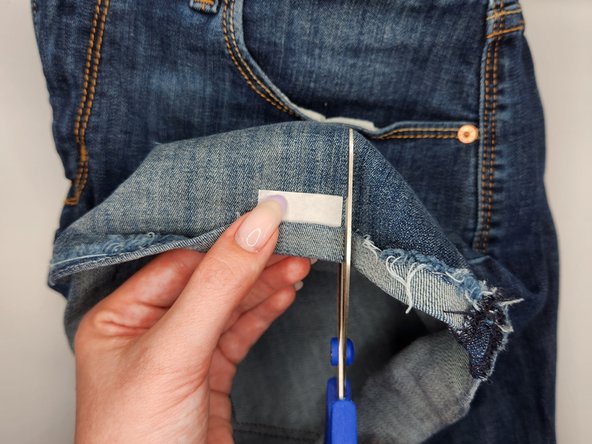
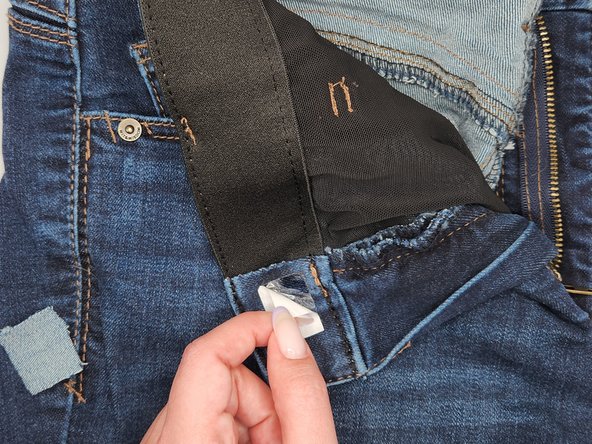
- Cut about an inch or so of adhesive tape—enough to cover the frayed hole but still big enough to work with easily.
- The fabric adhesive tape used in this guide is the HeatnBond UltraHold Iron-On Adhesive (7/8 inch x 10 yards). This is similar to hemming tape but they are not the same product.
- Make sure that the fabric tape you cut is long enough to cover the hole, with extra length so it's easy to manipulate.
- If the size of the piece of tape you cut is too short, cut a new piece and try again. If the piece you cut is too long, shorten it accordingly.
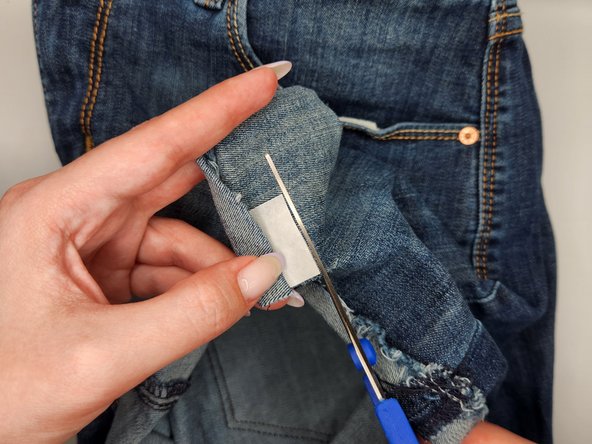
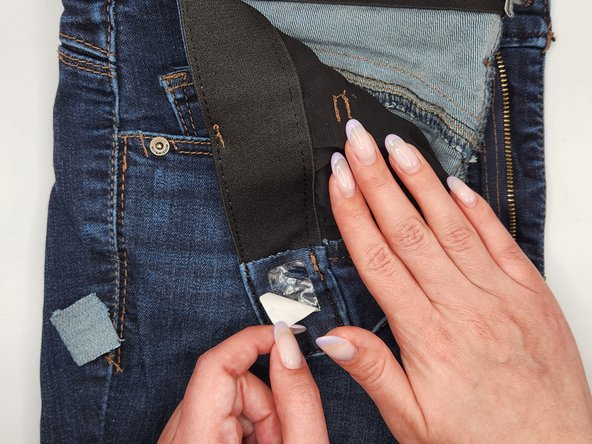
- Place the piece of fabric tape on top of the denim swatch.
- You could also use a pair of old jeans for this purpose instead of purchasing denim fabric.
- Using the piece of fabric tape as a guide, cut out a similarly sized piece of fabric from the denim.
- Double-check that the sizes of the adhesive tape and denim piece match.
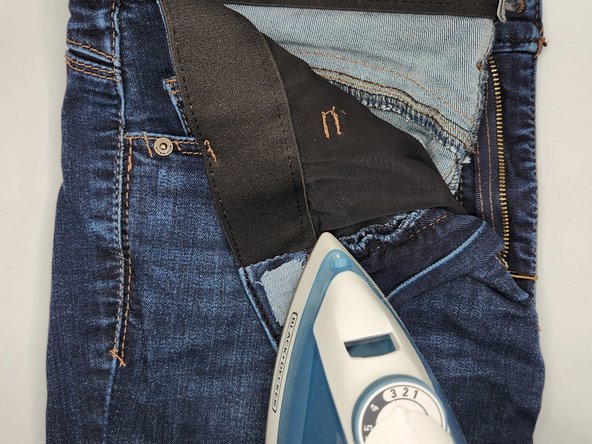
- Plug in the clothing iron and wait for it to heat up. Set it to medium heat.
- Do not use the steam function if your iron has that capability. It may make the tape wet and ruin the adhesive.
- Apply the hot clothing iron to the fabric tape that is covering the frayed section of the jean stud buttonhole.
- Hold your iron to the tape for approximately 10 seconds. If the tape is not sticking after you apply heat for 10 seconds, repeat this step.
- Once finished, the tape should lie flat.
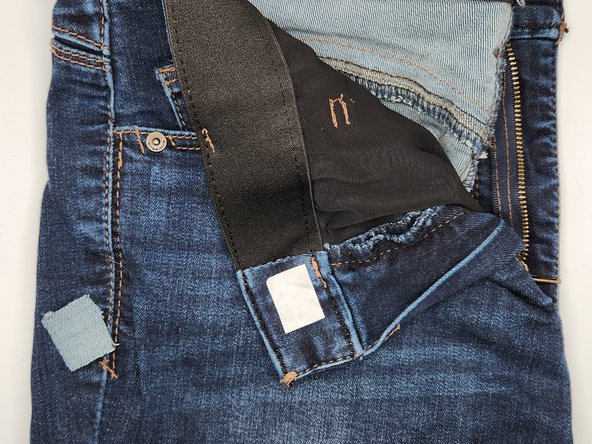
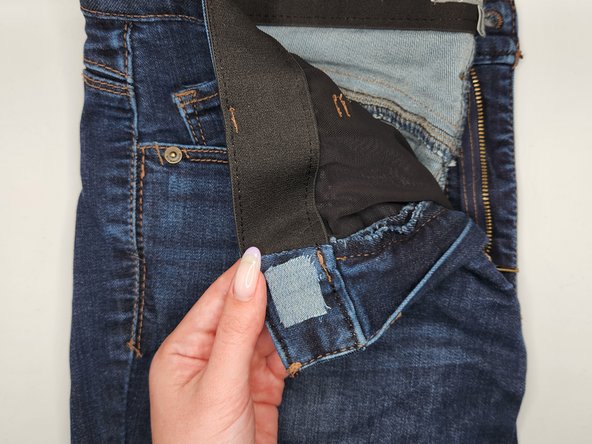
- Carefully lift the edge of the paper cover (without lifting the adhesive!) and pull the paper slowly away from the tape.
- Only the clear adhesive tape should be left behind.
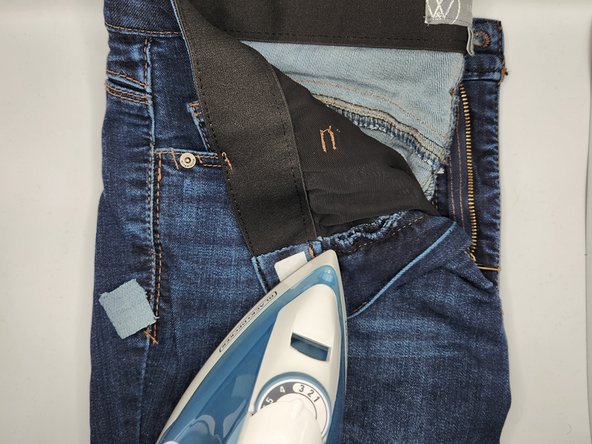
- Place the jean fabric piece you cut out on top of the adhesive tape.
- Press down on the fabric and smooth it out over the tape so that no bumps exist and the edges are flat and aligned.
- Apply the heated clothing iron to that section for approximately 10 seconds.
- If the jean fabric and the adhesive tape are not sticking together or lying flat along the edges, apply heat for another 10 seconds and repeat as necessary.
- Turn off and unplug your clothing iron once this step is complete!
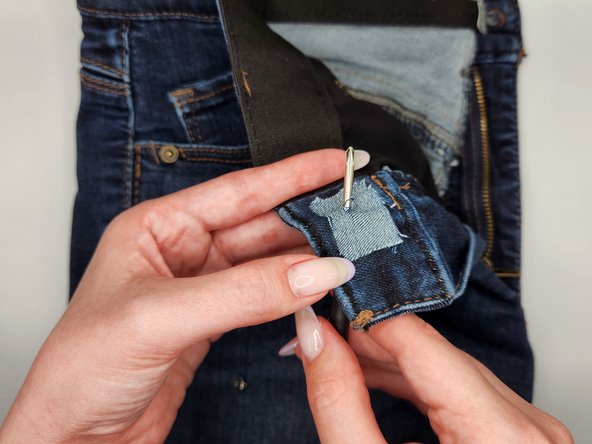
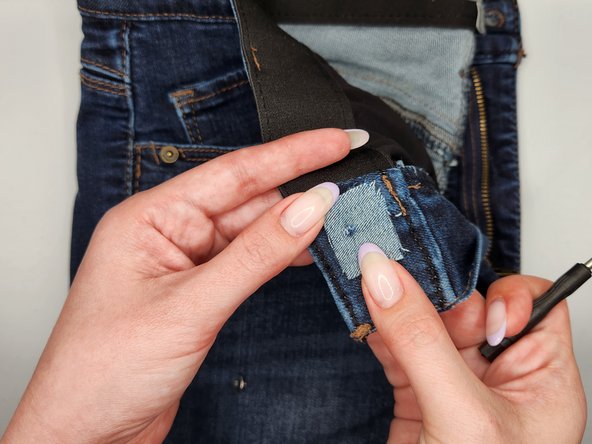
- Align a screwdriver or another small, pointed object (such as scissors) with the original buttonhole to create a hole for the new button through the patched fabric.
- Your new button should have two parts: the button part and the stud part. They are depicted in the first photo - the button part is on the right, and the stud part is on the left.
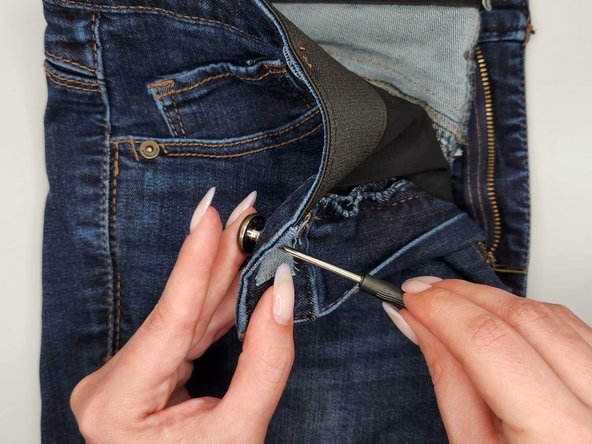
- Insert the stud piece from the back side of the new hole (the side that would be touching your skin if you were wearing the jeans).
- You should be able to see the stud from the other side of the hole.
- If you cannot fit the stud through, you may need to enlarge the hole.
- Insert the button part through the front of the hole.
- Hold both button pieces together to connect them.
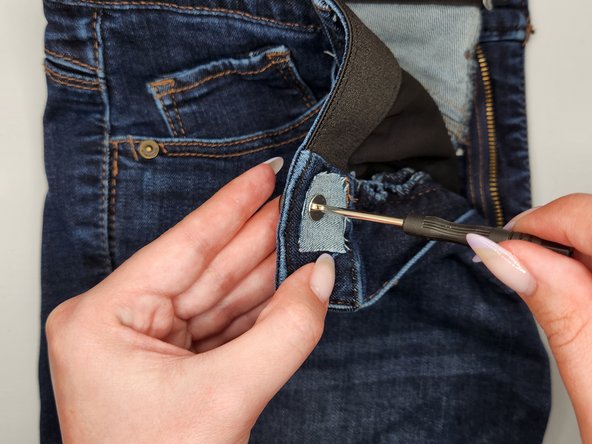
- Using your screwdriver, screw the stud part into the button part until there is too much resistance to continue turning it.
- The type of screwdriver you need will depend on the type of button you are working with. The one in this guide is a Phillips.
- Test your fix by trying the repaired jeans on. Enjoy the finished product!