1978 Datsun 280Z Turn Signal Flasher Replacement
ID: 170728
Description: A fully functional set of turn signals is not...
Steps:
- Locate the hood latch on the bottom left side of the steering wheel.
- Pull the latch to release the hood.
- Unclip and lift the hood.
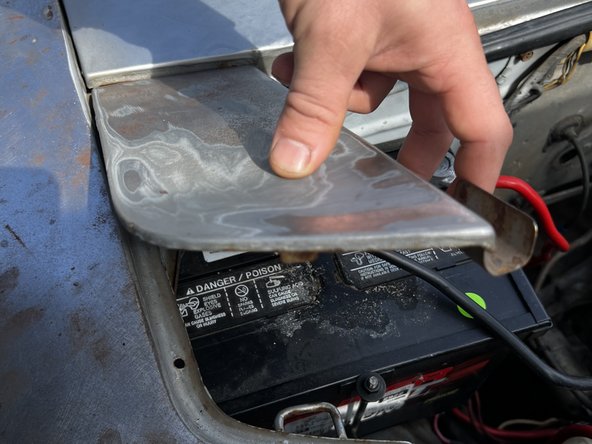
- Lift the inspection cover on the left side to uncover the battery.
- Attach a 13mm socket to a ratchet extension then attach the extension to a drive ratchet.
- Loosen the 13mm bolt from the negative terminal of the battery.
- You do not need to remove the nut from the terminal bolt completely. The terminal should slide off the post once the nut is loose.
- Be sure to keep your ratchet or any other metal items from touching both the positive and negative terminals while performing this task. Connecting metal to both terminals creates a new path of electricity and could cause serious chemical, electrical, and flammable damage to your equipment and/or health.
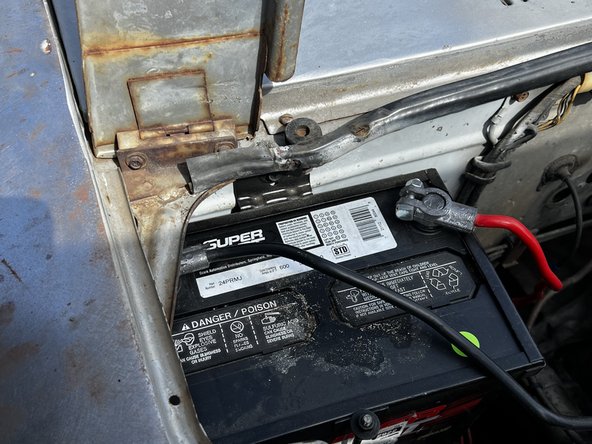
- Remove the negative battery cable from the post and set it far enough aside so that it cannot come in contact with the negative battery post while you are working.
- If the negative terminal comes in contact with the negative battery post while you are performing electrical work, the vehicle will become energized and you risk damaging your equipment and shocking yourself.
- Wait 10 minutes for electricity to bleed out of the system to ensure safety in the proceeding steps.
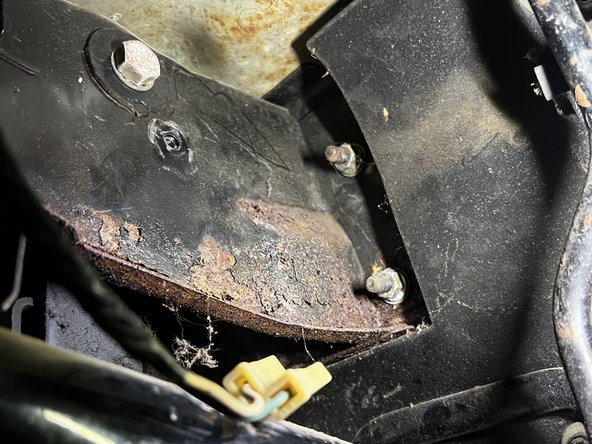
- The flasher is located under the dash on the right side of the steering wheel column.
- Disconnect the cable from the flasher.
- It is a good idea to inspect the wires for corrosion, heat marks, open wires and other defects. Any of these defects could be a reason your flasher became faulty in the first place and possibly lead to another faulty flasher in the future if not addressed.
- Attach a 10mm socket to an extension then attach the extension to a drive ratchet.
- Unbolt and dismount the flasher.
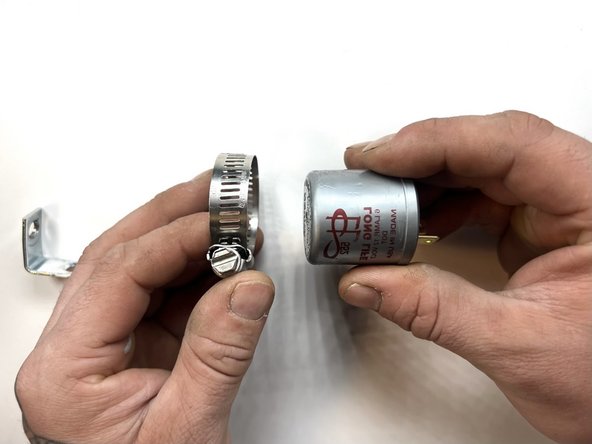
- The aftermarket flasher replacement doesn’t come with a fixed mounting L-bracket, so it’s necessary to create a safe and functional alternative.
- Place new the flasher parallel to the new L-bracket.
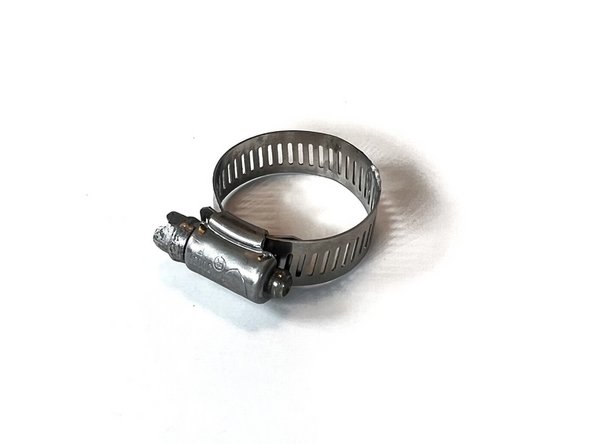
- Slide in the L-bracket in between the new flasher and the hose clamp.
- Tie the L-bracket to the flasher with the hose clamp once they are aligned.
- Do not over tighten, as there are fragile plastic parts inside the new flasher that can break.
- Bolt in the new flasher using the same 10mm socket and drive ratchet assembly you created from step 8.
- Connect the cable.
- Reconnect the negative battery terminal by reversing the order of tasks outlined in step 5.
- Be sure to fasten the cable to the post tight enough so that it can not slip off the terminal post under any circumstances.
- Power up your vehicle and test your turn signals.