Hayward SharkVac W3RC9740CUB Filter Panels Replacement
ID: 170750
Description: Is your Hayward SharkVac W3RC9740CUB Robotic...
Steps:
- Unplug the robotic unit and set it on a flat surface.
- Gently turn the robotic unit onto its side with the unplugged power cord side facing up.
- Hold on to the top of the robot to ensure it doesn't fall and break.
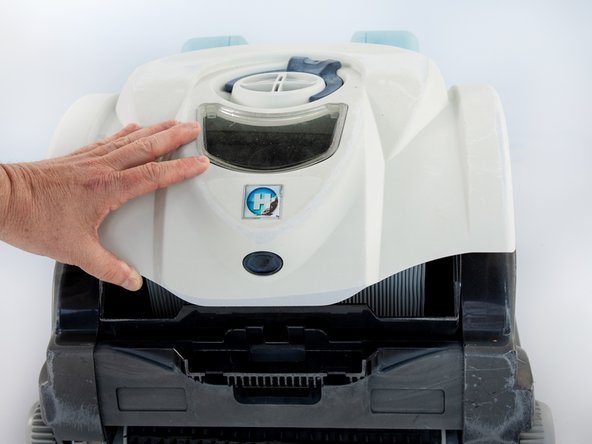
- Keep your left hand on top of the unit for support while pushing the button in on the front.
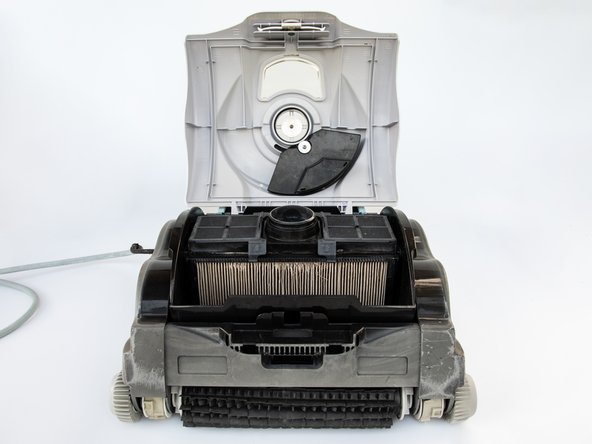
- While holding the button in, lift the cover up.
- Gently set the robotic unit back down on the flat surface.
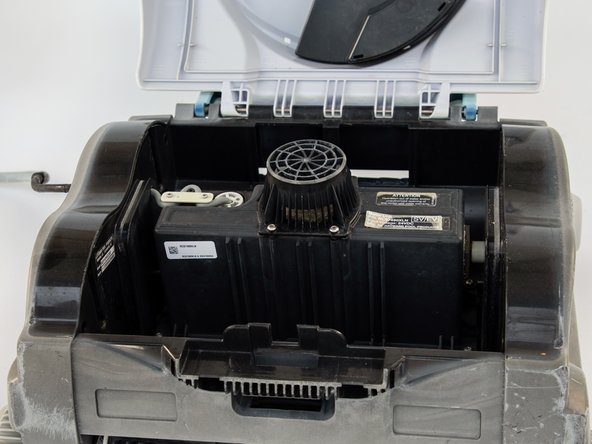
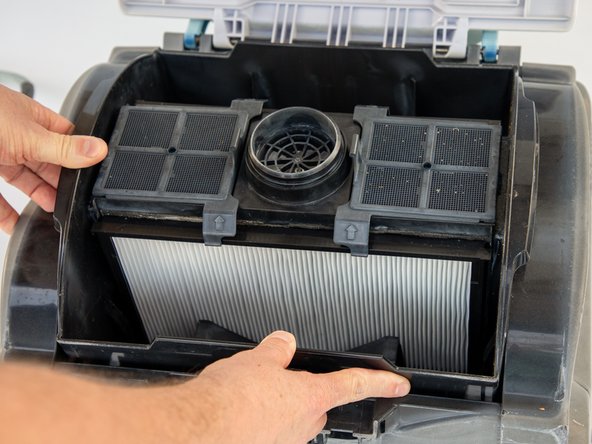
- Lift the the filter bucket up to remove it from the unit, and set it on the ground.
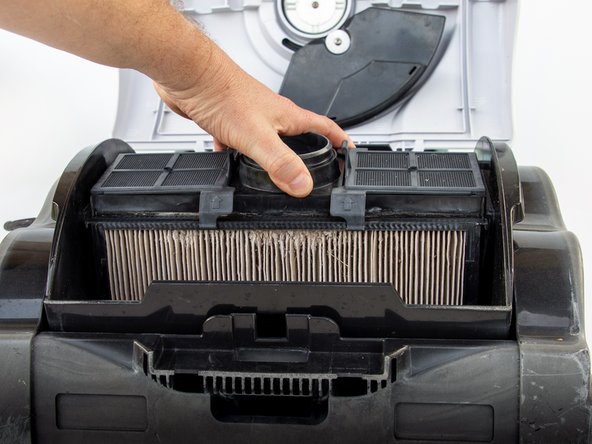
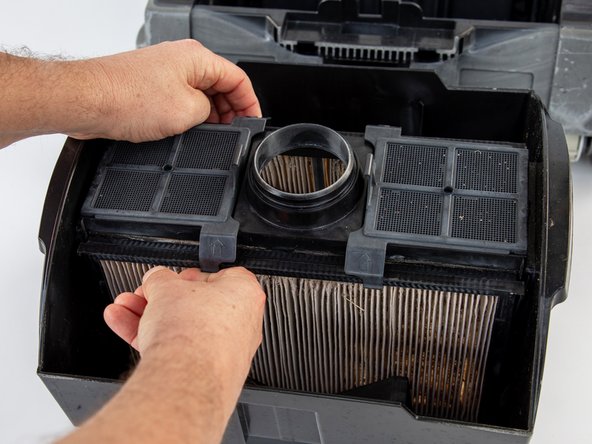
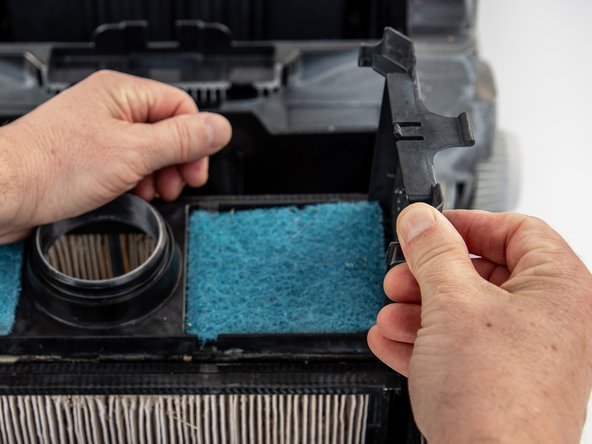
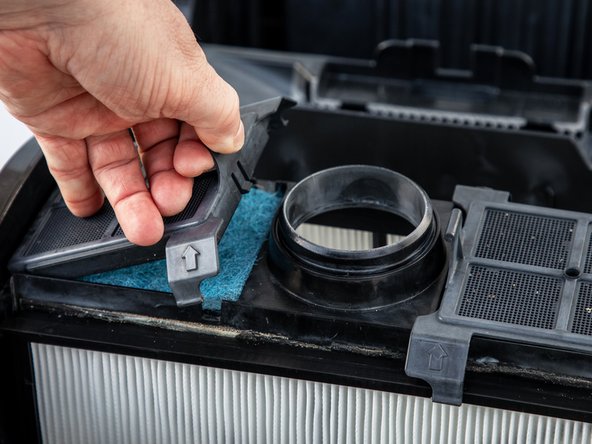
- Using both hands, gently pull the filter door latches on the left out to the sides and lift the door upward.
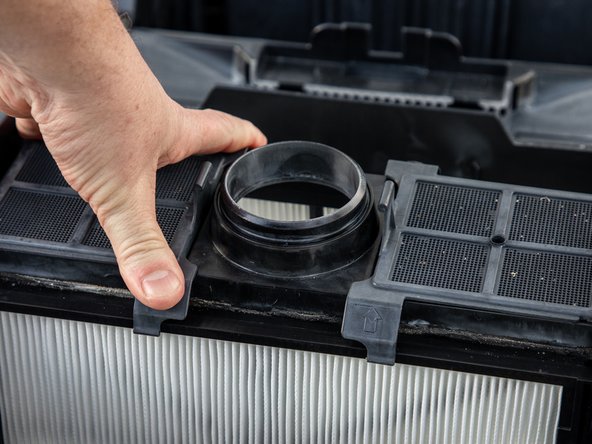
- Using both hands, gently pull the filter door latches on the right out to the sides and lift the door upward.
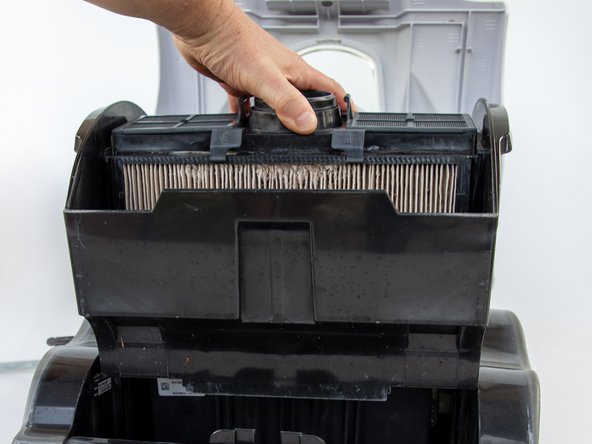
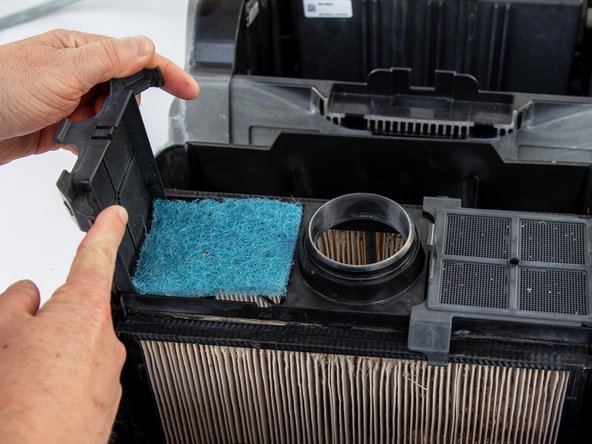
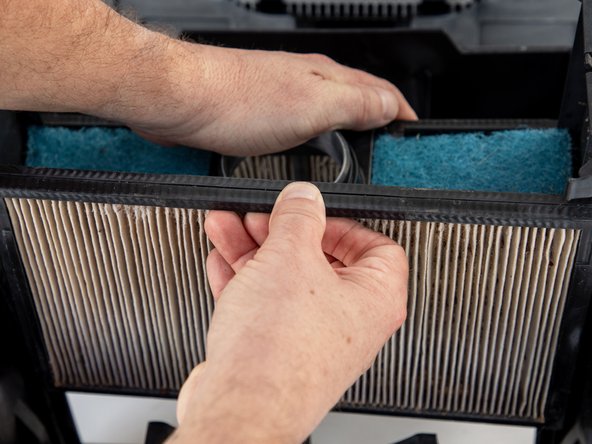
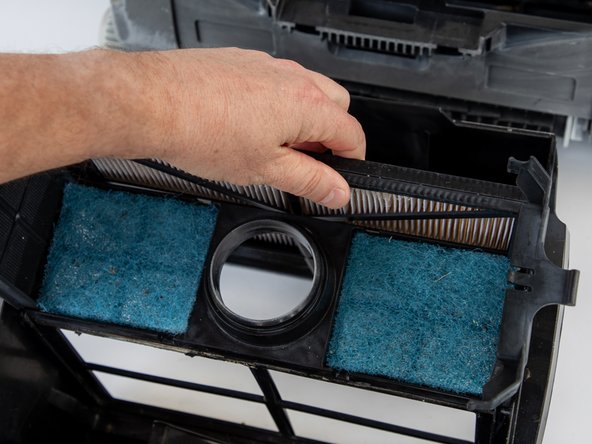
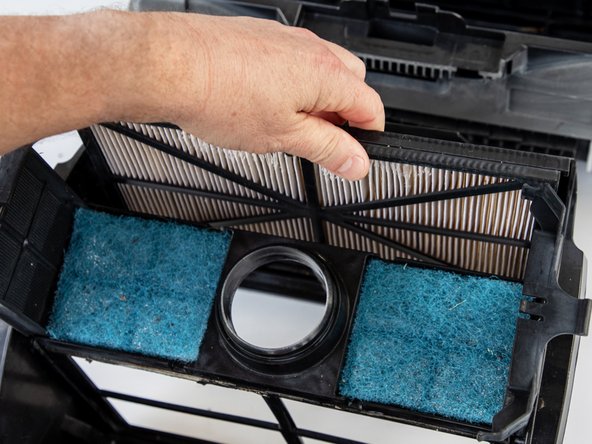
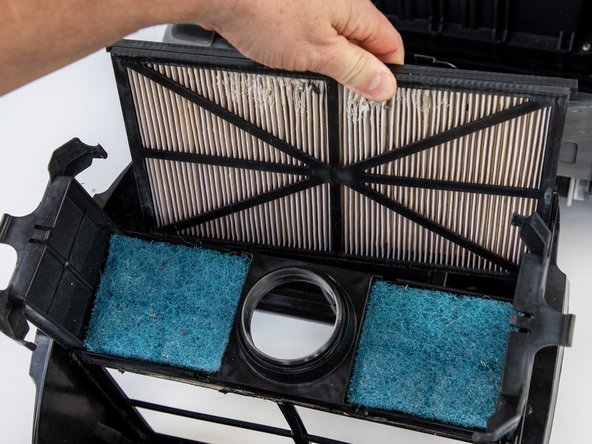
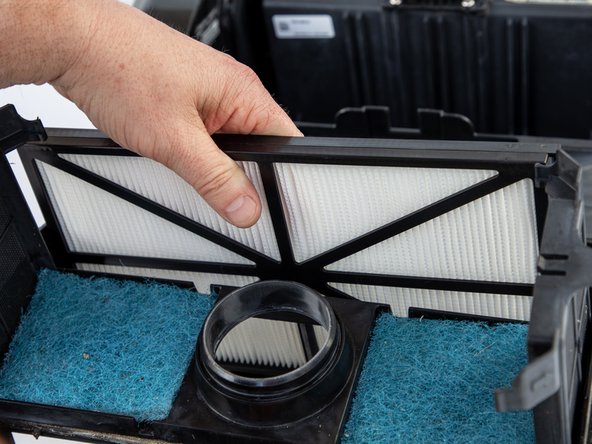
- Gently wiggle the filter panel closest to you from side to side and pull it upward to remove it.
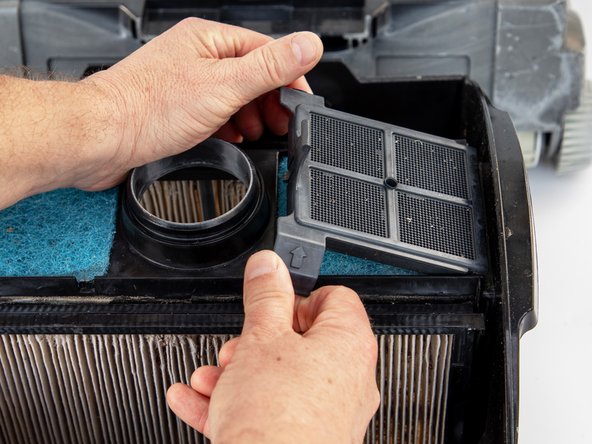
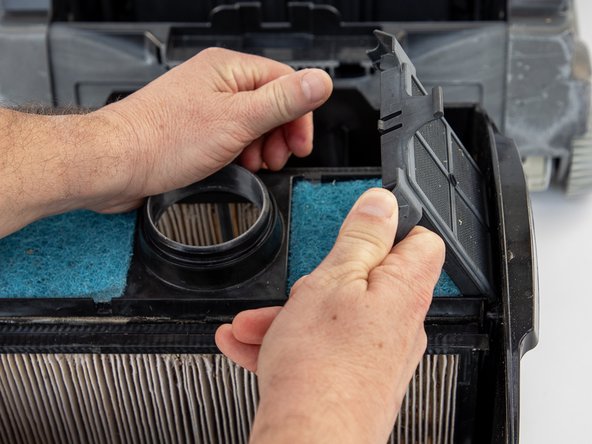
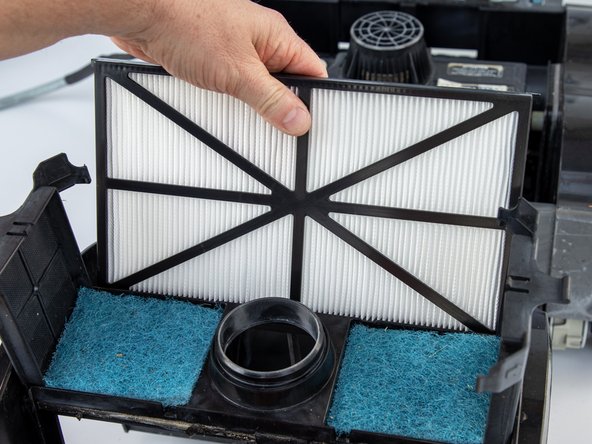
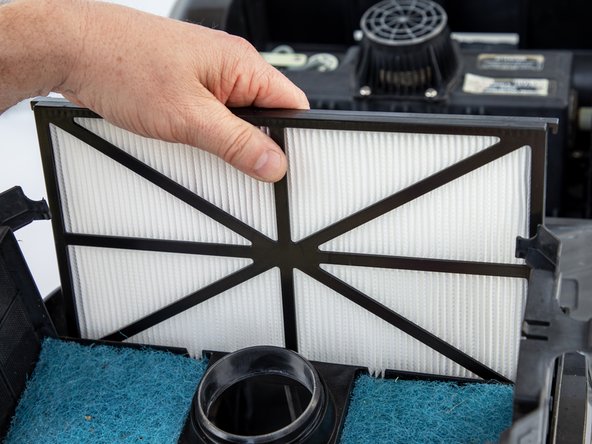
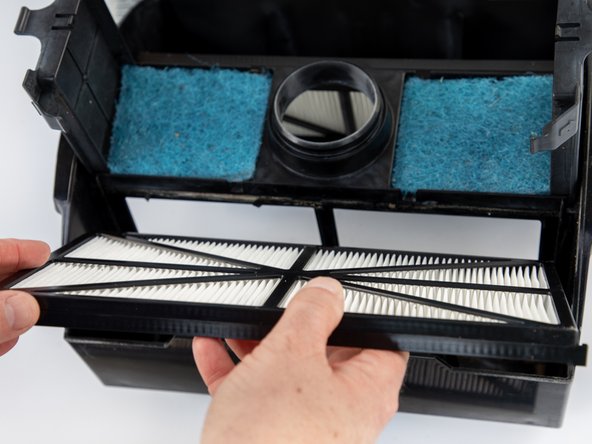
- Remove the second filter panel on the opposite side by gently wiggling it from side to side and pulling it upward.
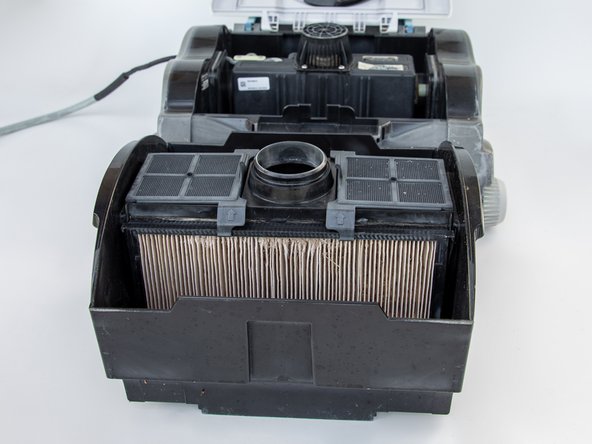
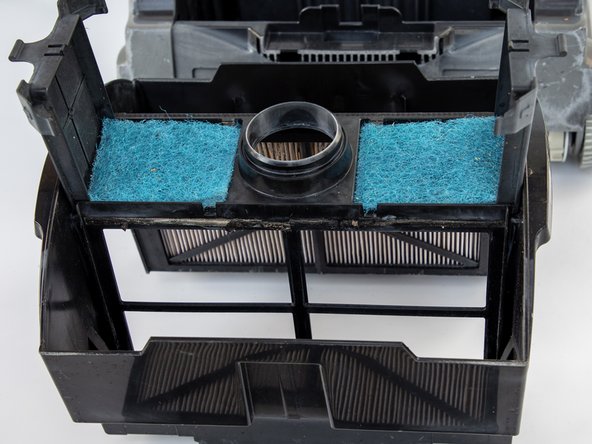
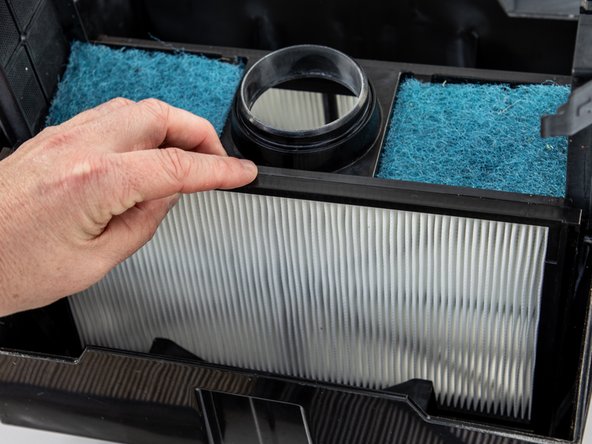
- Insert the new filter panel furthest from you into the slot, making sure the black plastic is facing the center of the bucket.
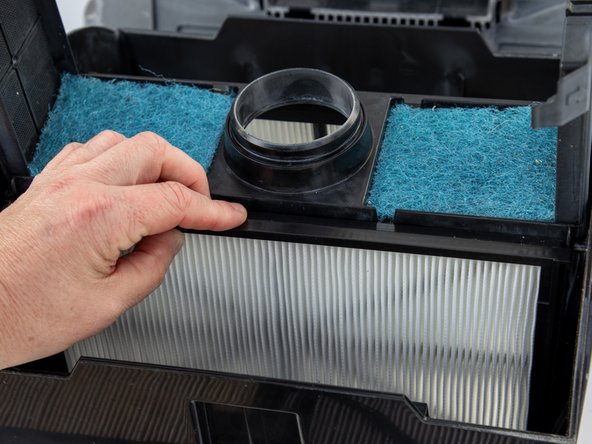
- Insert the new filter panel into the slot closest to you, ensuring that the black plastic faces the center of the bucket.
- Bring the filter door latches down on both sides of the filter panels to lock them into place.
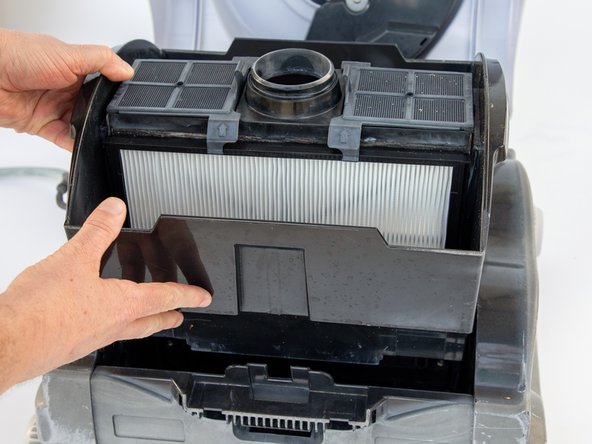
- Place the filter bucket back in the center of the robotic unit.
- Close the top of the unit, ensuring that the button in the front locks into place.