Kobo Clara Colour (N367) Front Cover Replacement
ID: 170850
Description: Use this guide to replace the front cover on...
Steps:
- Drain your eReader's battery as much as possible before starting your repair. Ideally, it should be fully discharged.
- Optionally, to drain the battery faster, navigate to More → Settings → Energy saving and privacy and set Automatically go to sleep after and Automatically power off after to Never.
- When working on or near the battery, don't use sharp metal tools to avoid puncturing and shorting the battery.
- Unplug all cables and fully shut down your eReader.
- Your screen should be black and say Powered off.
- Lay your eReader down so the back cover is facing up.
- Insert the flat edge of an opening pick between the frame and the bottom left corner of the back cover.
- Push the pick downwards at a slight angle until it slides under the back cover.
- Slide the pick toward the bottom right corner to release the clips along the bottom edge.
- Remove the pick and reinsert it under the bottom left corner.
- Angle the pick flat under the back cover and rotate it around the bottom left corner to release its clips.
- If you're having trouble, try twisting the pick to lift the corner clips out of their slots.
- Slide the pick toward the top left corner to release the clips along the left edge.
- At this point, you should be able to grip the back cover and release its remaining clips. If not, slide a pick under the perimeter of the back cover until you can grip an edge.
- Grip the left edge of the back cover and lift it away from the eReader to release the remaining clips.
- Remove the back cover.
- During reassembly, align the back cover over the eReader and press along the perimeter until all its clips snap back into place.
- The entire surface of the eReader's internals is covered in a thin, plastic-like waterproof coating. Keep the following in mind as you continue disassembly:
- While this won't hurt your device, removing the coating compromises the device to potential water damage.
- The coating is brittle and can flake into many small pieces. Heating the coating helps, but working with it is still a time-consuming process.
- The ZIF connector locking tabs are coated in a gel that can jam the hinge and keep the locking tab from completely unlocking. Make sure the tabs are completely upright before disconnecting any cables.
- Depending on your repair, you might have to remove the coating from ZIF connectors and their cables.
- Heat an iOpener and lay it on the battery connector for 90 seconds to soften the coating.
- Alternatively, you can use a hair dryer or a heat gun.
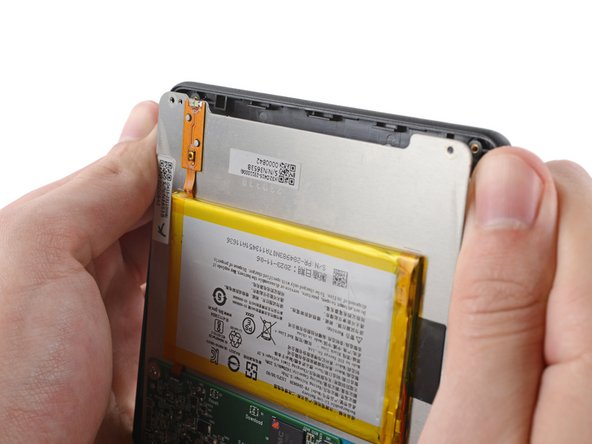
- Use the tip of a spudger to scrape up the coating along the white battery connector head—enough so you can grab clumps of it with pointed tweezers.
- Use pointed tweezers to peel off all of the coating around the battery connector head and its socket.
- If the coating becomes too brittle and hard to peel off, reheat the connector and try again.
- This is a meticulous process! Failure to remove enough of the coating could damage the plastic head during disconnection, so take your time!
- Insert the point of a spudger under the edge of the battery connector head opposite of the cable.
- There's a surface-mounted component close to the connector. Be careful not to touch it with your spudger!
- Lift up the connector with the spudger to separate the rest of the coating and disconnect the battery.
- During reassembly:
- Inspect the connector head and its socket for any remaining coating that could prevent a good connection.
- Peel off the coating, heating the area when the coating becomes too brittle.
- It doesn't have to look pretty! You just need to remove enough coating so the connector head sits properly in its socket.
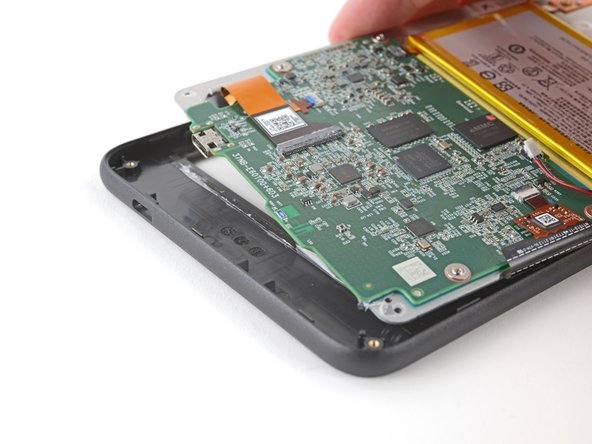
- Use a Phillips screwdriver to remove the four 3 mm‑long screws securing the corners of the front cover.
- The screen is secured by weak adhesive along the perimeter of the front cover and a layer of coating at the bottom edge.
- Bend the top edge of the front cover around the screen to separate the adhesive.
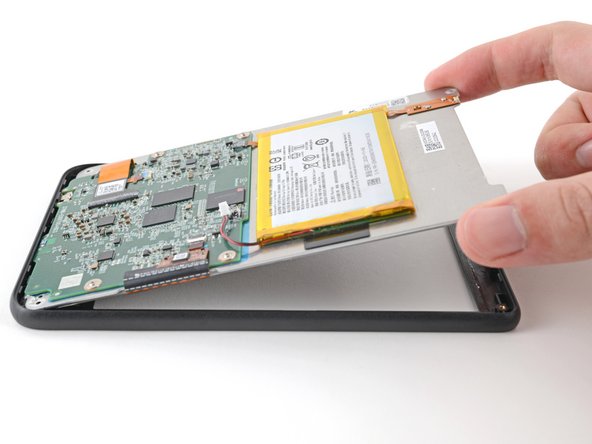
- Lift the top edge of the screen to separate any remaining adhesive around the perimeter of the front cover.
- Slide the screen toward the top of the eReader to expose the coating at the bottom edge.
- Lift and rotate the screen off the bottom edge of the front cover to separate the coating.
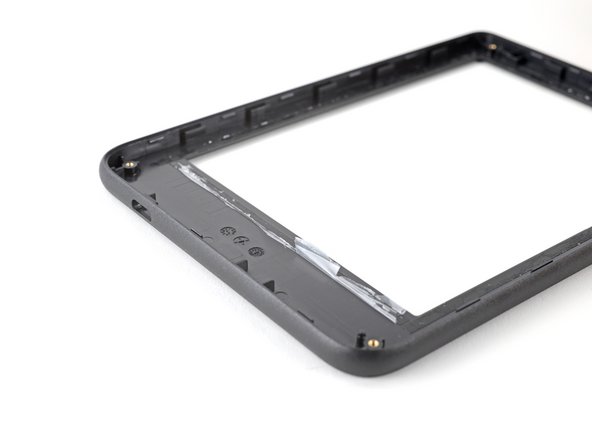
- Remove the screen. Only the front cover remains.
- During reassembly:
- If your replacement front cover comes with pre‑installed adhesive, remove the liner. Otherwise, use a thin, double‑sided tape like Tesa Tape to replace the adhesive.
- Align the front cover over the screen and press down around the perimeter until the clips snap back into place.