Anko 2 Sandwich Jaffle Maker Teardown
ID: 170858
Description:
Steps:
- Lay product flat on a clear and clean surface.
- As this is a teardown, we want to minimise the risk of any injuries. Firstly, ensure all PPE is warn including gloves and face shield. Next, cut the power cable to prevent in-proper reassemble.
- Open up the product.
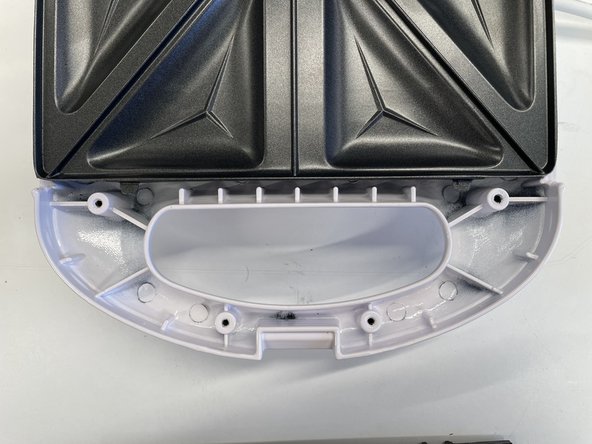
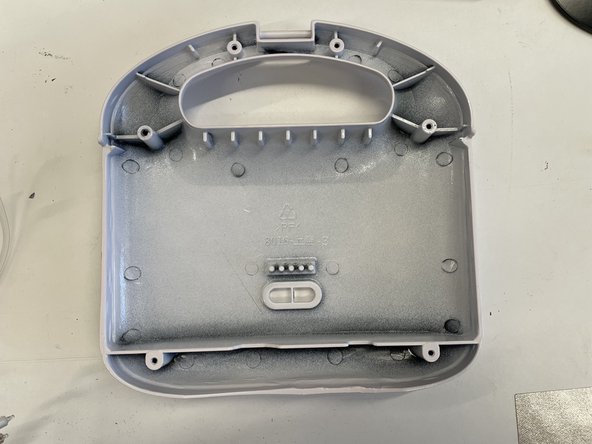
- Use a Philips-Head Screwdriver to remove these 4 screws.
- The plate can then be removed.
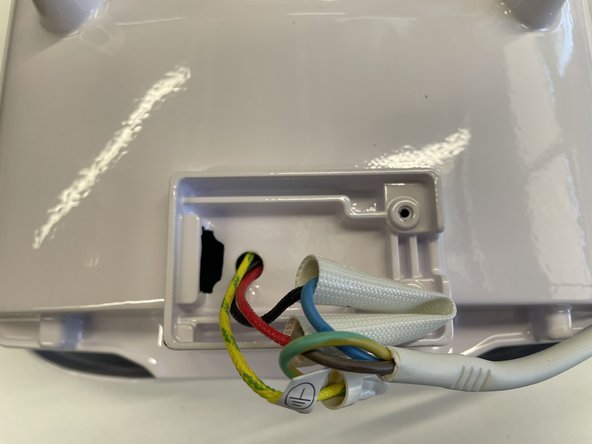
- Remove the 2 highlighted screws at the top of the heating plate.
- Flip up the Base Heating Plate from casing to reveal internal wires.
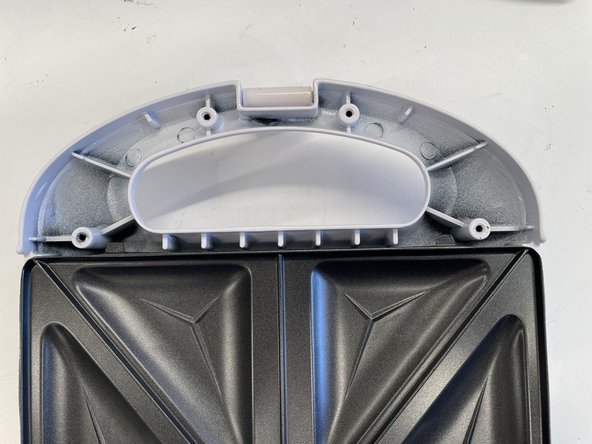
- Remove the 3 highlighted screws.
- Use wire cutters to snip the connecting wires to the heating element.
- Flip product over so the bottom is facing upwards.
- Remove the 2 highlighted screws.
- Slide out the black cover. Keeping in mind there is a tab on the left hand side.
- After removing the wire casing, gently pull on the wires and feed them through the hole. It should come out as a whole unit.
- Simply pinch and squeeze each silicone foot to remove from the outer shell.
- Open up the product and lay flat on the top side
- Repeating Step#3, use a Philips Head screwdriver to remove the 4 screws that are highlighted.
- Remove the 2 highlighted screws on the Top Heating plate.
- Close the Top Heating Plate, leaving the outer case laying on the bench.
- Remove the 2 highlighted screws.
- Remove the 2 highlighted screws.
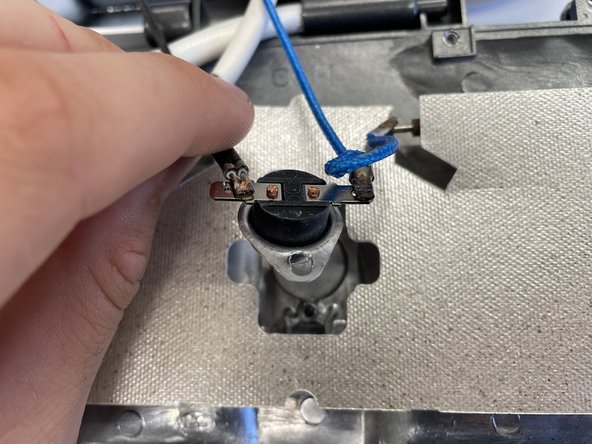
- Once screws have been removed, gently wiggle and dislodge the thermostat.
- NOTE: There will be a layer of thermal paste between the thermostat and heating plate. Grab an old rag to wipe off.
- Once the thermostat has been removed, gently grab the heat shield cover and remove.
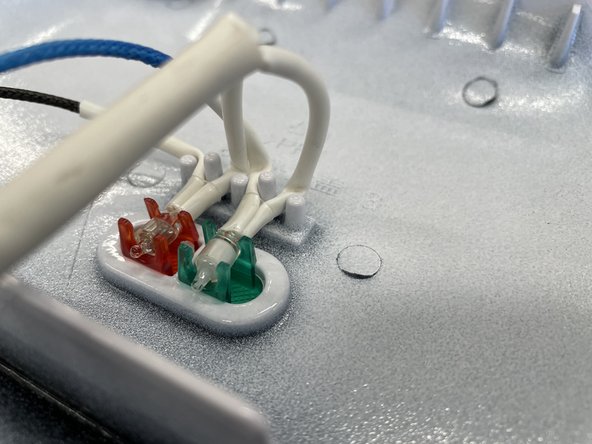
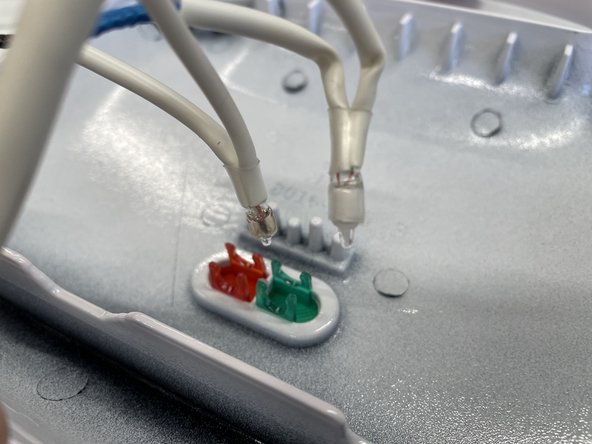
- Pinch and slide up the 2 highlighted silicone stoppers.
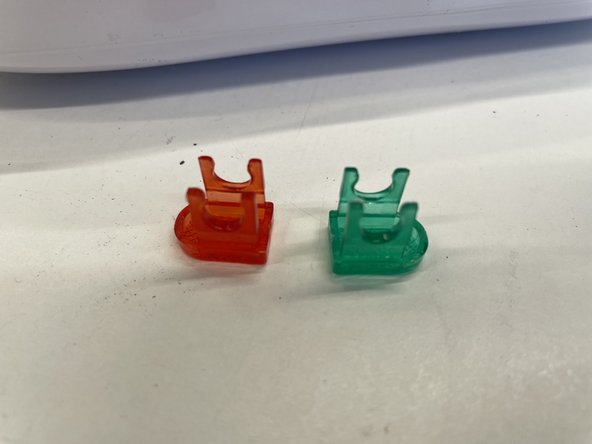
- Once stoppers have been removed, apply slight force the remove the LED's from respected colours.
- Pinch the extrusions of the coloured diffuser and apply slight downward force to remove via the outer side of the product.
- NOTE: Arrows indicate where to pinch.
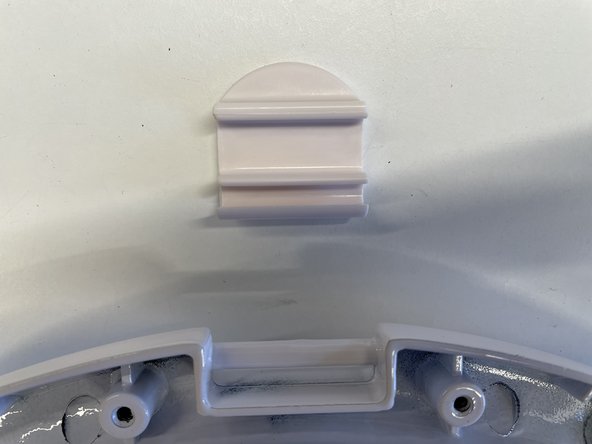
- This is a snap fit piece. Apply slight pressure to one side of the clip and work one side first to pop off from the casing.
- The outer casing can now be fully separated from the heating plates.
- Either use pliers to remove the solder between the wires and the heating element.
- Or
- Use wire cutters to snip the wires as completed in Step#6.
- Simply apply an angle to both heating elements and release from the hinge connection.
- Lay Parts Flat For Exploded View