How to Apply Battery Stretch Release Adhesive in Your Kobo Clara eReader
ID: 170872
Description: Use this guide to apply new battery stretch...
Steps:
- If you're reusing your battery, use your fingers, or blunt nose tweezers, to remove any remaining adhesive on the bottom of the battery.
- Take care not to puncture or bend the battery—it can leak dangerous chemicals and/or catch fire.
- If you're reusing your screen, remove any remaining adhesive residue and use isopropyl alcohol and a lint-free cloth to clean the frame.
- Scrape away any leftover waterproofing coating from around where the battery was located.
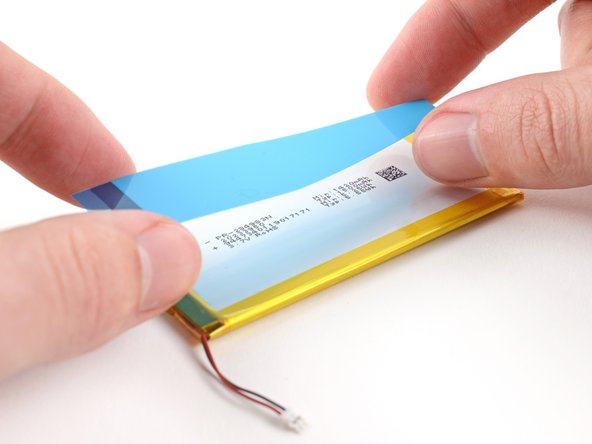
- Use your fingers to grip the black pull tab and the blue liner on the new stretch release adhesive strip.
- Just gripping the blue liner could prematurely separate it from the adhesive.
- Peel the adhesive strip off its clear liner to expose the adhesive underneath.
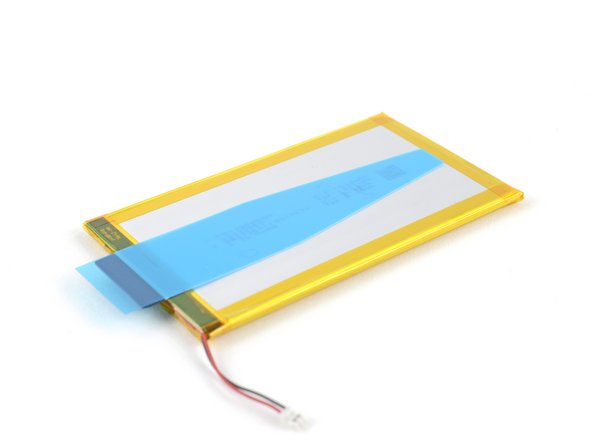
- Place the strip on the bottom of the battery, making sure the black pull tab sticks out slightly from the edge of the battery with the cable.
- The strip doesn't have to be aligned perfectly, but make sure it covers the entire length of the battery.
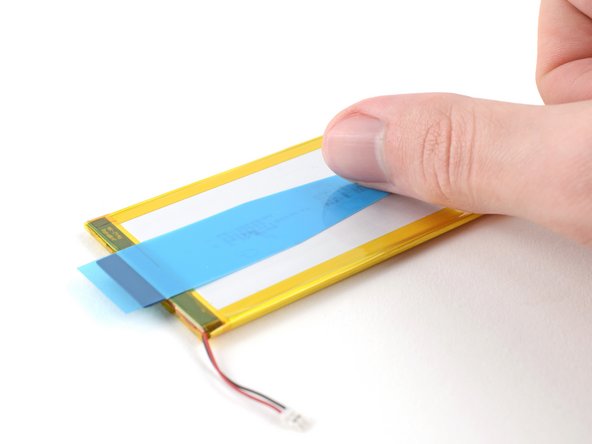
- Use your fingers to press down on the adhesive strip, adhering it to the battery.
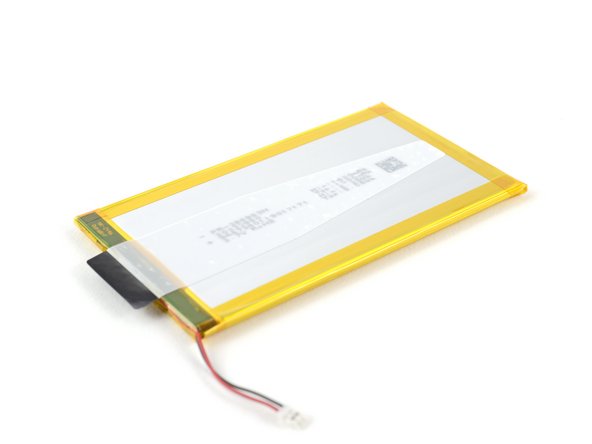
- Peel off the remaining blue liner to expose the adhesive.
- Be careful with this step, as it's easy to stick the battery in the wrong spot. Take your time and work slowly.
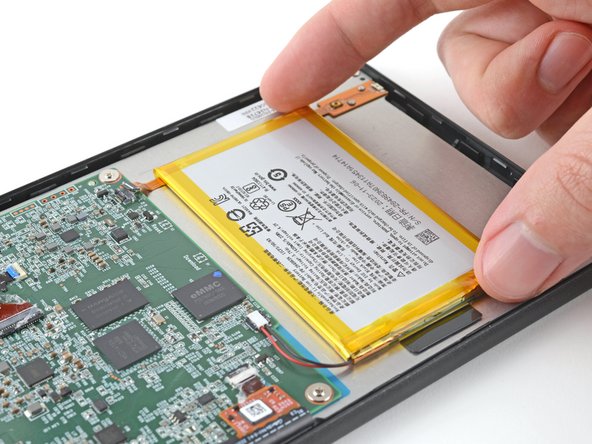
- While holding the battery over its spot on the frame, temporarily reconnect the battery cable to ensure the battery gets aligned properly.
- Keep the battery within the segmented outline on the screen.
- Place the battery onto its spot in the frame and press down to adhere it.
- If you have more internal reassembly remaining (like reconnecting other cables) disconnect the battery. Otherwise, you can keep the battery connected.
- Return to your original guide and continue reassembly.