HP ProBook 450 G4 Touch Pad Replacement
ID: 170925
Description: This guide is on how to replace the touch pad...
Steps:
- Power your laptop off.
- Flip the laptop over.
- Orient the laptop so the two vents on the bottom face upward and are further away from you.
- Use the Phillips #0 screwdriver to remove the 6.8 mm screw that secures the vent panel to the laptop.
- Use the spudger to separate the vent panel from the laptop.
- Slide the vent panel off the backside of the laptop.
- Use the Phillips #0 screwdriver to remove the black 3.2mm screw that secures the hard drive to the left side of the laptop.
- Use the spudger to lift the left side of the hard drive up.
- Pull the hard drive diagonally to the left to release the hard drive from the laptop.
- Remove the 6.6mm T8 Torx screw located below where the hard drive used to be.
- Remove the 6.6mm T8 Torx screw located below and to the left of the circular, silver and black fan.
- Use the spudger to press down on the two black tabs that are underneath where the hard drive used to be.
- Apply pressure to the black tabs until they release and pop out.
- Orient the laptop so the keyboard is facing upwards and towards you.
- Insert the spudger in between the edge of the keyboard and the computer frame.
- Slide the spudger around the edge of the keyboard until the keyboard is loose.
- Gently pull the keyboard away from the body of the laptop.
- Do not pull the keyboard all the way off because there is still a connector cable underneath that needs to be disconnected.
- Use a spudger to gently lift up the black locking bar on the keyboard connector.
- Slide the keyboard ribbon out of the connector.
- Remove the keyboard.
- To re-attach the keyboard ribbon, slide it into the connector and swing the locking bar down.
- Flip the laptop back over so it is facing upwards.
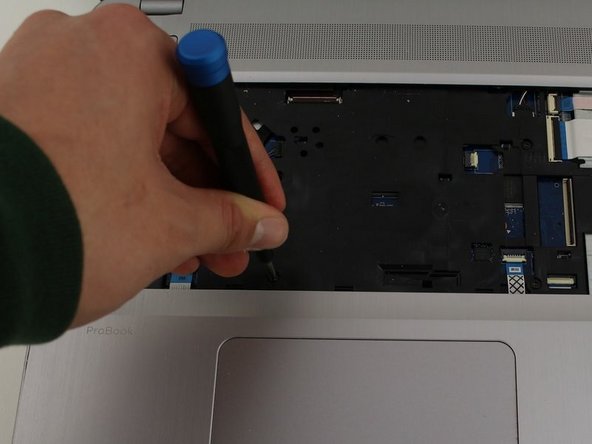
- Remove the six 6.6 mm screws underneath where the keyboard used to be using a T8 Torx screwdriver.
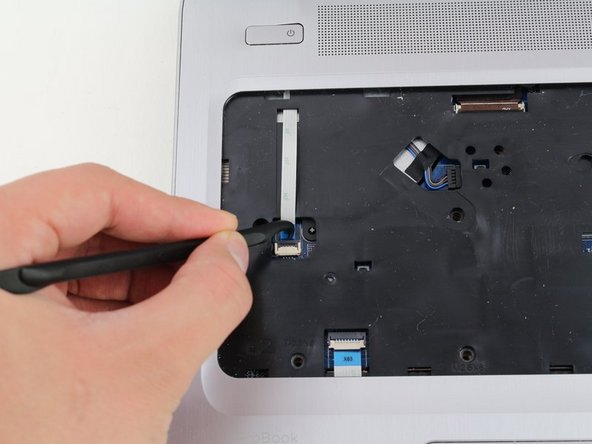
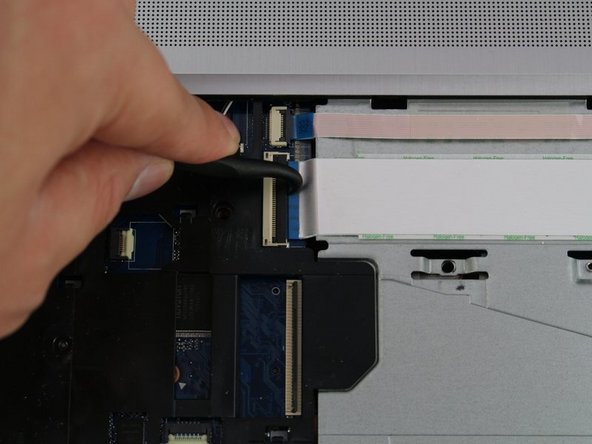
- Use the spudger to disconnect the nine cable connectors that secure the top case of the laptop to the body of the laptop.
- Be extra careful while disconnecting the cable connectors because they can tear easily.
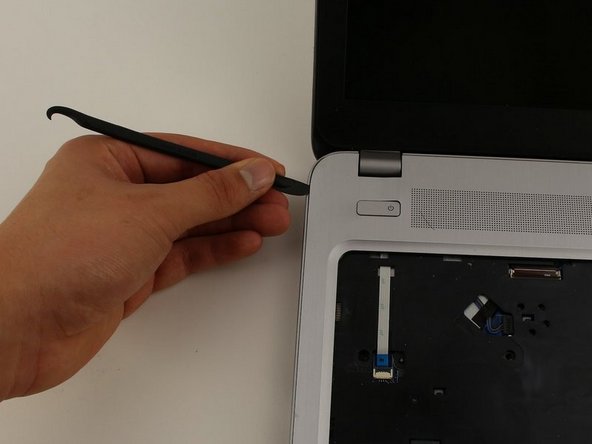
- Insert the spudger in between the top case of the laptop and its outer frame.
- Slide the spudger around the edge of the laptop until the case comes off.
- Remove the top case.
- Flip the top cover over.
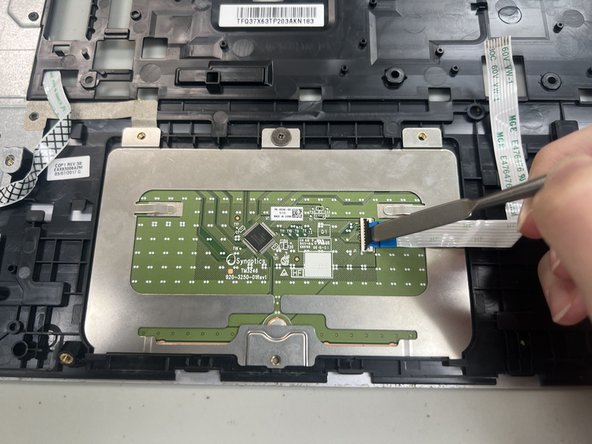
- Use the spudger to disconnect the cable connector labeled TP.
- Be extra careful while disconnecting the cable connector because it can tear easily.
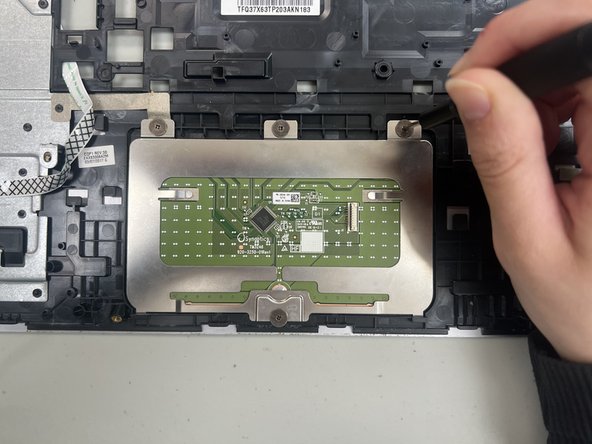
- Remove the four M2 1.9 mm screws holding the touchpad down.
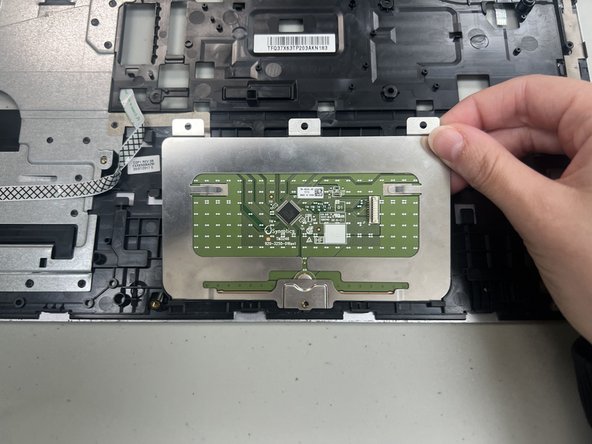
- Lift the touchpad up and out from the top.