HP ProBook 450 G4 Display Assembly Replacement
ID: 171101
Description: This guide is designed to help you to replace...
Steps:
- Power off your laptop and flip it over so that the bottom faces upward.
- Use the Phillips #0 screwdriver to remove the screw securing the service door.
- Use a Jimmy to remove the service door.
- Use a Phillips #0 screwdriver to remove the two 6.6mm screws.
- Remove the black 3.2mm screw that secures the hard drive to the left side of the laptop with a Phillips #0 screwdriver.
- Use the spudger to lift the left side of the hard drive, and remove.
- Remove all 6.6 mm T8 Torx screws, including where the hard drive used to be.
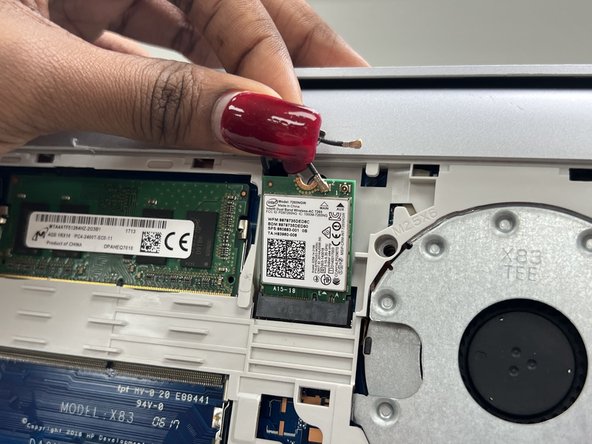
- Unclip the wires from the Wi-Fi card.
- Remove the Wi-Fi card.
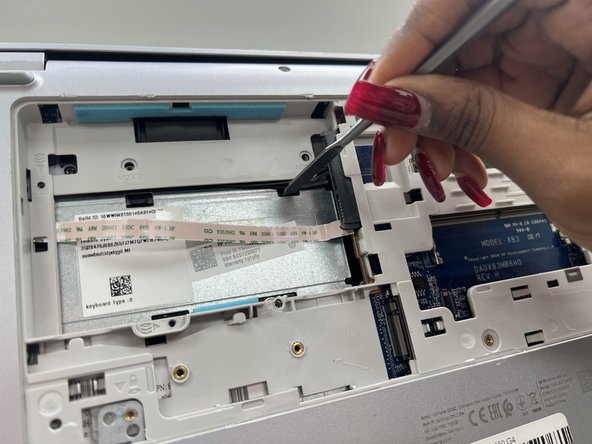
- Flip the laptop over, and use a Jimmy to loosen the keypad from the laptop.
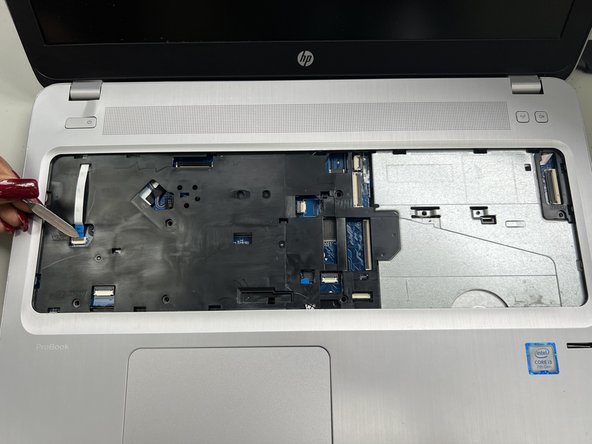
- Use the spudger to unclip the tab.
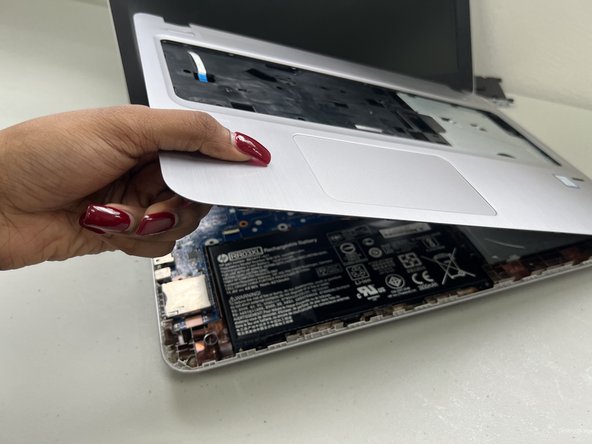
- Remove the top case once all tabs are loose.
- Use the spudger to disconnect the black wire.
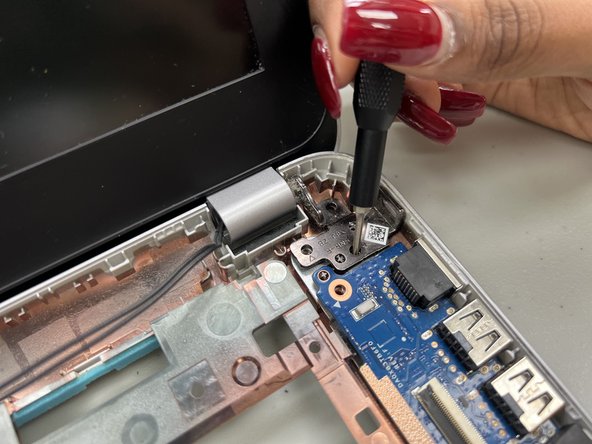
- Use the Phillips #0 screwdriver to remove the two 3.2mm screws from the hinges.
- Repeat on both sides.
- Remove and replace the display assembly.