Dell Vostro 5510 Display Assembly Replacement
ID: 171102
Description: This guide will walk through how to replace the...
Steps:
- Power off your laptop before beginning disassembly.
- Place the laptop so the bottom cover is facing upwards.
- Remove the remaining (M2x4mm) screws with the screwdriver.
- Loosen the two captive (M2x7.5mm) corner screws with the screwdriver.
- Pry open the top left corner of the cover with the opening tool.
- Pry open the top right corner of the cover with the opening tool.
- Pry the rest of the cover with the opening tool, working in a clockwise motion until it is completely loosened.
- Lift the cover to remove it from the rest of the laptop.
- Remove the six 4 mm hinge screws using the Phillips #0 screwdriver.
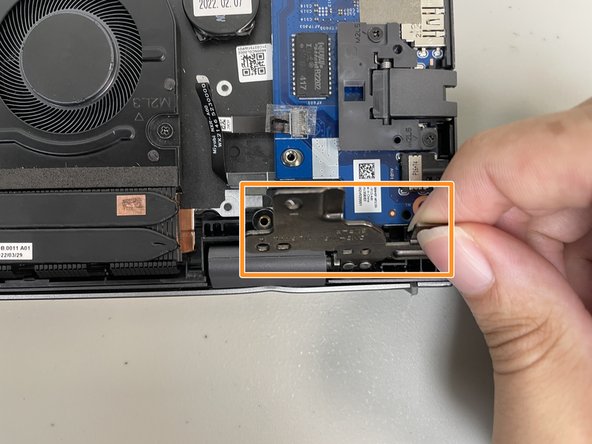
- Flip up the hinge panel for the left side of the laptop.
- Flip up the hinge panel for the right side of the laptop.
- Disconnect the display cable with your hands.
- Lift up the laptop with your hands to detach it from the display assembly.