Razer Blade Stealth 2017 Keyboard Replacement
ID: 171111
Description: If your Razer Blade Stealth 13 (2017) keys are...
Steps:
- Before you begin, be sure to turn off your laptop and discharge the battery down to 25%.
- Use a Torx T5 screwdriver to remove the eight, 3mm screws on the bottom cover of the laptop.
- Whenever you remove screws from the device, remember to save and label them.
- Remove the bottom cover of the laptop by sliding it away from the hinge.
- Do not force the cover up!
- Use your fingernail to pry up and disconnect the battery from the motherboard.
- Use a Phillips #00 screwdriver to remove the six, 5mm screws securing the battery.
- Remove any tape attached to the battery.
- Use the plastic spudger to pry out the battery.
- Use a plastic spudger to gently undo the connections to the motherboard.
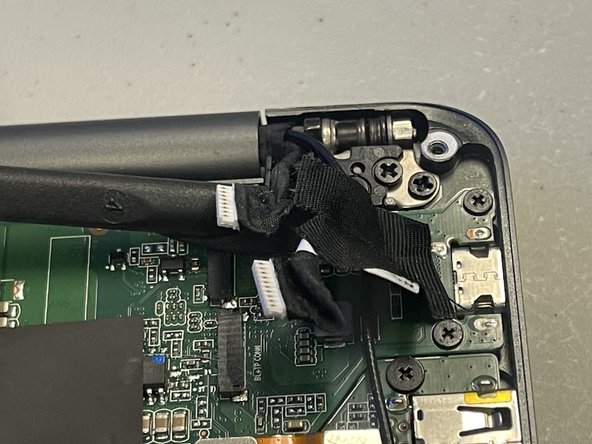
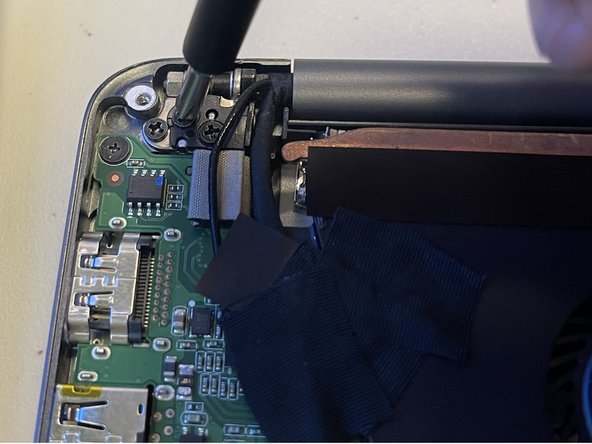
- Use a Phillips #00 screwdriver to remove the six 4 mm screws holding the display hinges on both side.
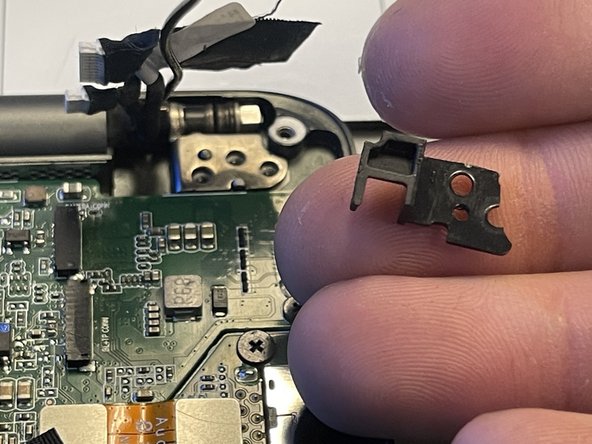
- Remove the small plastic brackets holding the display hinges.
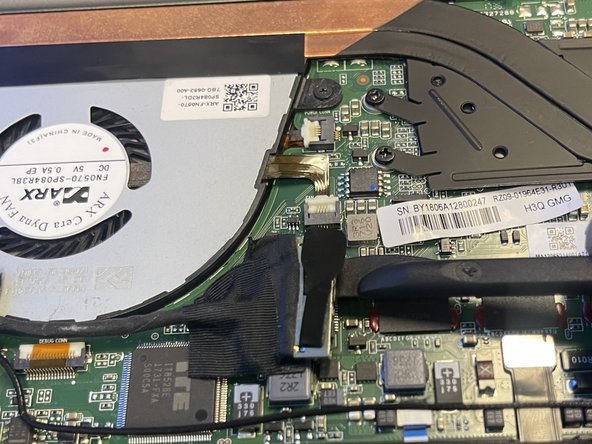
- Remove the 2.6 mm screw holding the Wi-Fi card down with a Phillips #00 screwdriver.
- Remove the motherboard from the laptop.
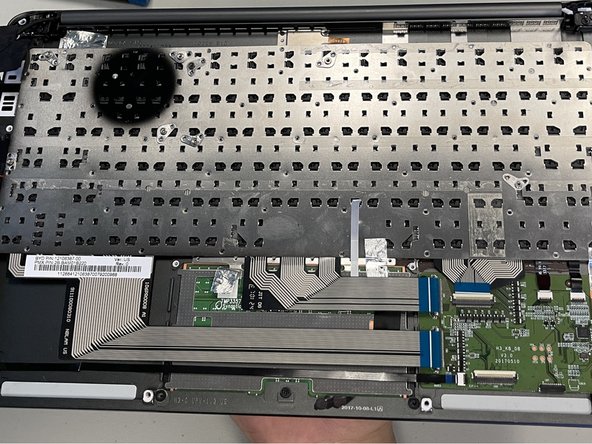
- Carefully remove tape from the keyboard.
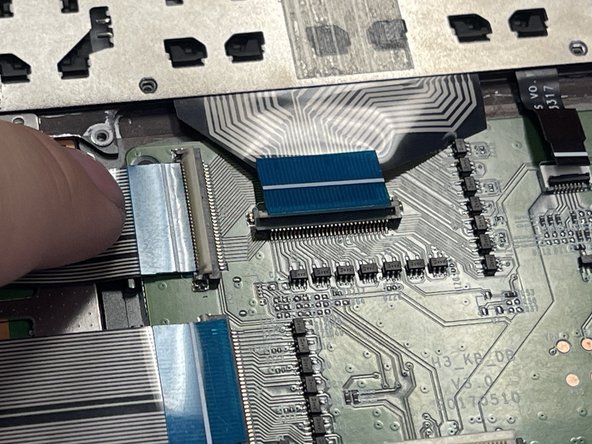
- Pull out the cables carefully.
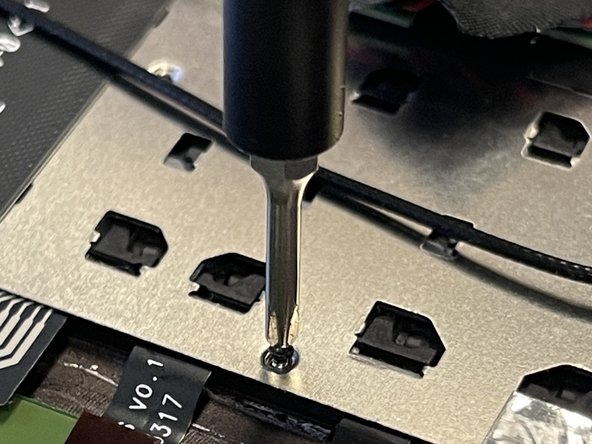
- Use a Phillips #000 screwdriver to remove the fifty-five 1.6mm screws securing the keyboard.
- Not all the screws are highlighted.
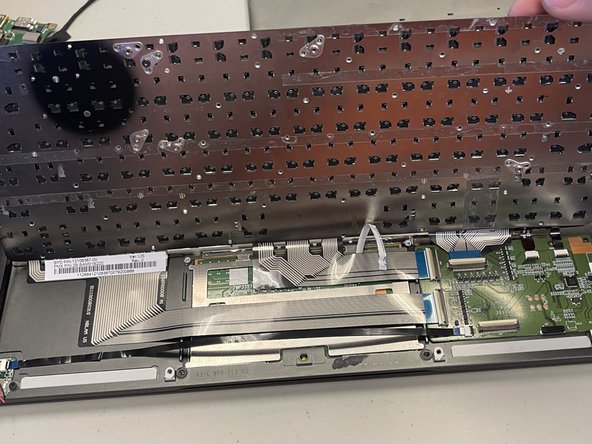
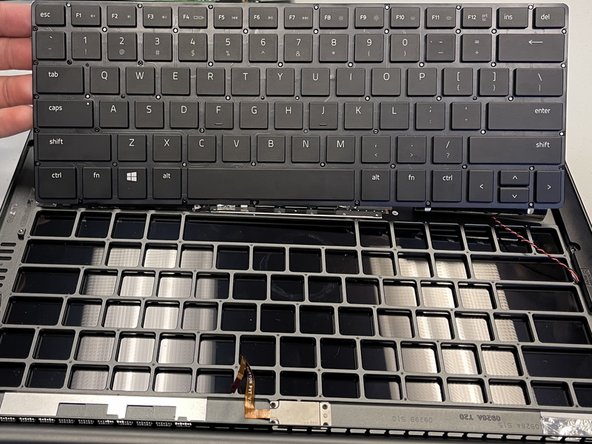
- Carefully pick up the keyboard from both sides in order to remove the keyboard.
- Use a spudger if necessary to remove the keyboard.