Ninja Foodi SP101 Control Panel Replacement
ID: 171116
Description: The control panel on your Ninja Foodi SP101 is...
Steps:
- Use a TR10 screwdriver to remove the four 11mm screws holding the black lever bar in place.
- Remove the black lever bar.
- Use a Phillips #1 screwdriver to remove the three 8mm screws on each side of the back panel.
- Flip the device upside down and open the bottom panel.
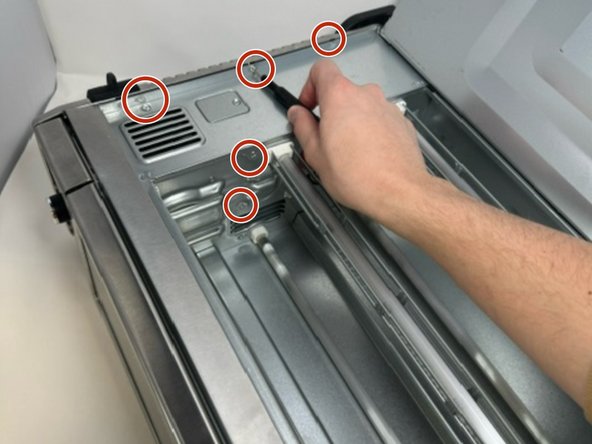
- Remove the 3 x philips #1 screws along the top edge of the interior using a screwdriver. The Bottom 2 do not have to be removed.
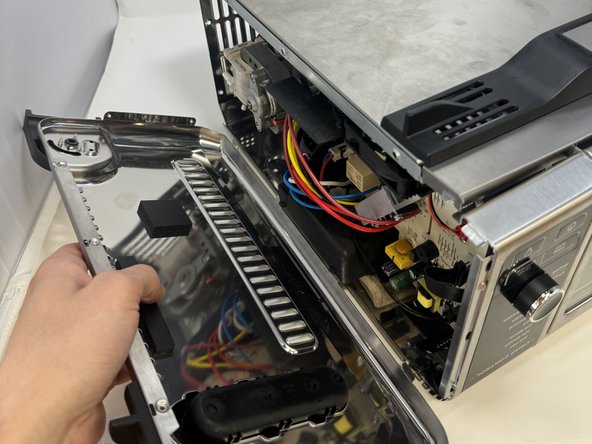
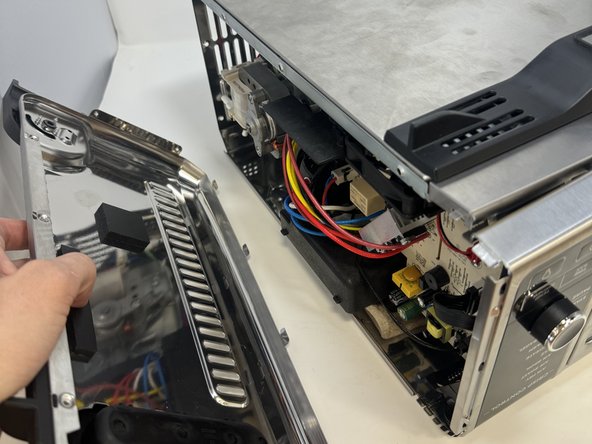
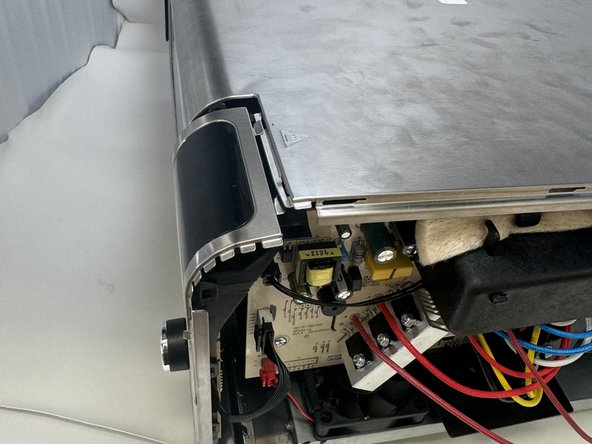
- Remove the control side panel. To remove it, push forward towards then front control panel to release the tabs out of the main body. Fold away the side panel when the tabs have visually released from their slots in the main body.
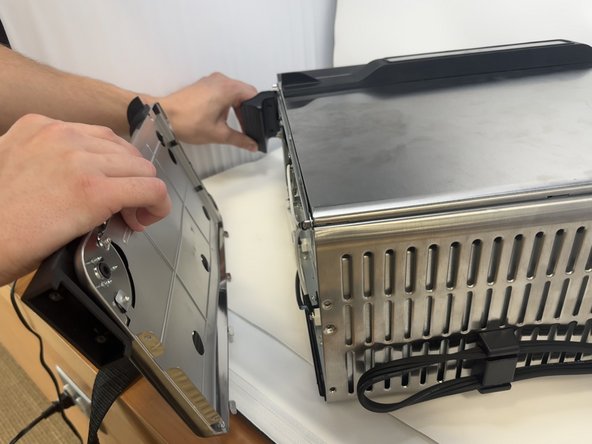
- Lift the handle and pull the side panel out.
- Remove the handle side panel.
- Remove the 10mm screw using the Phillips #1 screwdriver.
- This screw connects the motherboard to the motor.
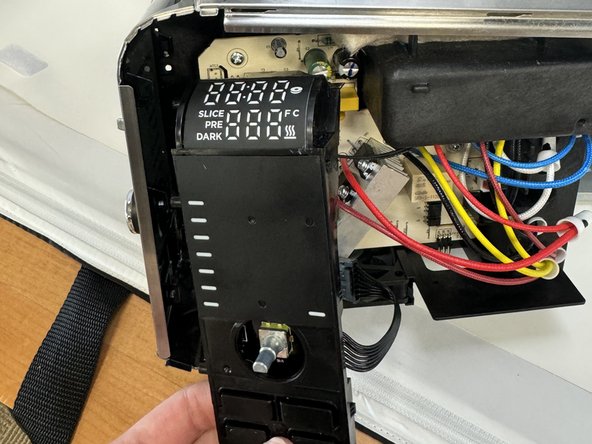
- Locate the control panel.
- Slide the top panel outwards and to the right.
- Remove the three 8 mm screws with the Phillips #1 screwdriver.
- These are located on the control panel side that was facing inward.
- Unclip the wires from the motherboard.
- Remove the control panel.