Bissell CrossWave Cordless Max 2554A Motherboard and Display Replacement
ID: 171639
Description: The motherboard and display in the Bissell...
Steps:
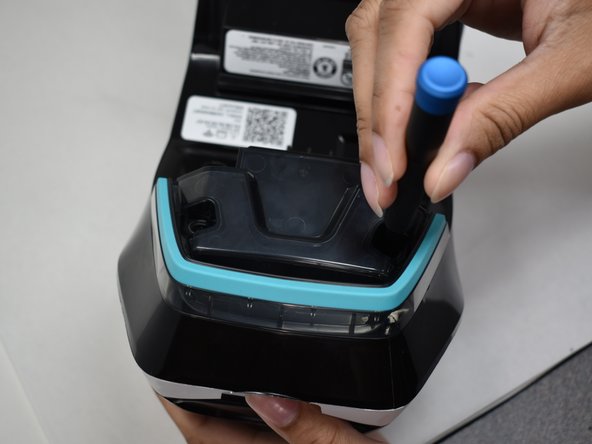
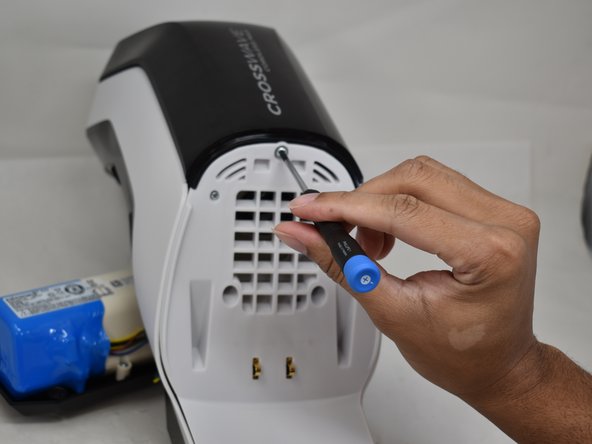
- Remove the four 16 mm Phillips #2 screws at the back of the vacuum and below the clean water tank.
- Pull the battery assembly away from the main body.
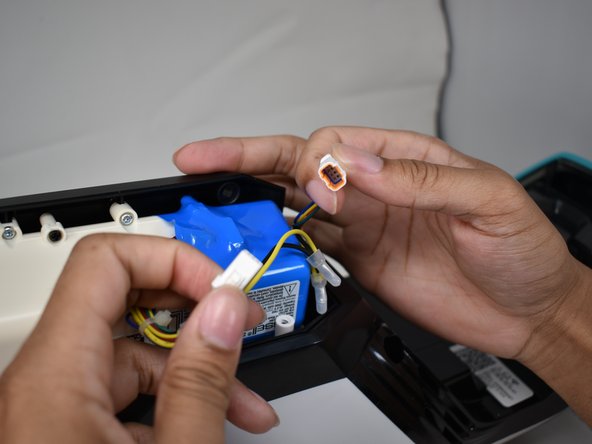
- There are still wires connecting the battery assembly to the main body. Do not use force to completely separate the two objects.
- Detach the wires holding the battery assembly to the main body by pressing down on the clip holding the connector together.
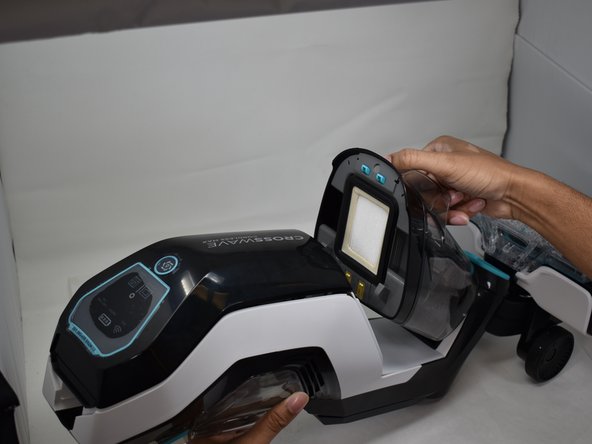
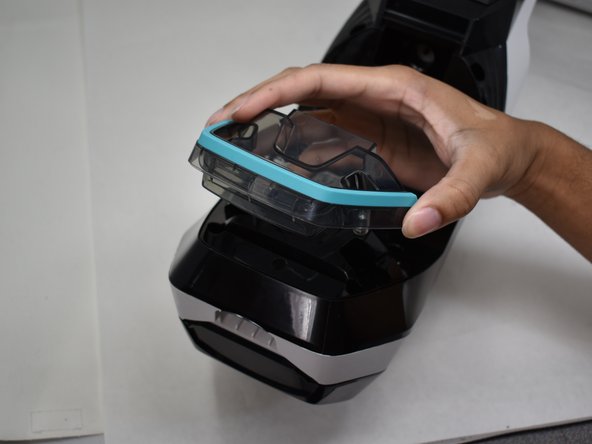
- Remove the clean and dirty water tanks.
- Removing the tanks gives access to all of the screw holes required to disassemble the vacuum housing.
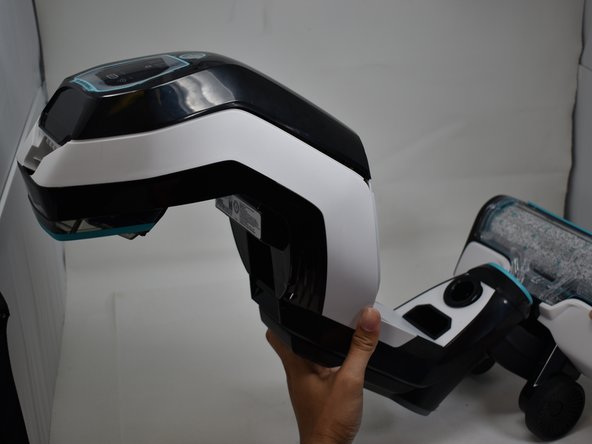
- Remove the two 13.8 mm Phillips #1 screws holding the carrying handle to the main body.
- Remove the six 14 mm Phillips #1 screws that are located where the clean water tank once was.
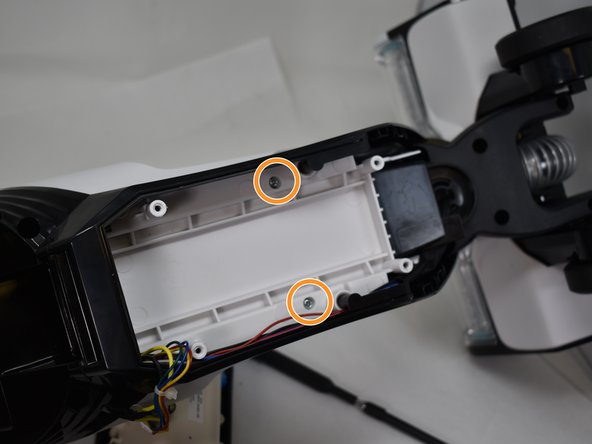
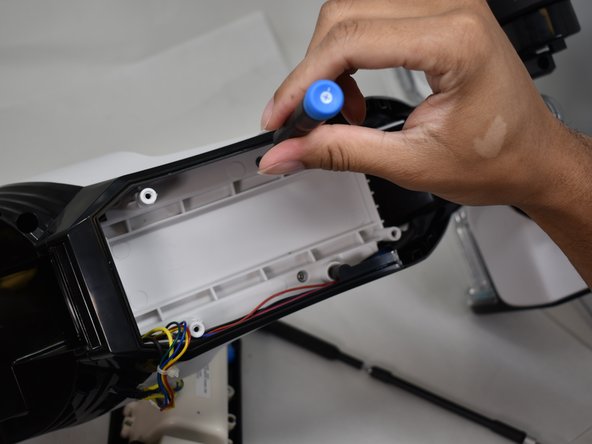
- Remove the two 14 mm silver screws located underneath the battery using a Phillips #1 screwdriver.
- Flip the device over and remove the three 12.3 mm Phillips #1 screws.
- Remove two 15 mm Phillips #1 screws.
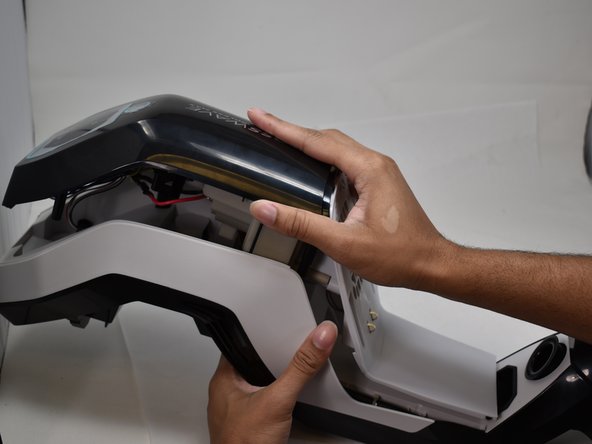
- Remove the two front pieces of plastic from the main body of the vacuum.
- There are many wires still connected from the main body to these front panels. Use caution when separating the plastic as to not break the wiring.
- The panel can be flipped over to reveal the motherboard and display.
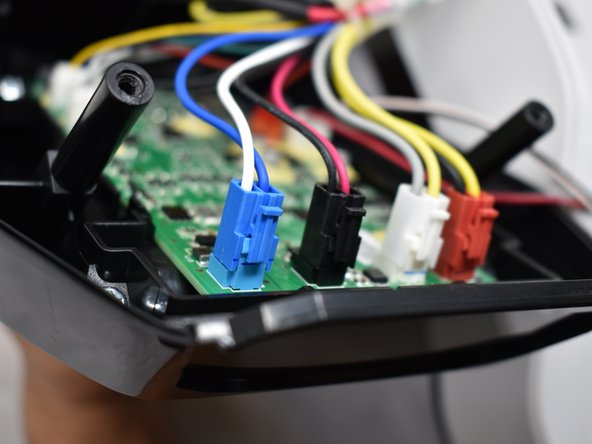
- Unplug the nine wire connectors attached to the motherboard of the vacuum.
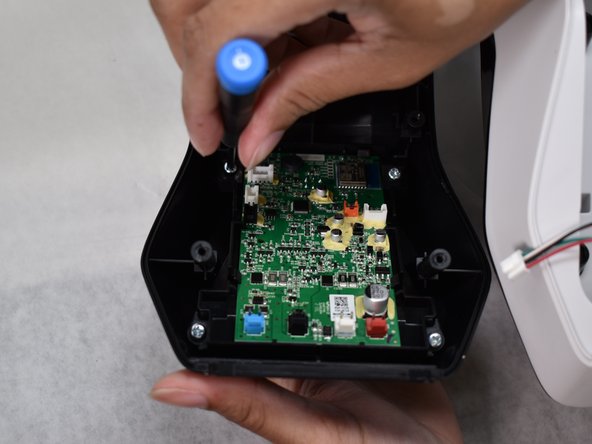
- Remove the four 12.3 mm Phillips #1 screws attaching the motherboard to the front plastic.
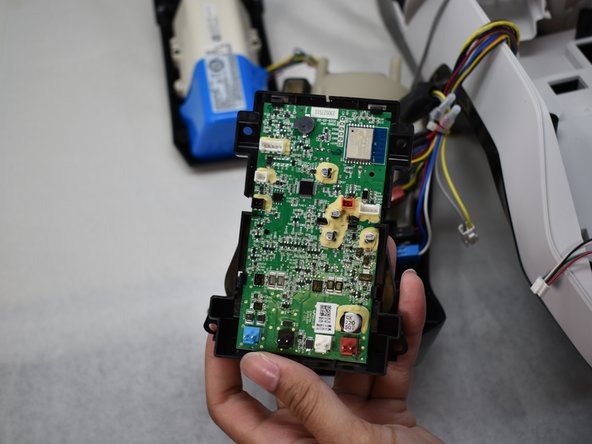
- The motherboard can be separated from the front plastic and exchanged for a new one.