Canon 9950F Scanner Teardown
ID: 171715
Description: This scanner can be found affordable, perfect...
Steps:
- Disconnect cable
- Lift off top lid
- Loosen the 6 screws.
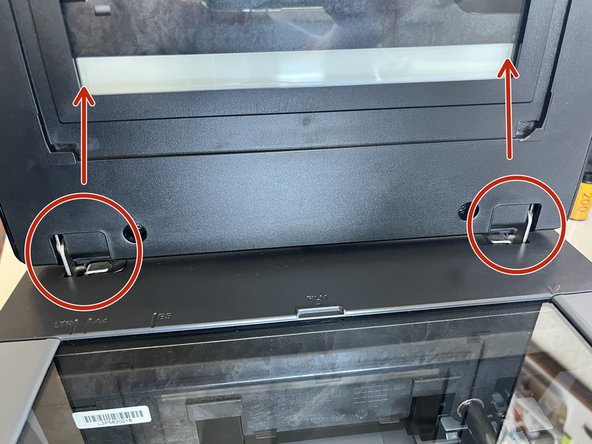
- There are also 3 clips at the top, you can undo them by sliding it a little in the direction of the hinges, then unclipping.
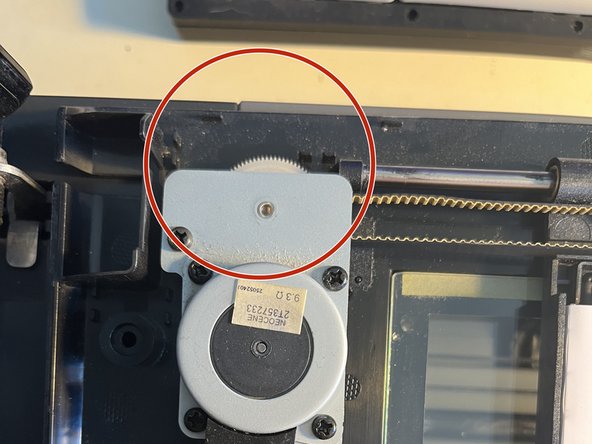
- When you are moving the scanner parts of the machine, try to do so by moving the gear, as it is intended to avoid damage.
- Don't forget to put the scanner back to it's original position after you are done cleaning.
- From the two slots the hinges move out from, undo two phillips screws.
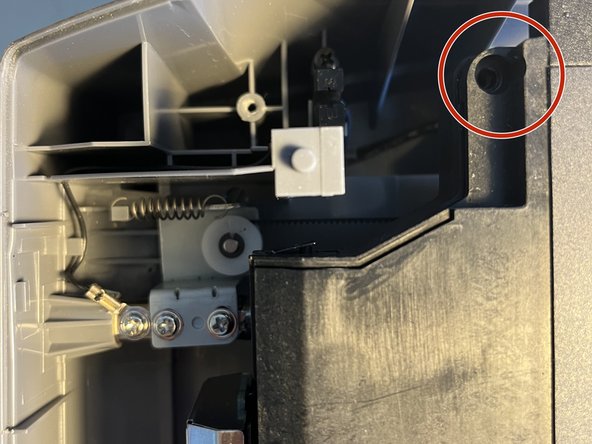
- Then unclip the plastic cover, it has some clips at the back. Should come out relatively easy.
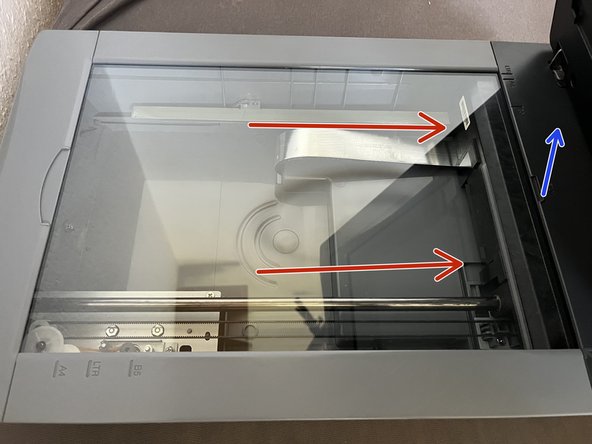
- Slide the glass in the direction of the red arrows. Then lift the glass a little by blue arrow and it should come out.
- Now you can clean the insides and back of the glass.
- Move the scanner head a little away form its resting position. Again, by turning the gears.
- Unscrew the the phillips screws at the sides of the head.
- The head also has about 6 metal clips in total in the two sides. You have to undo 2 to open it for sure. But I undid all, just to be sure.
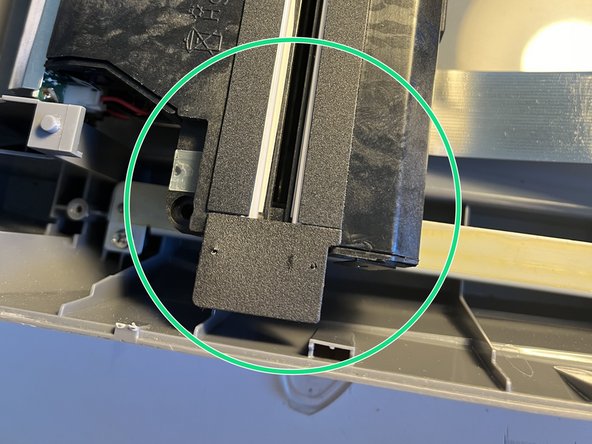
- The part shown with the green circle, needed some fiddling to also undo. There are wires here, so pay attention not to damage anything! I just moved it off to the side while cleaning the mirrors.