YCCTEAM YCC-SW4001 Shoulder Buttons Replacement
ID: 171819
Description: If your YCCTEAM YCC-SW4001 shoulder buttons (L,...
Steps:
- Use a Phillips screwdriver to remove the eight 9.15 mm screws that secure the rear case.
- Use an opening pick to pry the back cover off of the controller.
- Use a Phillips screwdriver to remove the three 9.15 mm screws from the back of the controller.
- On some models there are two more Phillips head screws on the sides that need to be removed before the front and back panels can be separated.
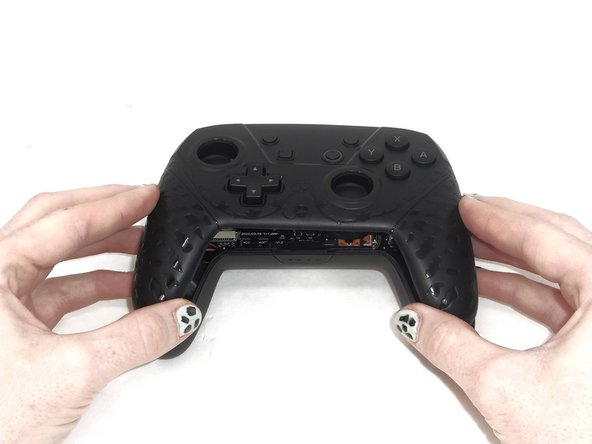
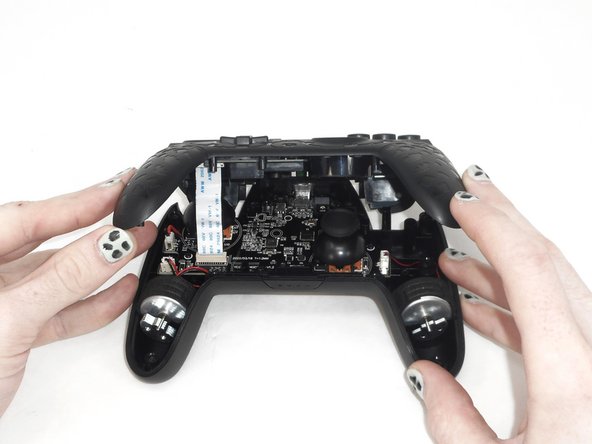
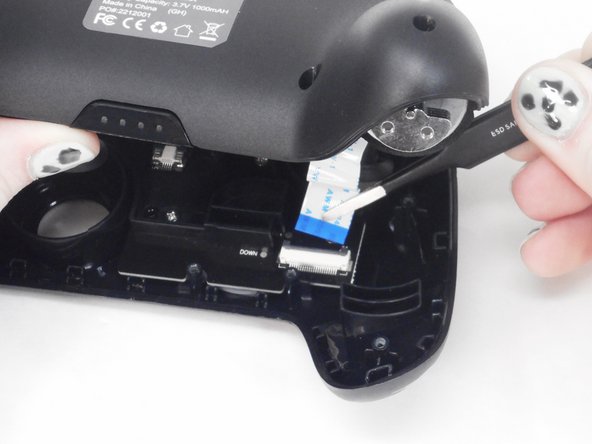
- Slightly lift the front case.
- Do not remove the front cover completely; it is still attached to the motherboard by a white ribbon cable.
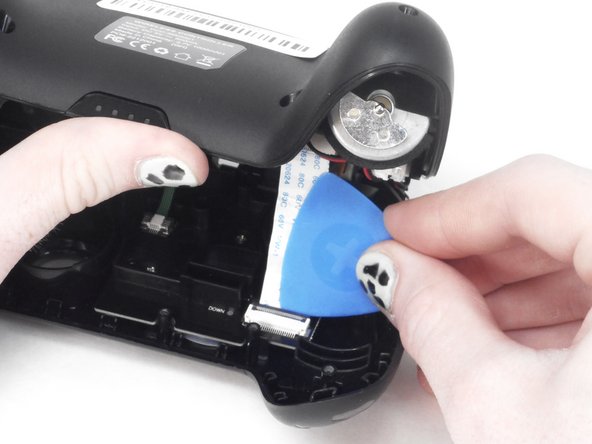
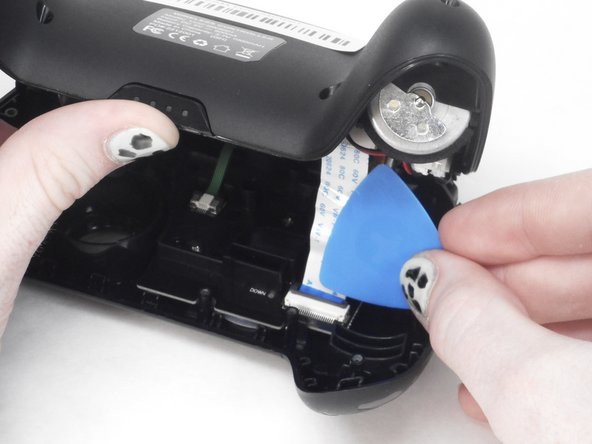
- Use the tip of the opening pick to flip up the black locking flap of the ZIF connector.
- The black flap holds the white ribbon cable in place.
- Use tweezers to disconnect the white ribbon cable from the ZIF connector.
- Remove the front case.
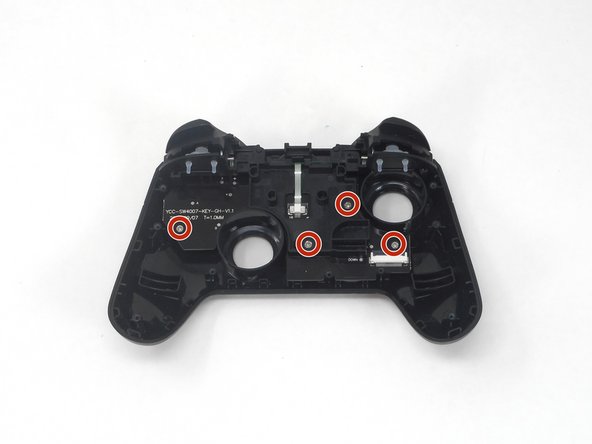
- Flip over the front cover and remove the four 5.8 mm screws from the rear of the front cover using a Phillips screwdriver.
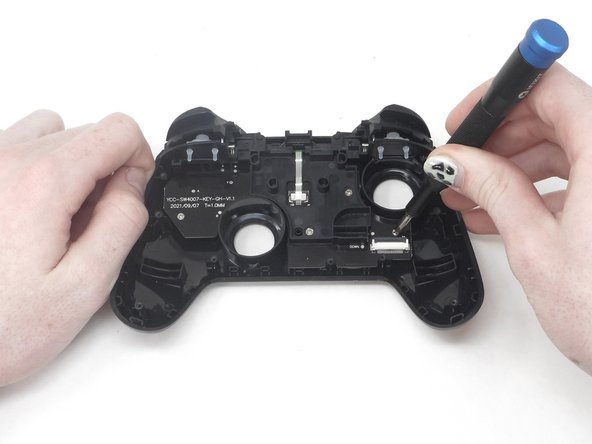
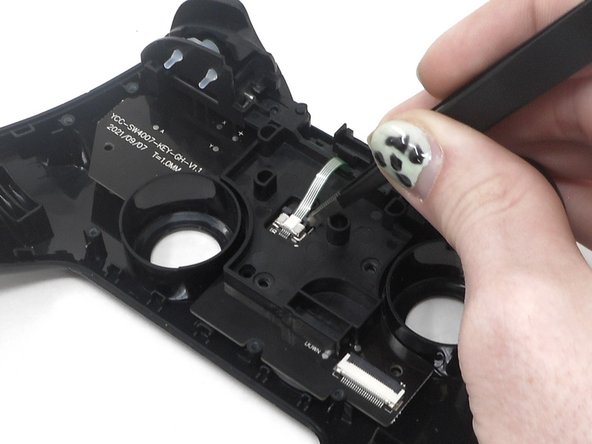
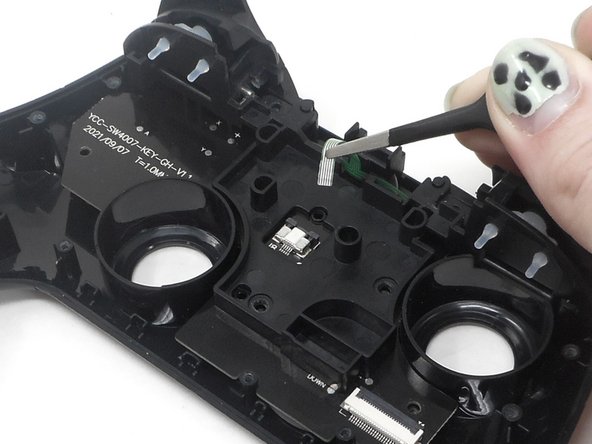
- Flip up the ZIF locking flap.
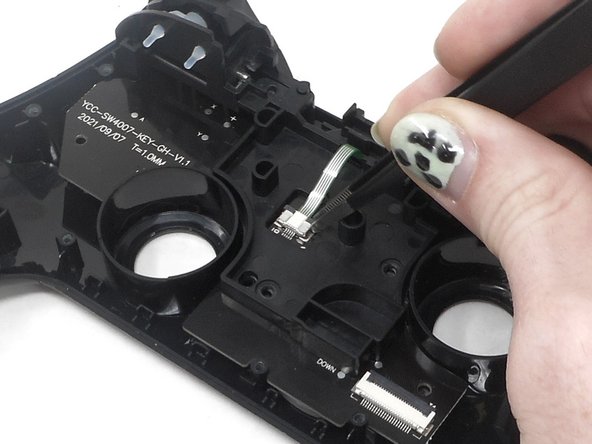
- Disconnect the cable from the ZIF connector using tweezers or by hand.
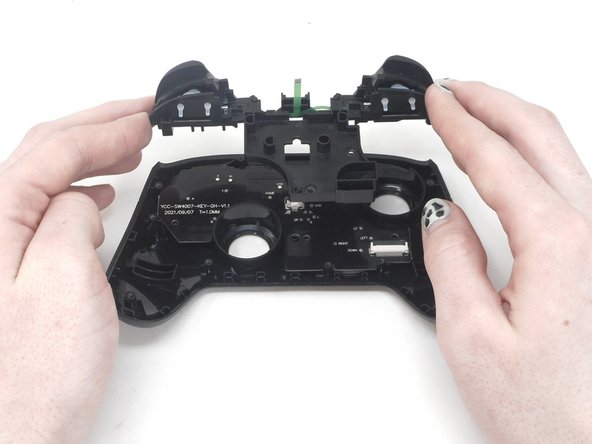
- Remove the circuit board and shoulder buttons assembly from the front cover.
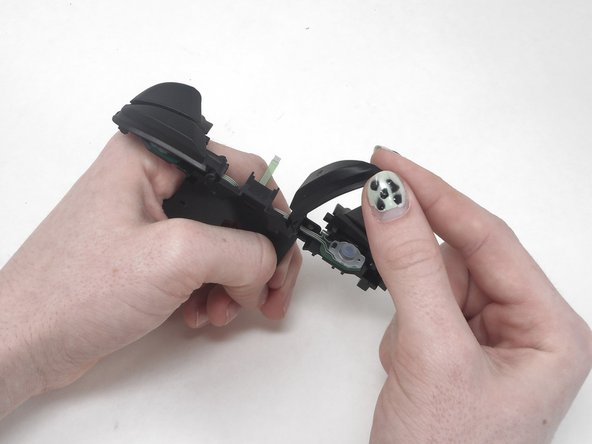
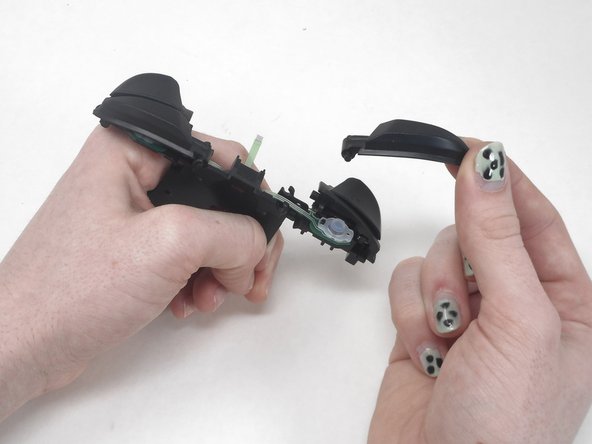
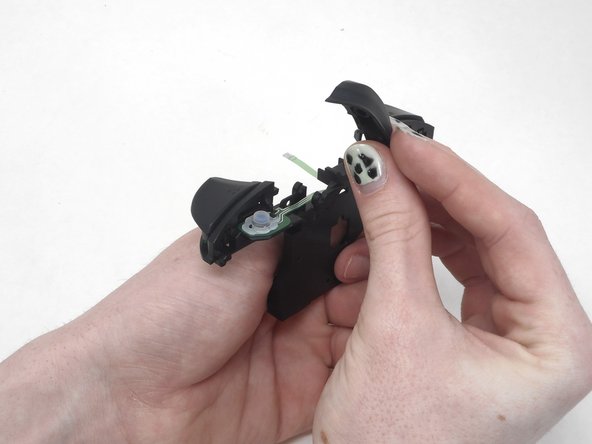
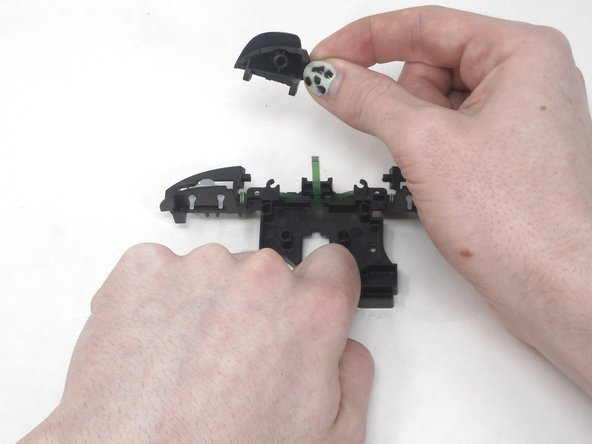
- Remove the R button by hand.
- Remove the L button by hand.
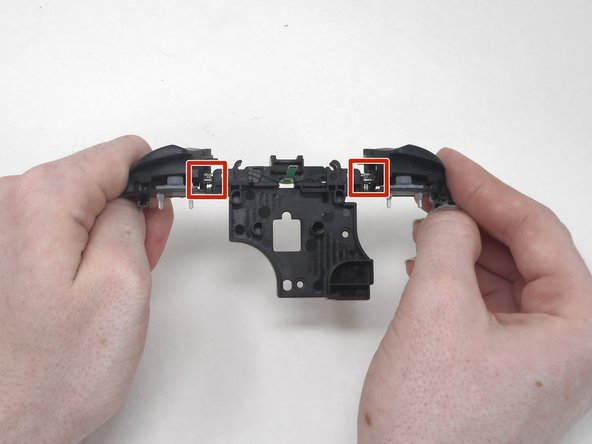
- Flip the shoulder buttons attachment and look at the metal rods.
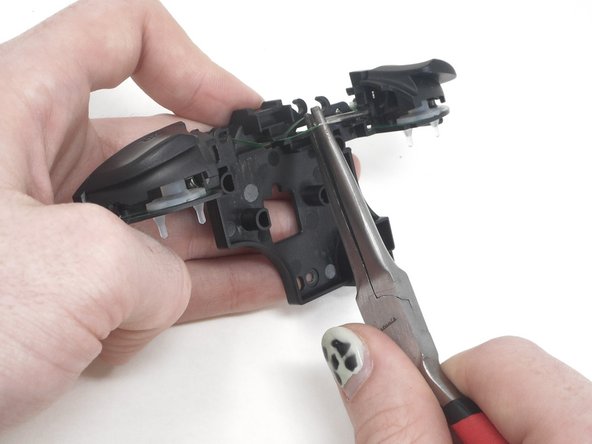
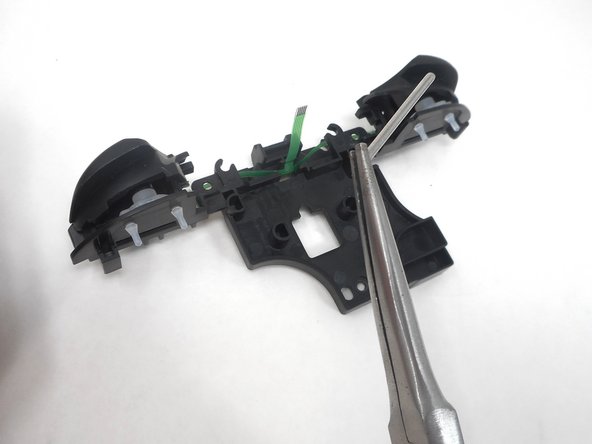
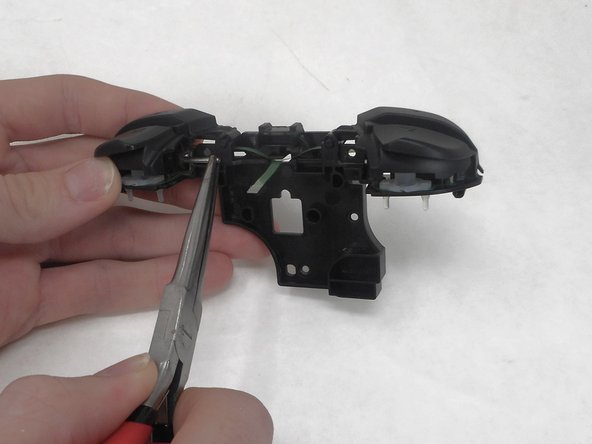
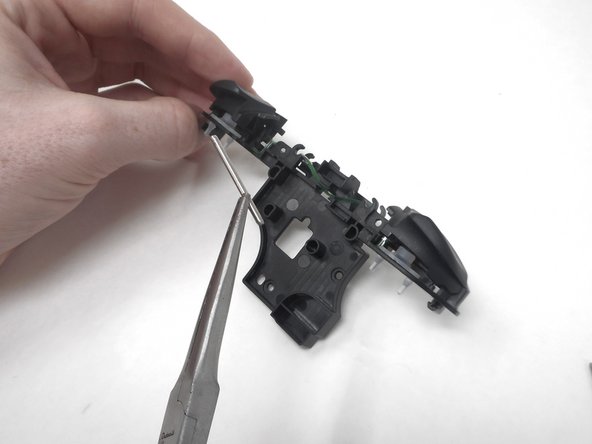
- Remove the metal rod under "ZL" using the small needle nose pliers.
- Remove the metal rod under "ZR" using small needle nose pliers.
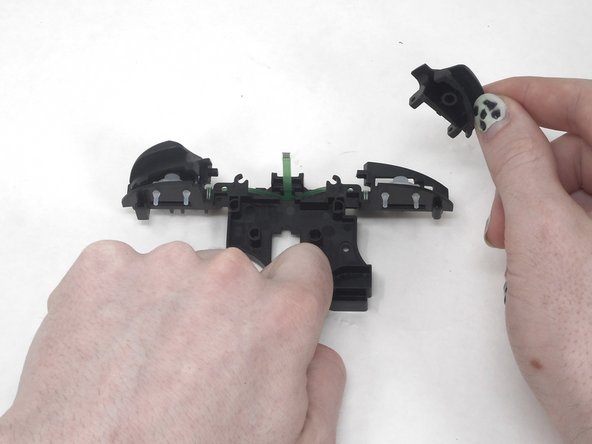
- Remove the ZL and ZR buttons by hand.