Amazon Echo Show 10 3rd Gen Speaker PCB Replacement
ID: 171847
Description: This guide will walk you through the...
Steps:
- With the echo device standing upright, firmly grip the base and use the blue opening tool to gently pry the lid from the mesh speaker base.
- Remove the lid and set it aside.
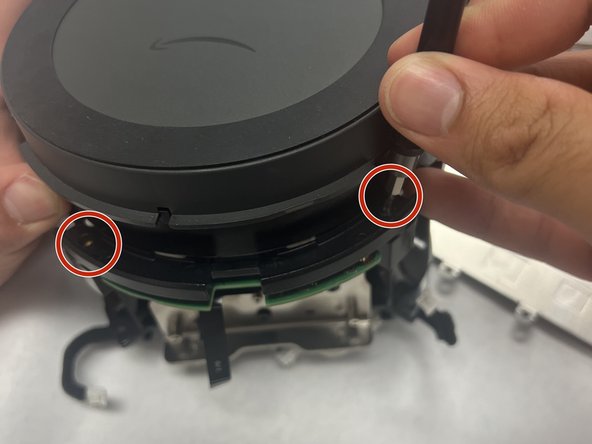
- Use a TR8 Torx Security screwdriver to remove the six 9 mm screws from the perimeter of the plastic bezel on the top edge of the device.
- Release the adhesive seal connecting the bezel to the main base by inserting a Jimmy underneath the edge, and gently sliding from one side to another.
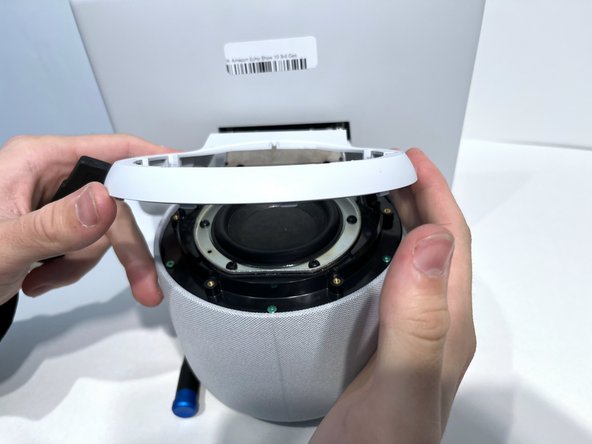
- Lift up the outermost edge of the plastic bezel (furthest from the display) to remove it and set it aside.
- After removing the screws in the previous step, the only thing holding this component in place is glue. You may need to apply a little force to break the seal created by any remaining glue to remove the bezel component. You could also apply a little heat with the iOpener to loosen the adhesive.
- Use a Torx T6 screwdriver to remove the five 10 mm screws from the perimeter of the top surface of the base.
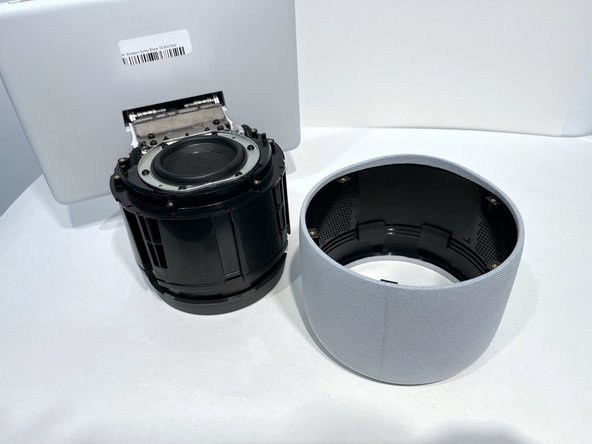
- With one hand securely holding the neck of the display and the other holding the device base, gently lift the device out of the mesh shell.
- Place the shell aside.
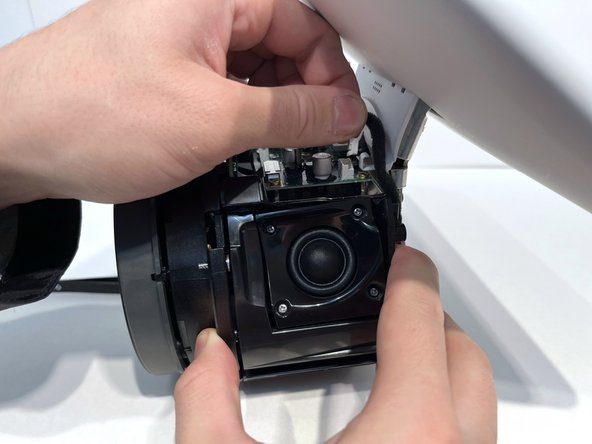
- Rotate the device to lay on its side with the tweeter's exterior facing you.
- Unhook the 3-pin connector attaching the tweeter to the base with your fingers. Hold it as close to the base of the cord as possible, and lift it directly up from the socket.
- Use a Phillips screwdriver to remove the four 10 mm screws attaching the tweeter to the main speaker base.
- Remove the tweeter.
- Repeat the previous steps if you are removing the other tweeter.
- Remove the six 6.8 mm T6 Torx screws.
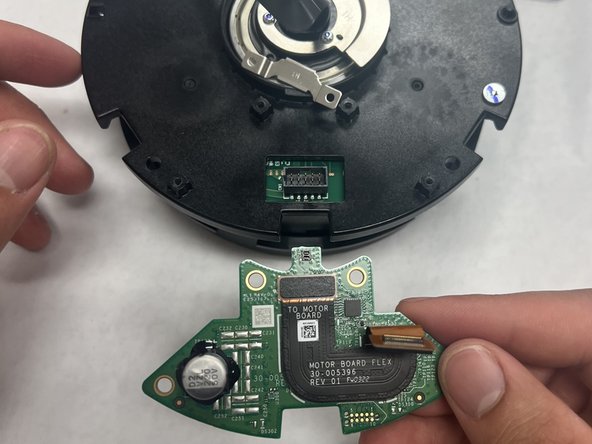
- Gently lift up the press connector to disconnect it.
- Remove the PCB.
- Remove the four 10.7 mm T8 Torx screws.
- Remove the two 6.8 mm T6 Torx screws that secure the bracket.
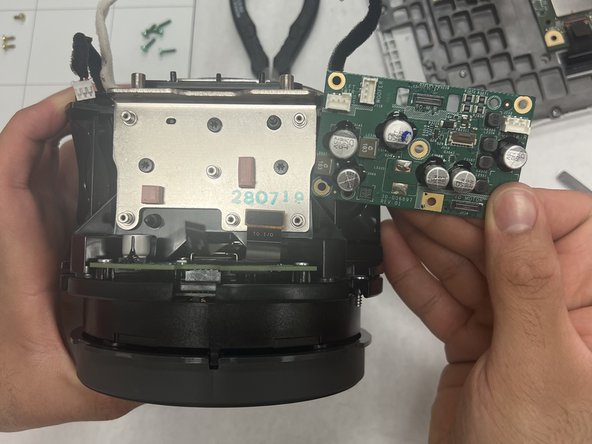
- Remove the two 9.3 mm T6 Torx screws that secure the speaker PCB.
- Remove the speaker PCB.