HP Pavilion 15 dyl1087nr Screen Replacement
ID: 171896
Description: Laptop screens are one of the most essential...
Steps:
- Open the laptop so the screen is in an upright position.
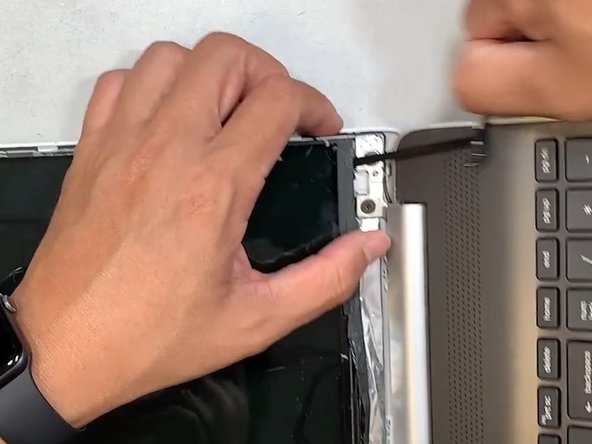
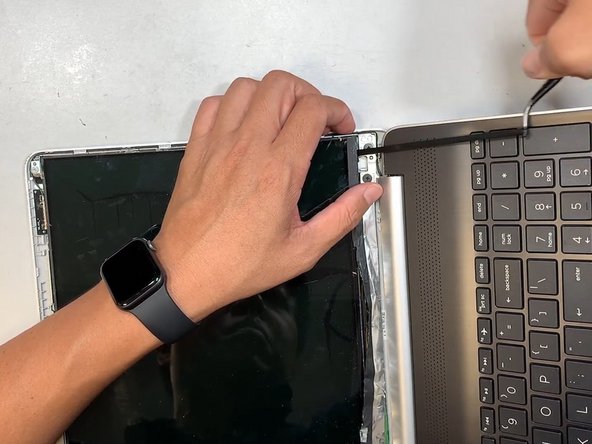
- Use a spudger on the underside of the bezel to release the clips securing it to the screen assembly.
- Work your way around the entire bezel until the bezel is free.
- Remove the bezel and set it aside to reveal the laptop screen assembly interior.
- You will need the bezel for reassembly.
- Use tweezers to remove the double-sided tape underneath the four corners of the display screen.
- If you tear the tape, it is okay, it will just be moderately more challenging to pull the display screen off from the laptop.
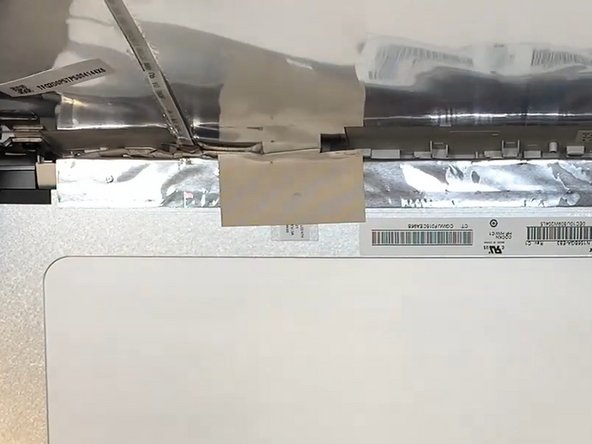
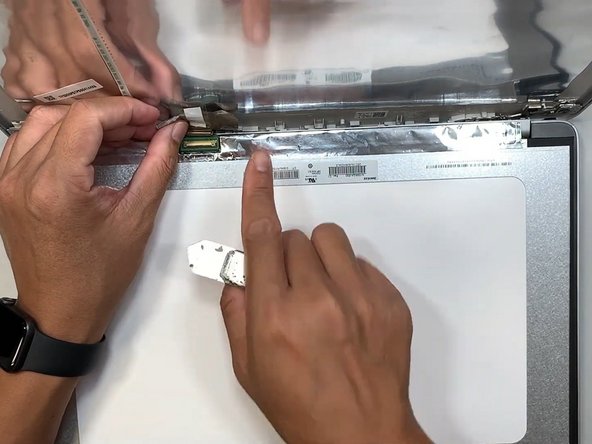
- Flip the display screen over facedown to reveal the tape connecting the screen to the rest of the computer.
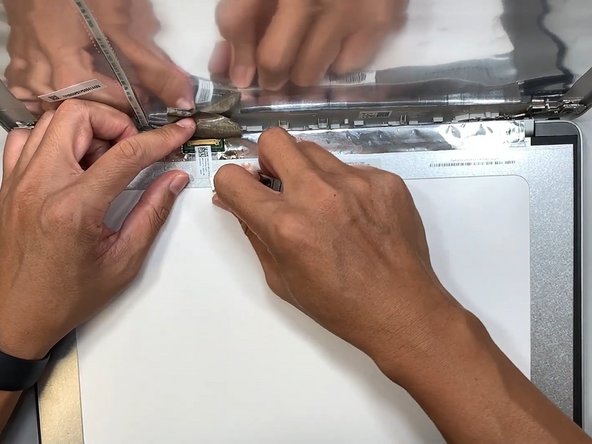
- Remove the tape covering the display cable connector.
- Use your spudger to detach the display cable connector. First, gently push the tip of a spudger under the metal buckle to unclip it, then swing it over the socket.
- Next, hold the buckle and cable together and gently pull the connector straight out of its socket.
- Grip the cable and buckle together and insert the connector fully into its socket.
- Aligning the connector can be tricky. Reposition it as necessary and don't try to force it into the socket, or you may damage both the connector and its socket.
- Flip the buckle over the socket and use a spudger to press the buckle down until it clicks into place.
- Remove the old LCD screen and replace it with your new display screen.