PDP Rematch Top Left and Right Button(s) Replacement
ID: 171902
Description: If your PDP Rematch (model 500-134-1) top left...
Steps:
- Grip one side of the controller firmly.
- Insert an opening pick into the crease between the faceplate and the body of the controller.
- Once the pick creates a gap in the crease, gently insert another pick into a different section of the crease.
- Carefully move the picks along the controller's crease line until you hear a popping sound.
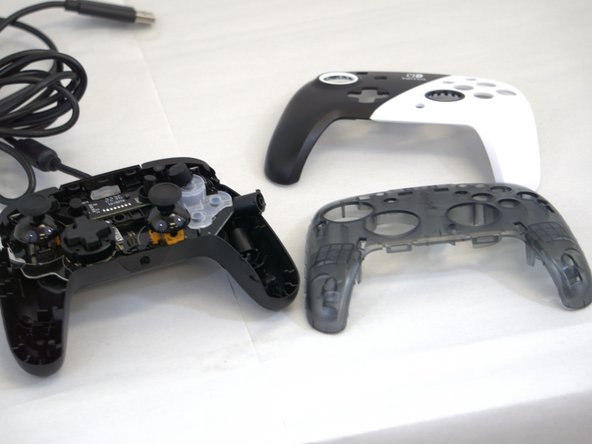
- Gently lift off the faceplate by hand.
- Remove the 8 mm screws from the hard cover using a JIS #00 screwdriver.
- Since the screws have been removed, avoid shaking or moving your controller too much to prevent other buttons from falling out.
- Gently lift off the hard cover with your hand; it should not need much force.
- Remove the back panel by pulling it away from the front.
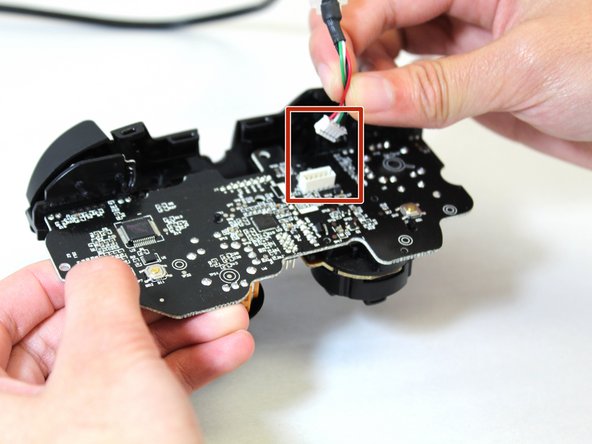
- Disconnect the cable by squeezing the two sides while pulling the cable away from the motherboard.
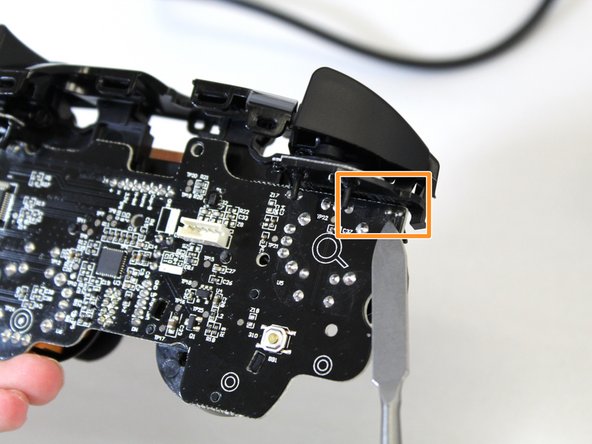
- Touch the hot tip of the soldering iron to the first solder connecting the buttons to the motherboard until the solder melts.
- Repeat this for the next solder. Verify solders have detached from motherboard.
- Be careful of the hot soldering tip.
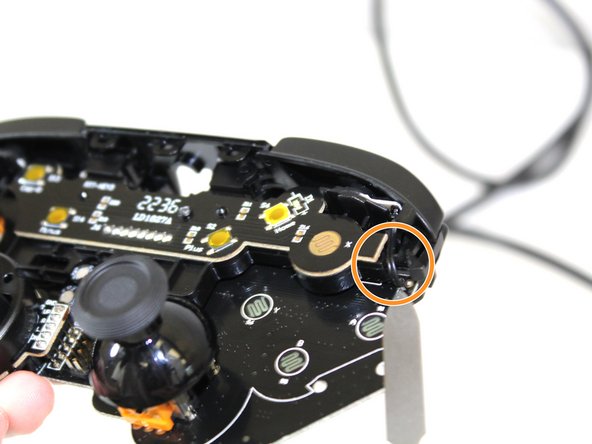
- When the solder has completely melted, flip the controller and gently pull the wire free from the motherboard.
- Repeat for the other black wire.