Nanit Pro N301 Camera Replacement
ID: 171915
Description: If your Nanit Pro N301 is not producing a clear...
Steps:
- Insert an opening pick into the seam between the front and rear case.
- Slide the opening pick around the perimeter of the camera until all of the retaining clips are released.
- Separate the front and rear case.
- Remove the four 4 mm T6 Torx screws from each corner of the circuit board.
- Lift the circuit board out of the chassis.
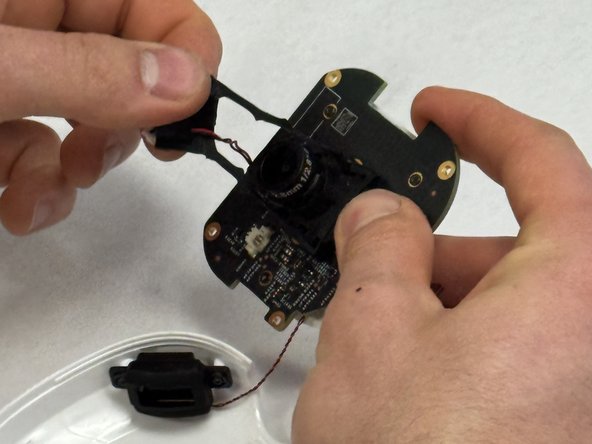
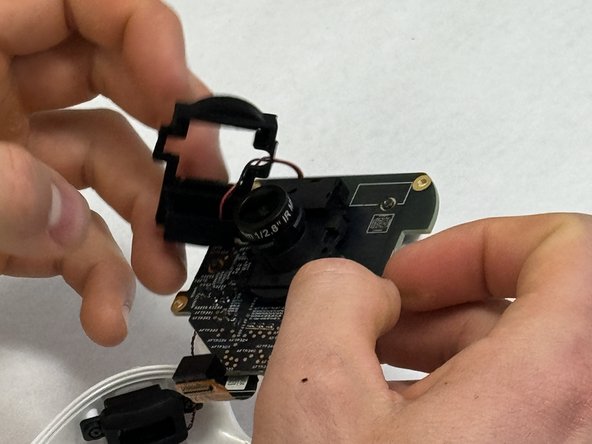
- Remove the rubber gasket around the camera.
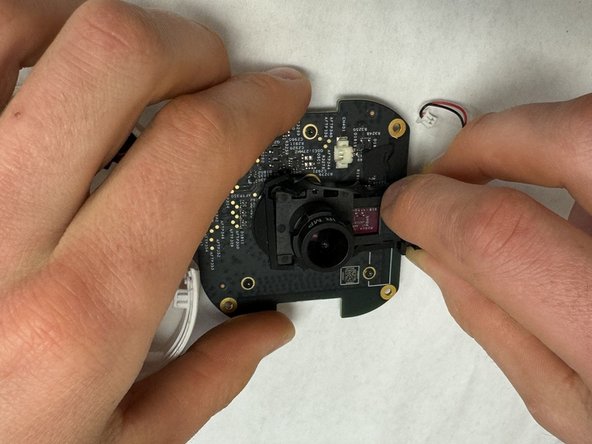
- Disconnect the white camera connector from the circuit board.
- Do not pull on the wires.
- Remove the small Phillips screw that secures the camera.
- Remove the filter from behind the camera lens.
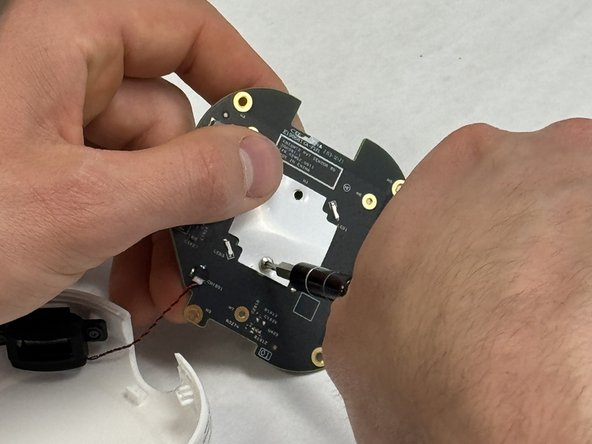
- Use a T4 Torx screwdriver to remove the screws that secure the computer chip to the white plastic bracket.
- Gently pull the circuit board away from the white plastic bracket.
- Use a Phillips screwdriver to remove the two screws that secure the underside of the camera.
- Gently lift the camera up and off the circuit board.