ZCWA BR151 Wheel Replacement
ID: 171923
Description: If you need to install or replace new wheels in...
Steps:
- Turn off the device.
- Remove the water tank by sliding the latch down with a finger and grasping the bottom of the water tank.
- Pull it out.
- Flip the device over to access the bottom panel.
- Remove the cloth mop covering by lifting it from the velcro on the plastic mop attachment.
- Remove the plastic mop attachment by placing your fingers underneath and prying it up.
- Remove the six 6 mm screws on the bumper guards using a Phillips #0 screwdriver.
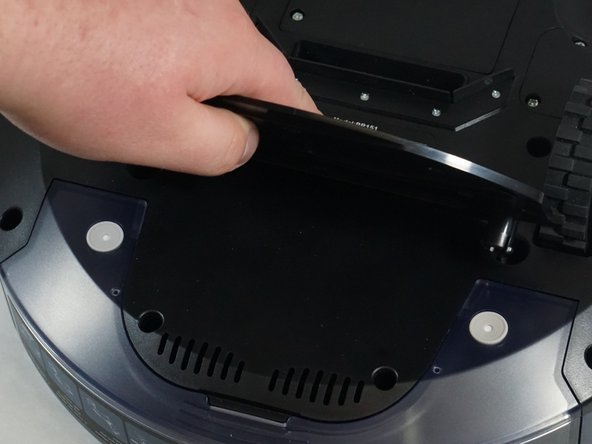
- Remove the bumper guards by lifting them.
- Use a Phillips #1 screwdriver to remove the ten 10 mm screws from the bottom plate.
- Use a Phillips #1 screwdriver to remove three 8 mm screws from the wheel plate.
- Carefully lift the bottom panel off of the top.
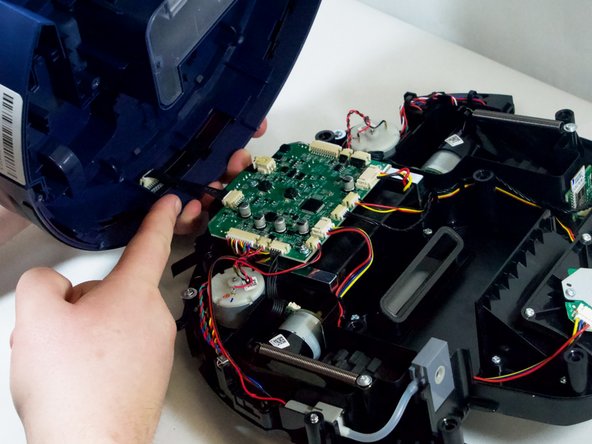
- The top and bottom panels are attached by a set of wires. They will not fully detach at this point.
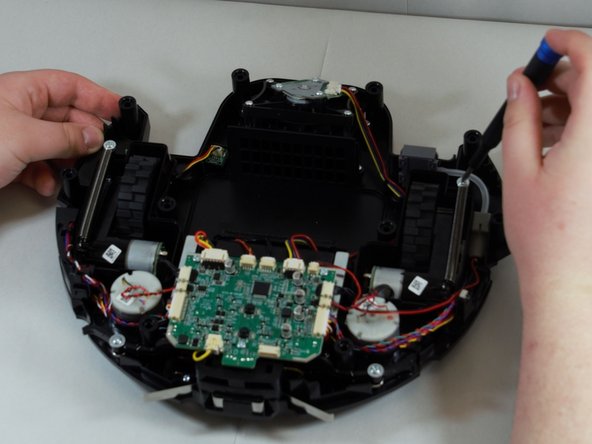
- Gently place the bottom of the device on your workspace surface, wheels down, exposing the inner workings of the device.
- Though optional, we recommend separating the top and bottom panels for easy access to the wheels.
- Pinch the wire bracket that is on the top panel while pulling the bracket away.
- Pull the cable away from the connector in the same direction as the individual wires are running.
- Pull evenly on the full width of the cable so that no individual wires are overly strained.
- Using a Phillips #1 screwdriver, remove the single screw to the spring.
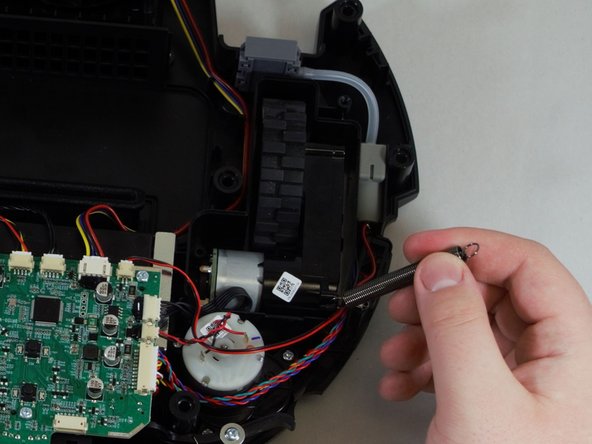
- Once the spring is unscrewed, slowly pull it towards you, then to the left of the spring bracket to free the spring.
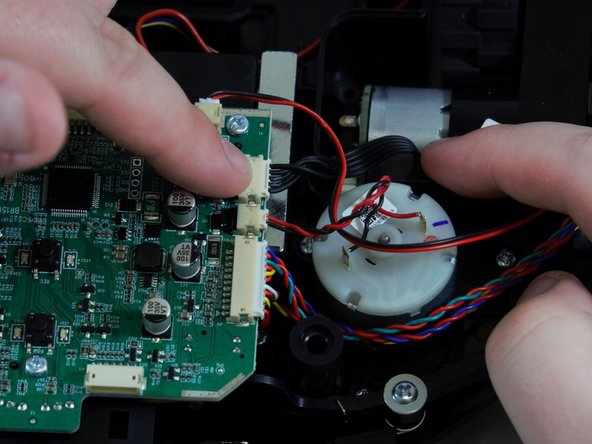
- The wheel's motor is still attached to the motherboard of the device. Locate the wheel's wiring and the port connector on the motherboard.
- Pinch the silver brackets and pull the wire casing away from the motherboard.
- Pull evenly on the full width of the cable so that no individual wires are overly strained.
- Remove the wheel from the vacuum.
- Repeat Steps 6-10 to replace the wheel on the opposite side.