Logitech M185 Wireless Mouse Scroll Wheel Replacement
ID: 171931
Description: Follow this guide to replace the scroll wheel...
Steps:
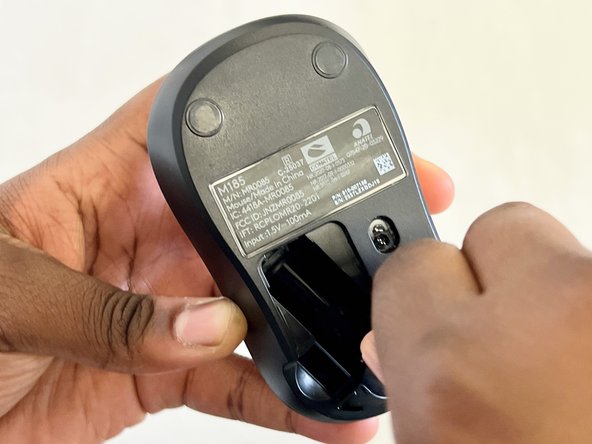
- Turn your mouse over so the bottom is facing up.
- Slide the battery compartment door off to reveal the battery.
- Remove the battery.
- Use a Phillips #00 screwdriver to remove the single screw in the battery compartment.
- The screw may be hard to find at first, but it is directly under the battery.
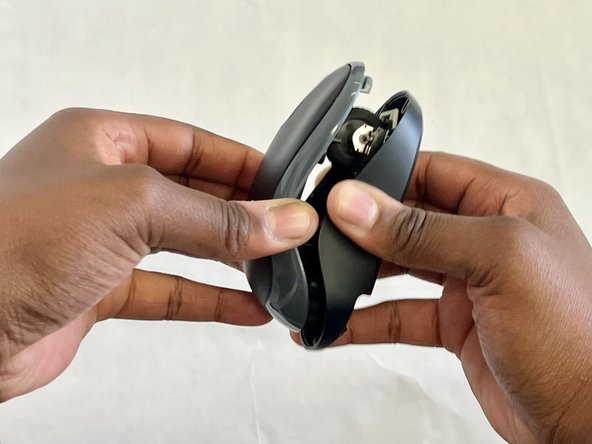
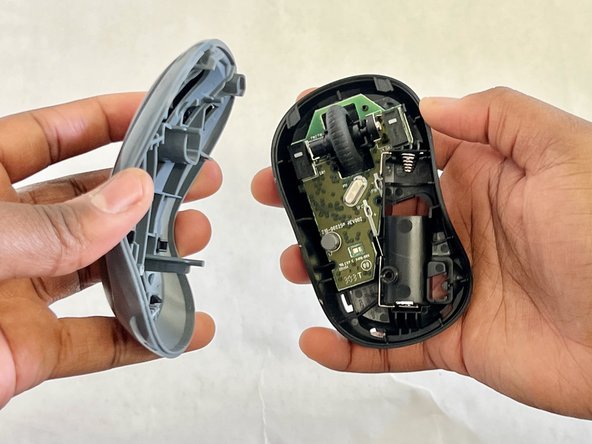
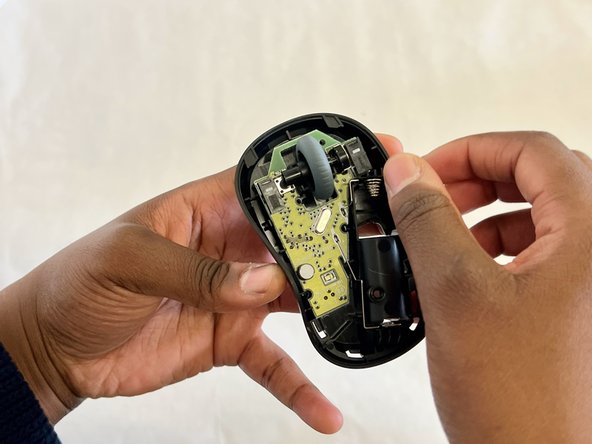
- Place one hand on the bottom of the mouse and the other on the top. Gently remove the top of the mouse.
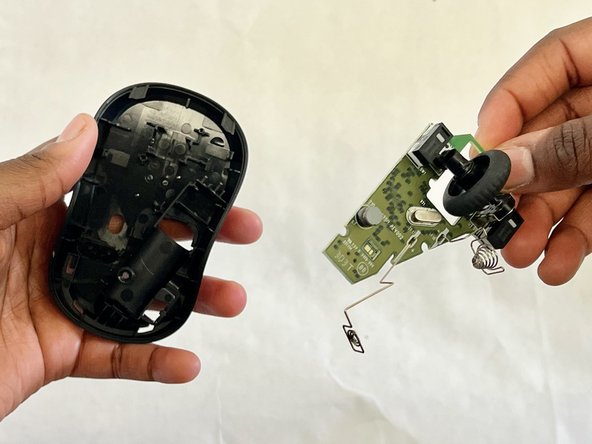
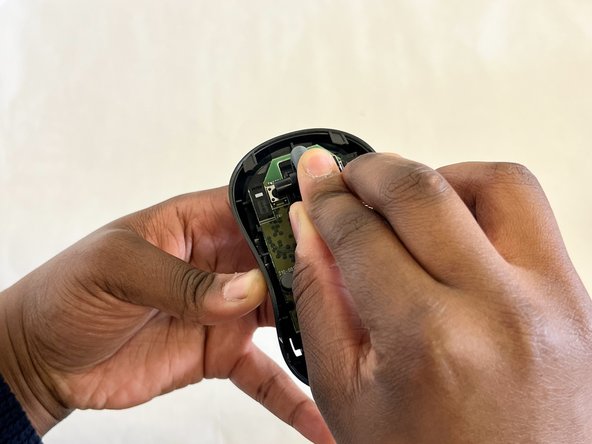
- Use a spudger and gently pry the motherboard up, to remove it from the mouse.
- Any damage done to the board could affect the functionality of the mouse. Show EXTRA care when touching the board. Handle it along the edges only and wear ESD safe gloves if possible.
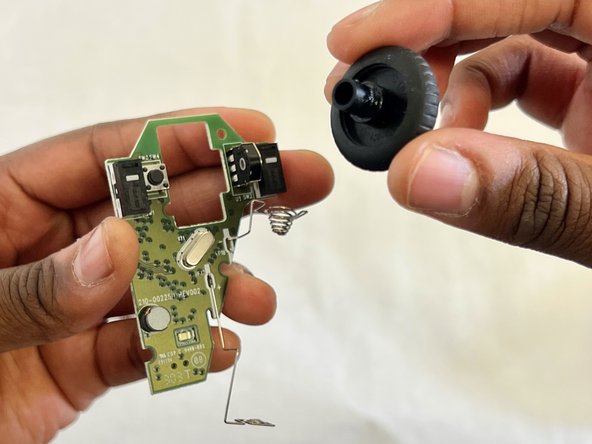
- Carefully remove the scroll wheel from the motherboard.
- Insert the new scroll wheel.
- Replace the motherboard.
- Gently but firmly press down on it until it is securely in place.
- You will hear a click or snap, indicating it is in place.
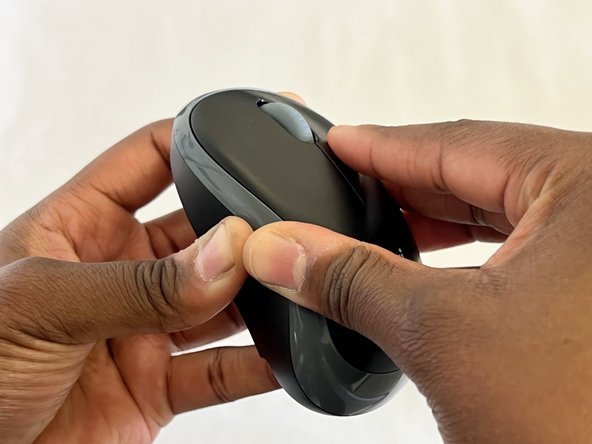
- Put the top of the mouse back onto the bottom and press them together so they connect.
- Make sure the edges of the top and bottom of the mouse align so there is a secure connection.
- Use a Phillips #00 screwdriver to replace the single screw in the battery compartment.
- Replace the battery and battery cover.
- Plug your mouse into a computer using the USB connector to ensure the scroll wheel is working.