Apple Magic Keyboard 2 A2450 Keyboard Replacement
ID: 171972
Description: This is a guide to replace the keyboard of your...
Steps:
- Apply heat around the perimeter of the lower case to loosen the adhesive that secures the lower case to the chassis.
- The plastic should be a bit too warm to touch comfortably, but not hot.
- Insert an opening pick in the gap between the lower case and chassis.
- After ensuring that the adhesive is warm, slide the pick around the perimeter to sever the adhesive.
- As you sever the adhesive, insert additional opening picks at each corner to prevent the adhesive from readhering.
- Remove the lower case.
- Use a T3 Torx screwdriver head to remove all twelve 5 mm that secure the midframe.
- Use tweezers to disconnect the battery motherboard connection.
- Remove the midframe.
- Use a T3 Torx screwdriver to remove the two 5 mm screws that secure the lightning port.
- Use tweezers to remove the Lighting port from the motherboard.
- Use a T3 Torx screwdriver to remove the three 3 mm screws that secure the motherboard.
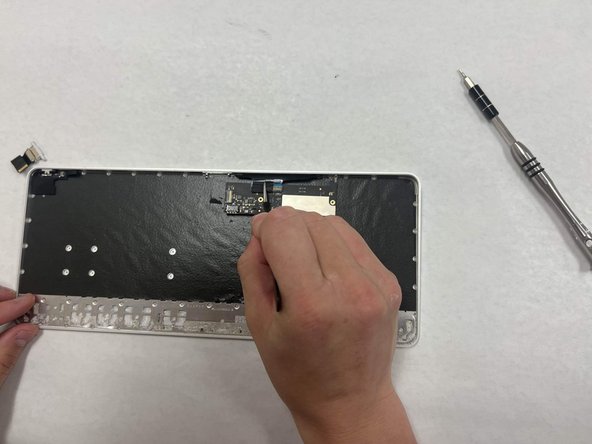
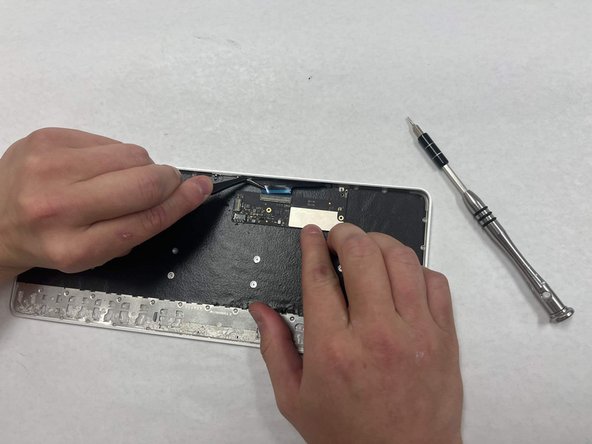
- Remove the tape covering the ribbon cable on the top half of the motherboard.
- Use a small pair of tweezers to gently unplug the ribbon cable and remove the motherboard from the keyboard.
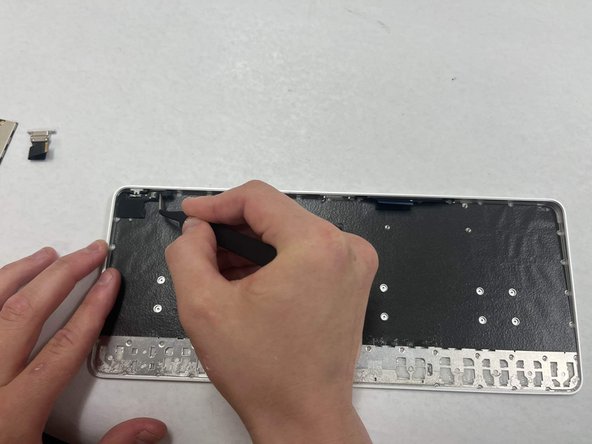
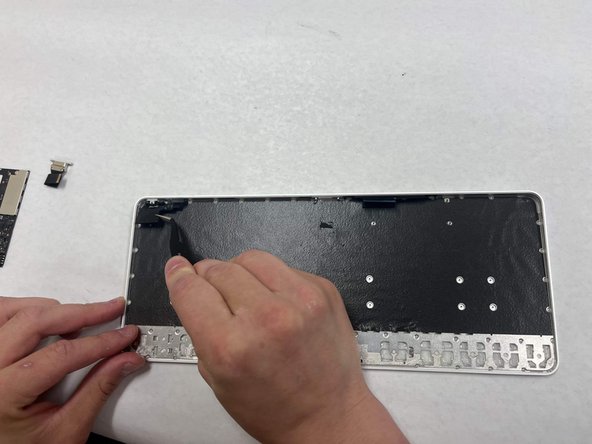
- Use a T3 Torx screwdriver to remove the single 3 mm screw that secures the assembly to the frame.
- Use tweezers to unplug the power switch from the case. Pull horizontally on the entire assembly to remove the switch from the keyboard.
- Replace the keyboard.