Dell Latitude 5480 Display Replacement
ID: 171974
Description: Users can look to this guide if they are...
Steps:
- Use a Phillips screwdriver to remove the eight 5.6 mm screws that secure the lower case.
- Insert an opening tool into the seam between the lower case and chassis.
- Pry up around the perimeter of the device until the lower case fully releases.
- Lift off the lower case.
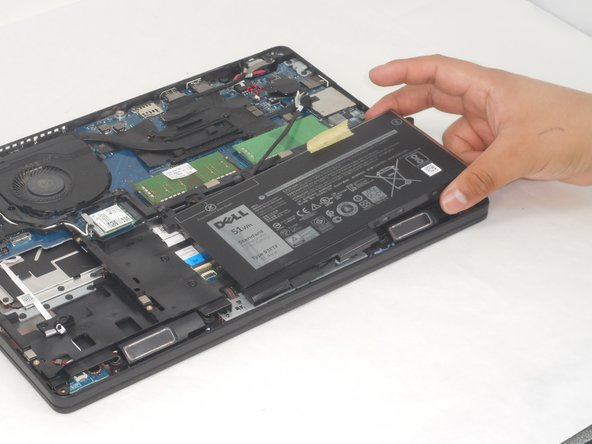
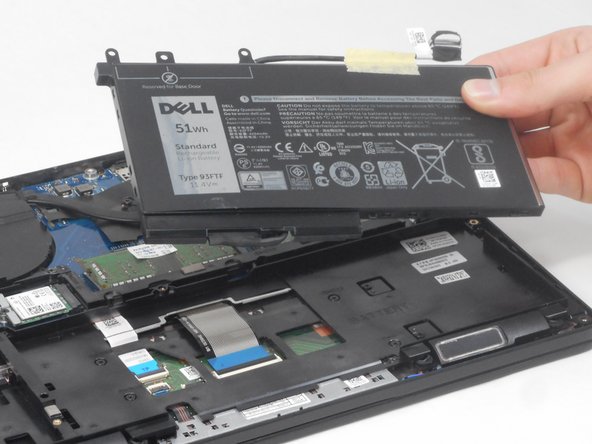
- Remove the four 5.6 mm Phillips screws that secure the battery.
- Lift the battery up and out of the chassis.
- Insert a plastic card between the bezel and the display.
- Slide the plastic card beneath the entire bezel to sever the adhesive that secures the bezel.
- Lift the bezel off of the display.
- Remove the four 5.6 mm Phillips head screws, one at each corner, to release the display assembly.
- Gently lift away the display panel and set it on top of the keyboard.
- Take care not to strain the display assemble cable.
- On the bottom of the back of the display panel, remove the tape that secures the cable connecting the screen to the base of the computer.
- Flip up the display cable locking bar.
- Disconnect the display connector.
- Remove the display.