HP 14-cf2112wm Speakers Replacement
ID: 172030
Description: If your HP 14-cf2112wm isn't producing audio...
Steps:
- Before you begin, shut down your laptop and disconnect all cables.
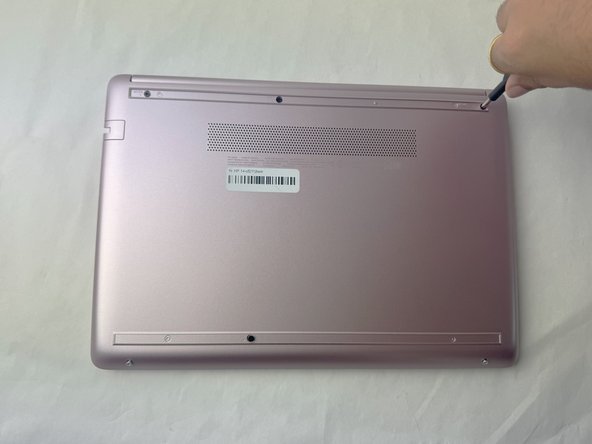
- Turn the laptop over so the bottom case is facing up.
- Use a spudger to pry under the end of the screw cover.
- When the edge is lifted up, use your fingers to pull the rest of the strip off.
- Try to keep the strip intact so you can replace it at reassembly.
- Use a Phillips #1 screwdriver to remove six 6 mm screws from the back case.
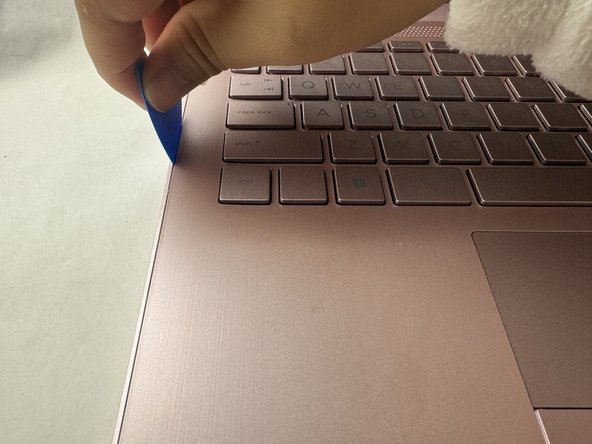
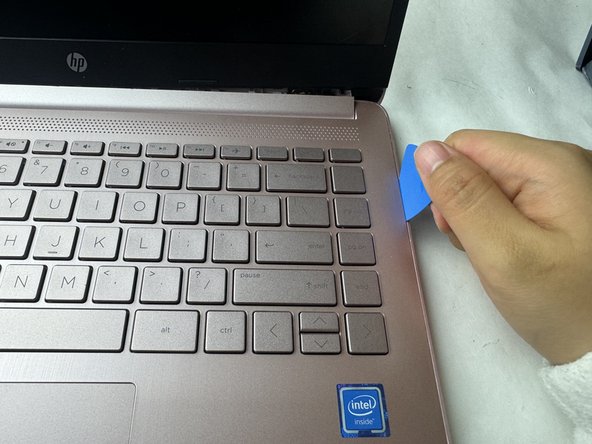
- Use a pick or opening tool to pry along the edges of the back cover from the keyboard side of the laptop.
- Be careful as the case edges are sharp.
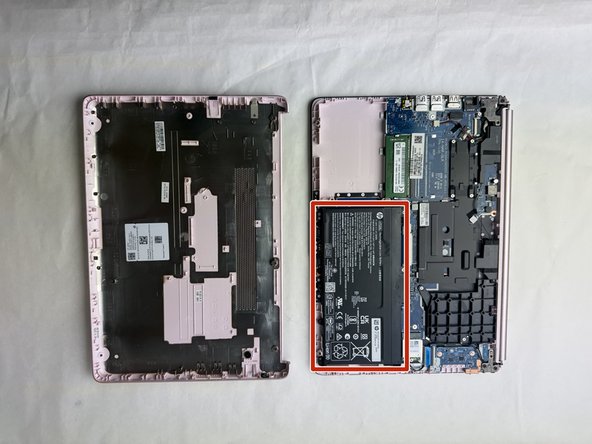
- Lift the back cover off the laptop.
- Place your opened laptop on a flat surface.
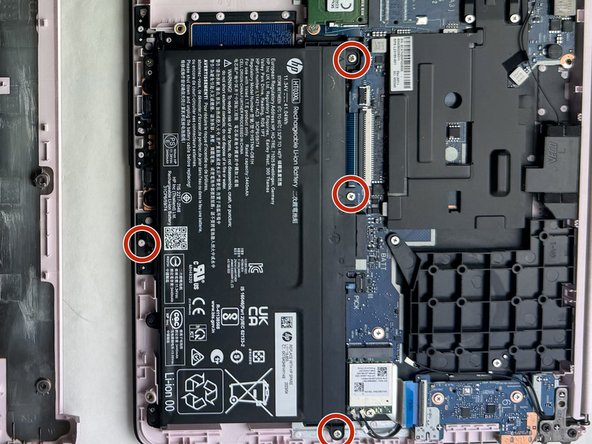
- Use a Phillips #1 screwdriver to remove the four Phillips 3.0 mm screws securing the battery.
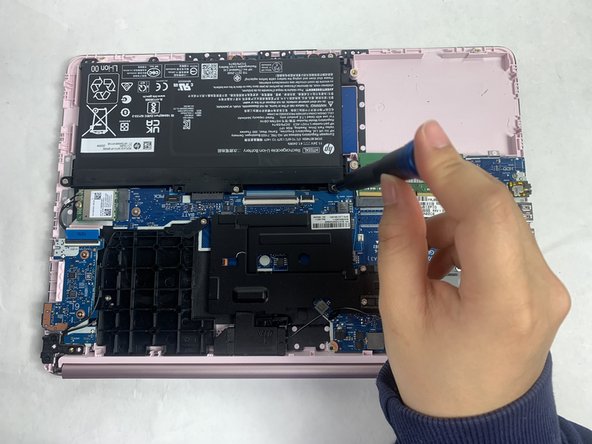
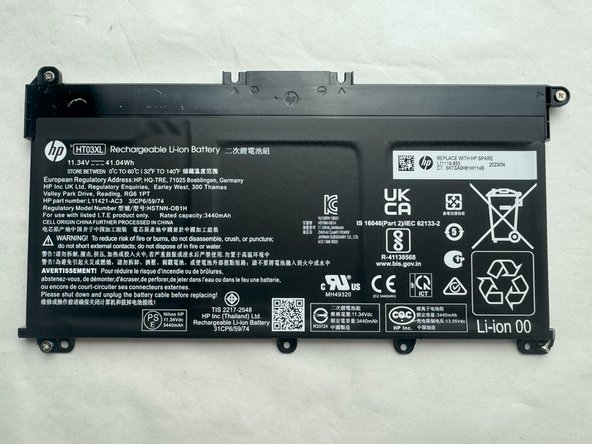
- Slide the battery out from the connector on the motherboard.
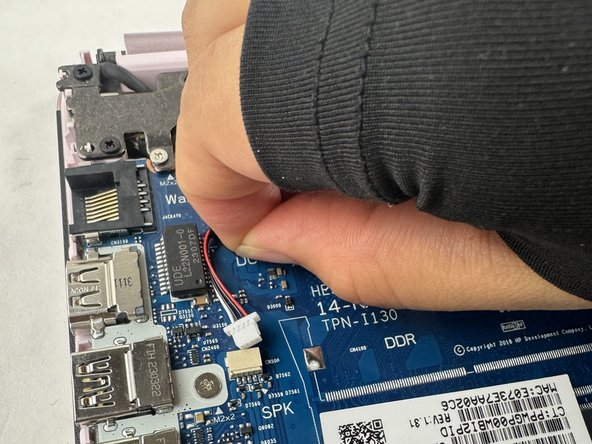
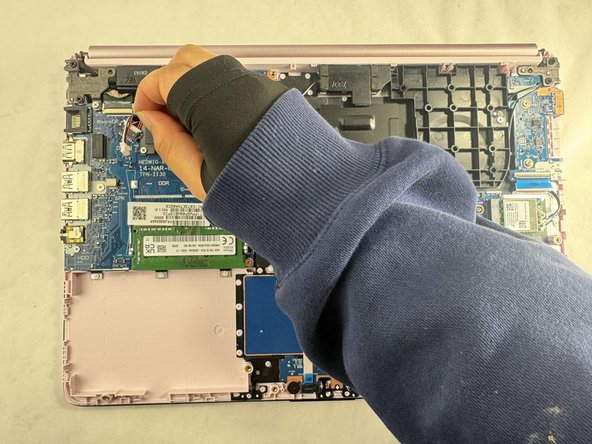
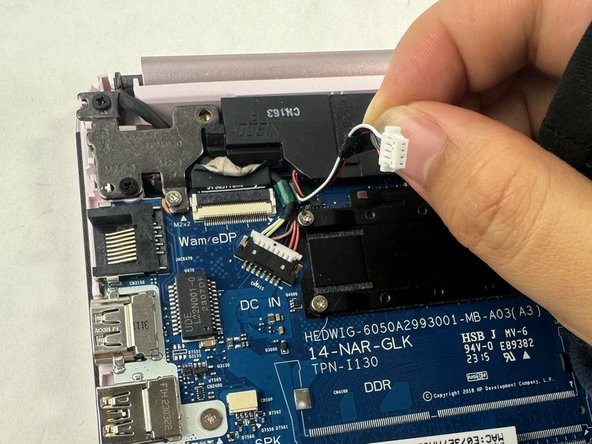
- Use your fingers or tweezers to pull out the speaker cable from the slide connector socket on the motherboard.
- Don't pull on the wires as it may damage the connector or cable.
- If that doesn't work, use the point of a spudger to push on alternating sides of the connector to "walk" it out of its socket.
- It may take a lot of alternating before the connector comes out.
- To reconnect the cable, align the connector and use a spudger or clean fingernail to push it fully into the socket.
- Don't push on the cables themselves, or you may damage the connector.
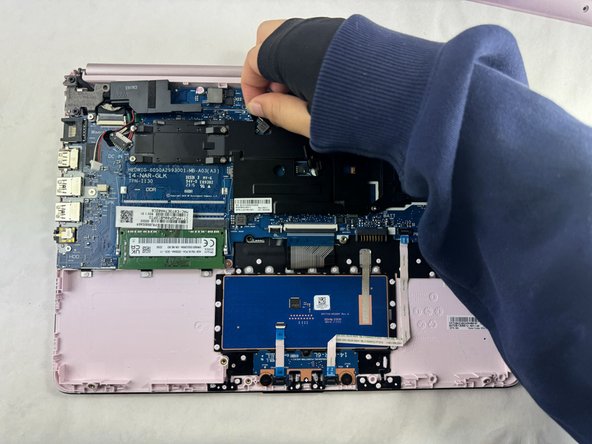
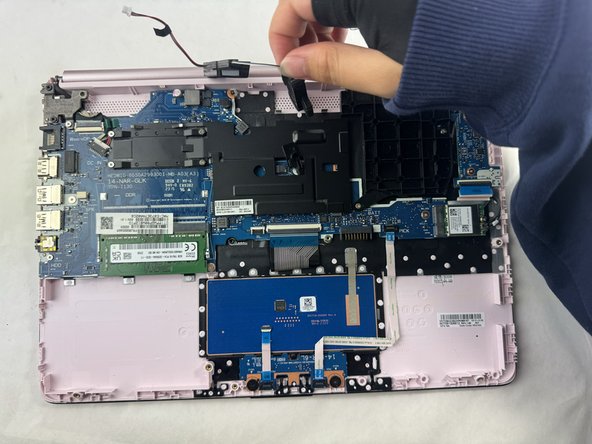
- Remove the tape holding the cables to the motherboard.
- Remove the speakers.
- A loose plastic piece may or may not fall out during this step, but you can press it back in place between the speaker and the motherboard.