Cricut Maker Rubber Rollers Replacement
ID: 172127
Description: When challenged by malfunctions of Cricut Maker...
Steps:
- Replacing the rubber rollers begins with the movement of removing the top white rectangle plaque that sits at the top of the Cricut.
- Use a 1.5mm flat-head bit for removal of the plastic white plaque.
- Below the white plaque that has now been removed are four silver screws that secure the position of the lid. Using a Phillips #1 bit, remove all four screws.
- After removing the four silver screws and putting them aside, lift the lid of the Cricut Maker to detach it from the machine.
- When the lid is removed, flip the Cricut machine so that the bottom of the machine is facing upward.
- Locate each corner that shares a black screw. Remove all four black screws with a Phillips #1 bit.
- After removing the four black screws, locate the seven silver screws that then sit below the top portion of the machine. They can be challenging to identify as they are hidden, so move the machine to an angle where each screw is visible to remove.
- Remove all seven silver screws using a 1 mm flat-head bit.
- The following step requires the top part of the machine to be facing upward.
- Once the machine is facing upward, lift the top case of the machine gently.
- When gently removing the top case, locate the right side of the machine where the wires are connected.
- One end of the wire is connected to the top case, and the other is connected to the machine.
- Disconnect the wire on the end that's located in the machine.
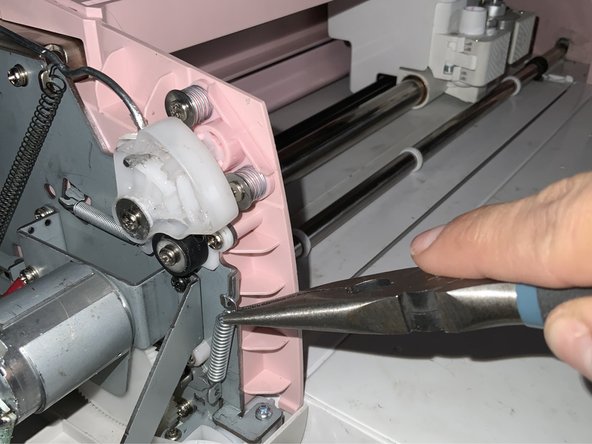
- On the right side of the machine is a silver spring on the edge. Remove the spring with small needle nose pliers for easy removal.
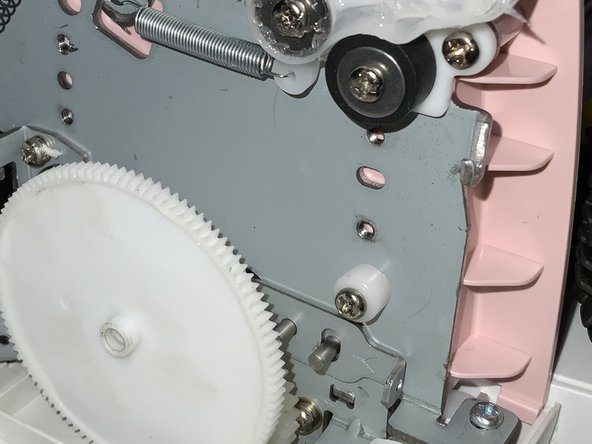
- On the right side, locate the top circular part and remove the little c-clamp that holds the y piece with a 1 mm flat-head bit.
- After removing the c-clamp, remove the y-piece.
- Moving onto the left side of the machine is the mini generator held with four screws.
- Two screws are black, and two are silver.
- Remove all four screws with a Phillips #1 bit.
- Remove the silver spring located on the left side of the machine.
- The process imitates removing the spring that was completed on the right side by using small needle nose pliers for removal.
- Repeat step 9 to remove the c-clamp and y-piece on the machine's left side with a 1mm Flathead bit.
- Now that all screws are removed, wiggle the silver rod towards the right to pop out the silver rod from its place.
- Once the left side of the rod is out, wiggle the rod out of the right side.
- Now that the rod is removed from the machine, remove old rubber rollers in a wiggling motion for easier removal.
- Insert new rubber rollers to replace worn-out ones.