How to Replace a "Strap Keeper" in a Backpack
ID: 173073
Description: "Strap keepers" are the small pieces of elastic...
Steps:
- Check the "strap keepers" of your backpack (red arrows).
- The length of the elastic should be tight. In this example, we have a worn-out elastic that has expanded and is bigger than the width of the strap (green arrow).
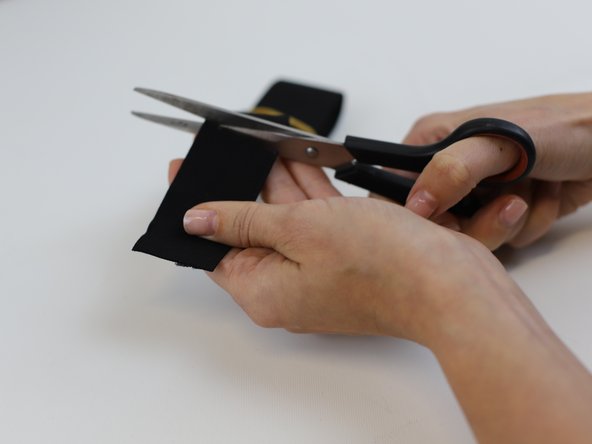
- Use a pair of scissors to cut the old elastic.
- Measure the width of the strap. In this example, the measurement was 2 cm (red line).
- For the strap keeper replacement, we need to use the following formula:
- Length = (Strap's width * 2.5) + 2 In our example this would be: (2 * 2.5) + 2 = 7
- This means that the width of the new strap keeper would need to be 7 cm (green line).
- Using a fabric pencil, mark the length calculated on the previous step. In this example, we are marking 7cm (green line).
- Note: We are using an elastic band that will serve as the new "strap keeper". For this example, we chose the color black in order to make it stand out.
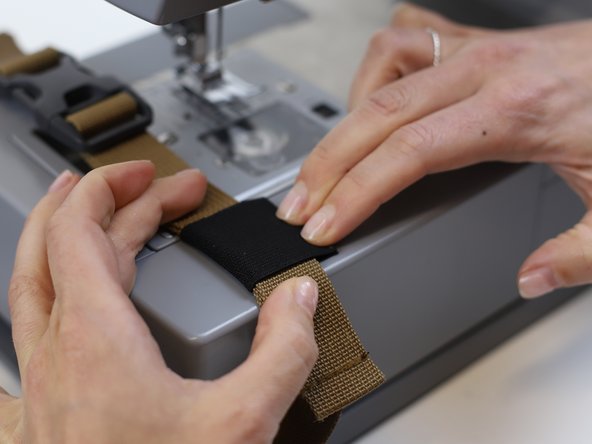
- Cut along the marked length and then fold the elastic band around the strap.
- Before stitching remove the strap and align the elastic in the correct position.
- Tip: For tips on setting up the machine take a look at this iFixit guide.
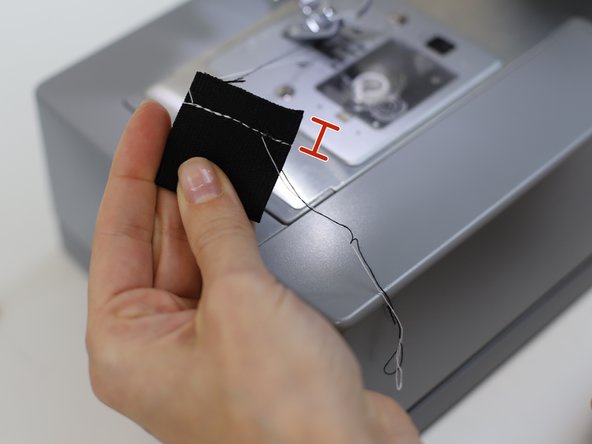
- Make sure you leave 1 cm away from the edge (red line).
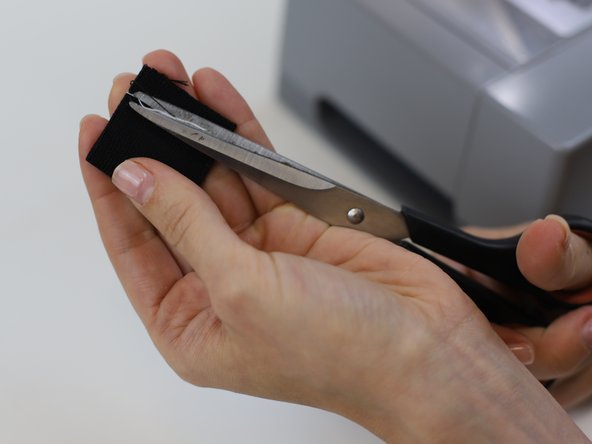
- Clean the remaining loose threads.
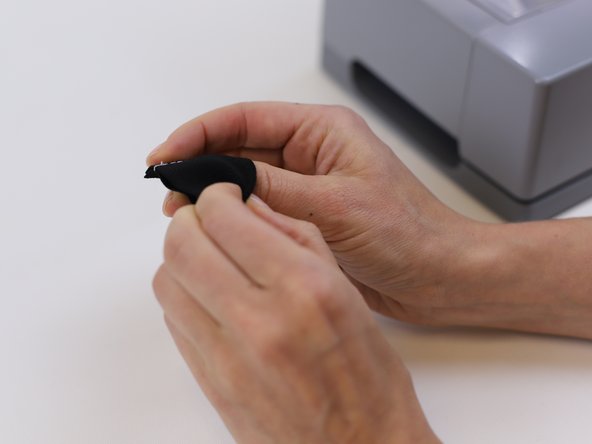
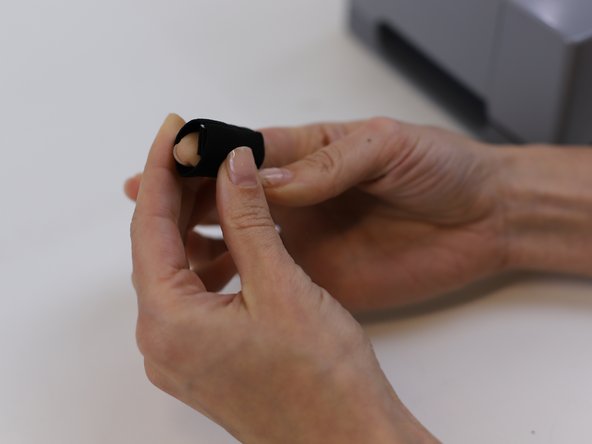
- Turn the "strap keeper" so that the sewn part is facing inwards.
- Following the red arrows, insert the "strap keeper" into the strap with the buckle.
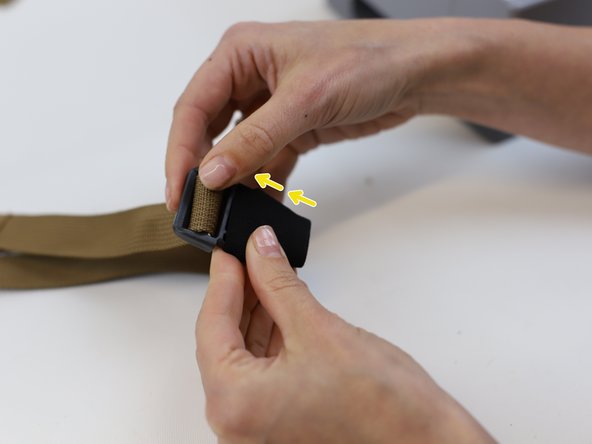
- Once it has been inserted into the buckle, follow the direction of the yellow arrows.
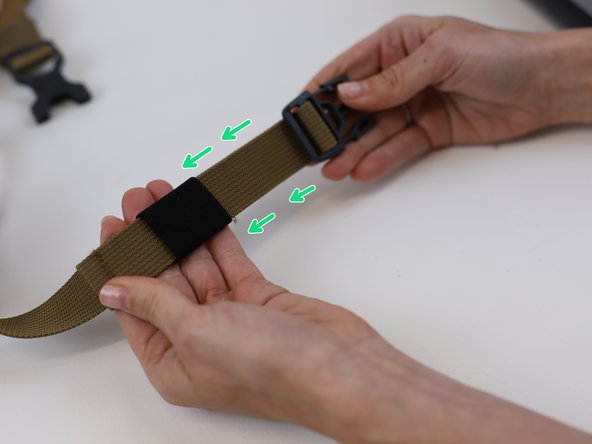
- Keep going forward and gently slide the "strap keeper" in the direction of the green arrows till it is holding the "loose" strap in place.
- 🛠️🏆👏 Congratulations! The repair is complete, and you're ready to go!