Lenovo V14-IIL Display Assembly Replacement
ID: 173911
Description:
Steps:
- Make sure the laptop is powered off and unplug all cables before beginning any repair.
- Flip your laptop over and place on a flat surface so you can access the screws on the base cover.
- Remove the six 7 mm screws from the back panel of the laptop using a Phillips #0 screwdriver.
- Remove the four 4 mm screws from the bottom edge of the laptop using a Phillips #0 screwdriver.
- Use an iFixit opening tool to pry apart the case by sliding it along each side of the laptop.
- You may need to move the tool to different locations to fully release the back cover.
- Lift away the back panel and set it aside.
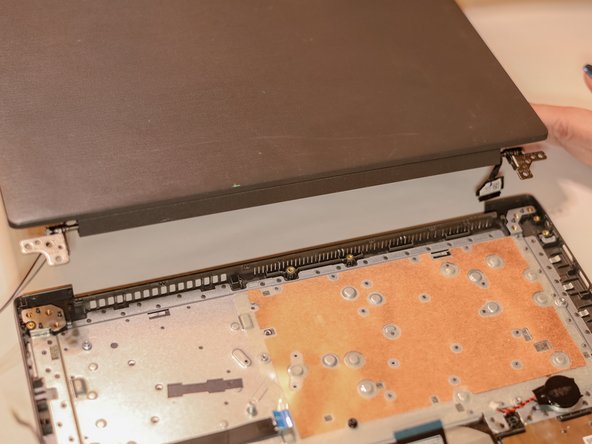
- Using a Phillips #0 screwdriver, remove the four 5 mm screws from the hinges of the laptop.
- Lift up the latch and gently pull the display cable free.
- Using the spudger, disconnect the two wireless LAN cables (black and gray) from the wireless LAN card.
- Remove the LAN cables from the three brackets on the fan.
- Ensure that all cables and hinges are detached.
- Lift the display assembly away from the base.