Blu G90 Pro Battery, Power/USB board Replacement
ID: 173954
Description: Battery, Power/USB board, and back cover...
Steps:
- The G90 Pro has a glued-on back cover. I removed this with a razor, a small suction cup, and guitar picks. There is a thin layer of glue that goes around the perimeter.
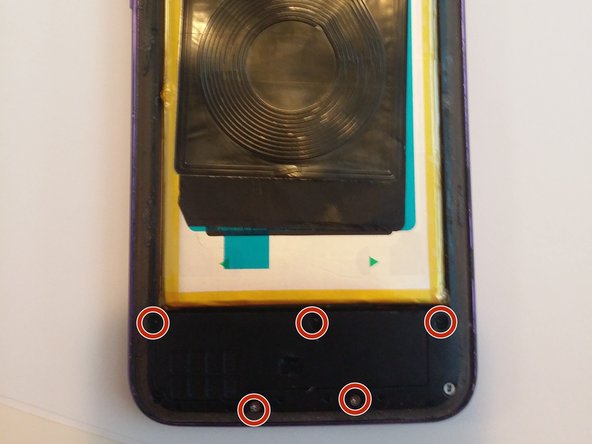
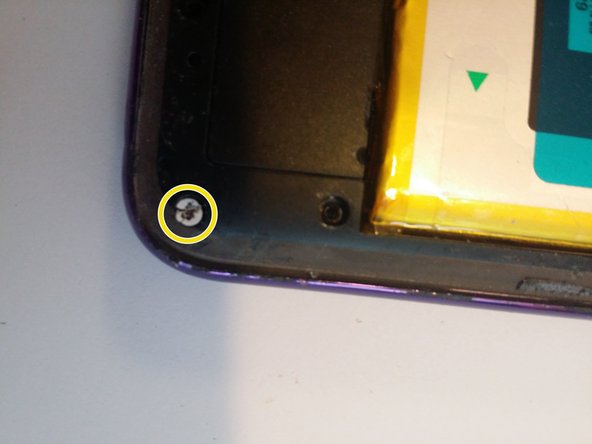
- Remove all screws. These screws secure the mid-frame to the housing. The mid frame consists of three black plastic pieces: the first is the mid-frame main piece, it is the largest and goes around the battery, up around like a frame. The second protects the charging port/usb board. The third protects the motherboard above the camera.
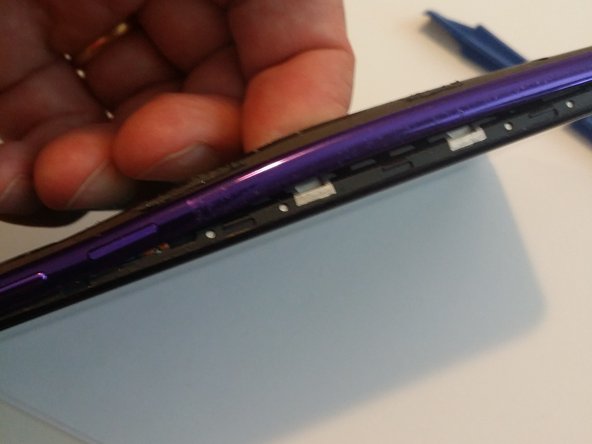
- Now we can pry the midframe out. I used a spudger and jammed it in-between the silver front piece and and the black piece next to the battery (don't damage the battery) and lifted it up. Then I created some space and used the spudger and guitar picks around the perimeter until it popped-off.
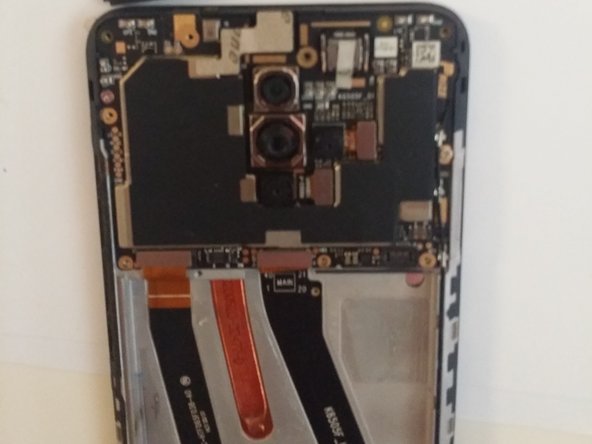
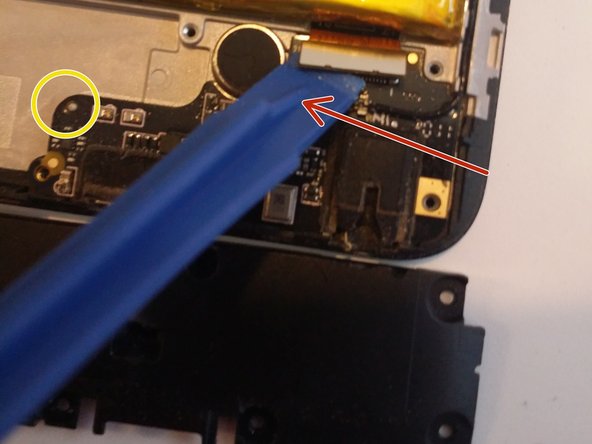
- The battery connection is the right metal tab. The flap directly below the camera goes from the motherboard to the charging board/usb on the bottom. I believe the one on the left goes to the screen. I disconnected them all before moving forward.
- I removed both covers, the one on top seems to protect the motherboard/camera area, the one on the bottom protects the charging port/usb. Go ahead and lift up that gold flap and unplug the pigtail connector (under spudger in pic), then gently lift out the board. There's two little bumps for alignment of the board.
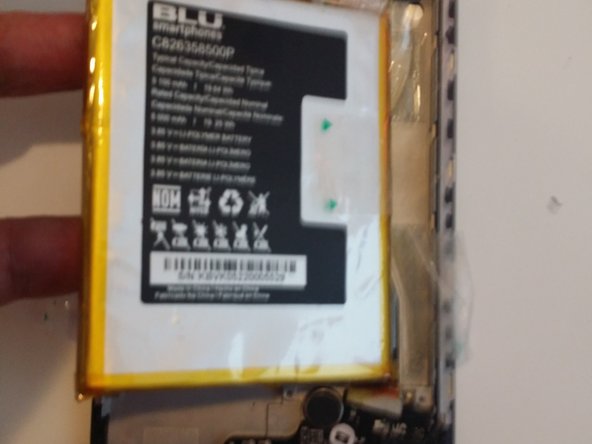
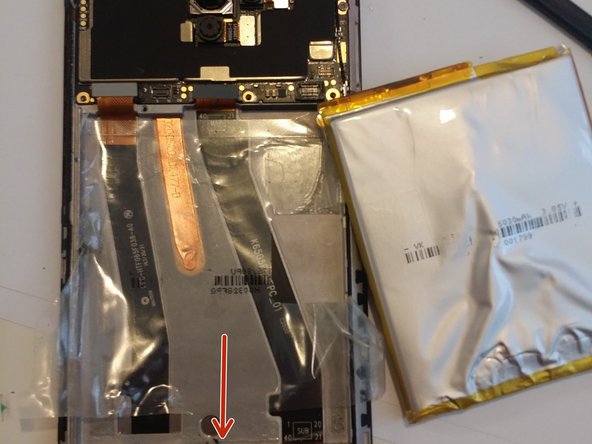
- The battery is glued to a piece of sticky plastic. There are green arrows on the plastic piece, pull those outward to expose the battery. I used a spudger to gently pry the battery out under the bottom center so as not to damage the thin cables that are below that run under the battery on the right/left sides. Pry point is the red arrow.
- When replacing the board, don't forget to reattach pigtail connection (connection and anchor points indicated in yellow) and the connection of the board to the mainboard (Yellow arrow).